はじめに
Before working on your device, we recommend backing-up your data to an external storage drive. Also, make sure you have good way to keep track of five very small screws as you will need them for reassembly. The most challenging part of replacing the screen is likely to be removing the back cover.
必要な工具と部品
-
-
Using the flat end of the spudger, gently pry open the back case from the rest of the device.
 FixBotに聞いてみる
-
-
この手順で使用する道具:Tweezers$4.99
-
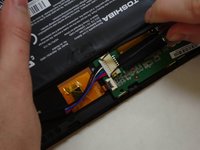
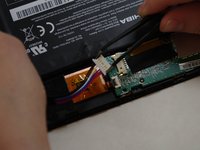
Using needle-nose tweezers, gently push the large white wire connector (connected to the black, red and blue wires) out of its housing.
-
-
-
この手順で使用する道具:Tweezers$4.99
-
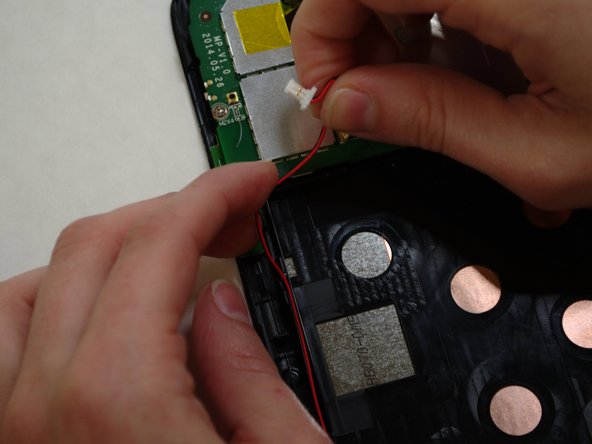
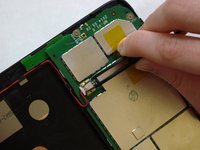
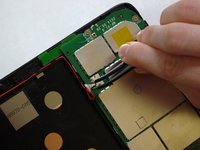
Using needle-nose tweezers, carefully push the small white wire connector (red/black wires) out of its housing.
-
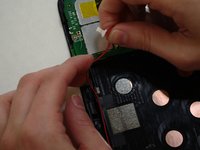
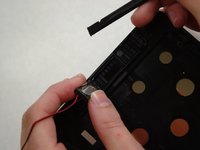
Gently remove red/black wire strands from the clips holding them to the back of the screen.
-
-
-
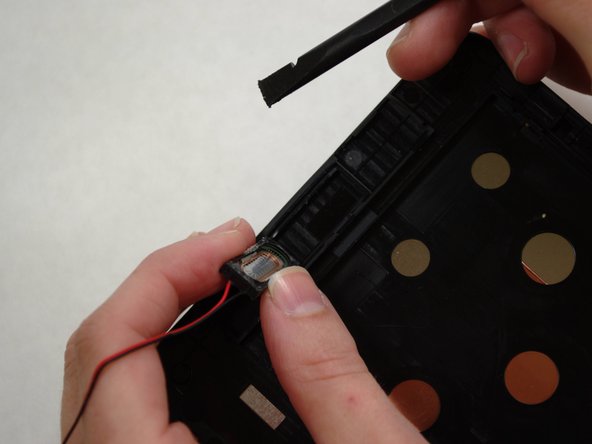
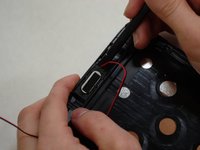
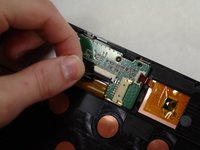
Gently pry audio module from the back of the screen using tweezers and spudger. Be careful not to pull on the wires.
-
Set the audio module and attached wire aside.
-
-
-
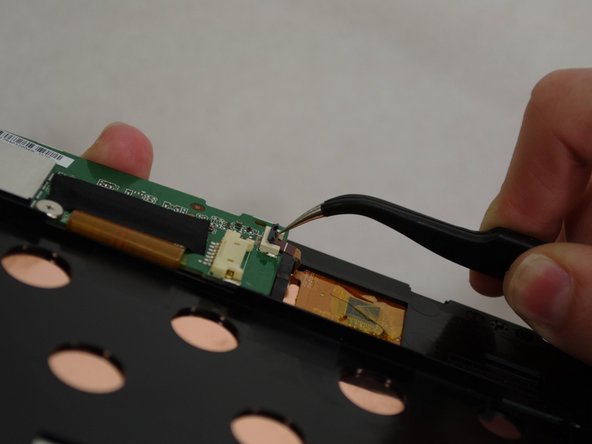
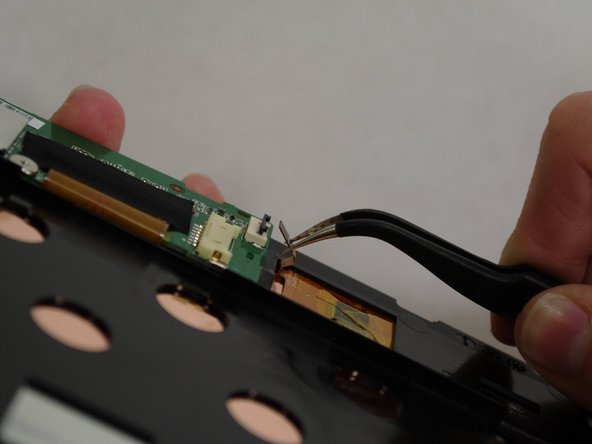
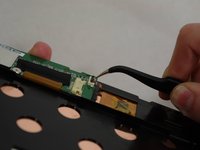
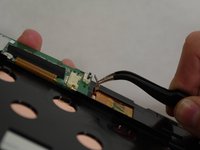
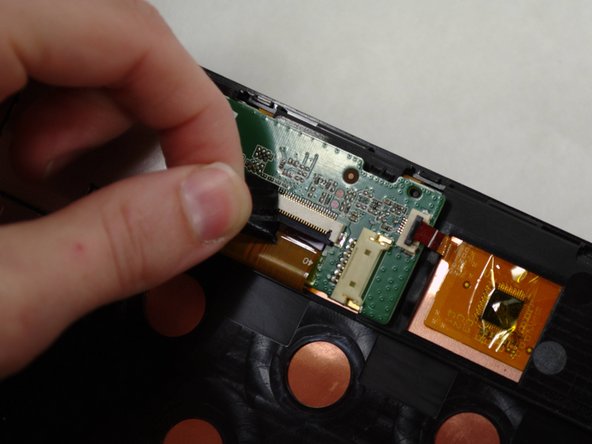
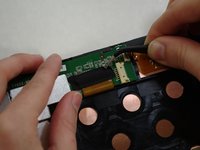
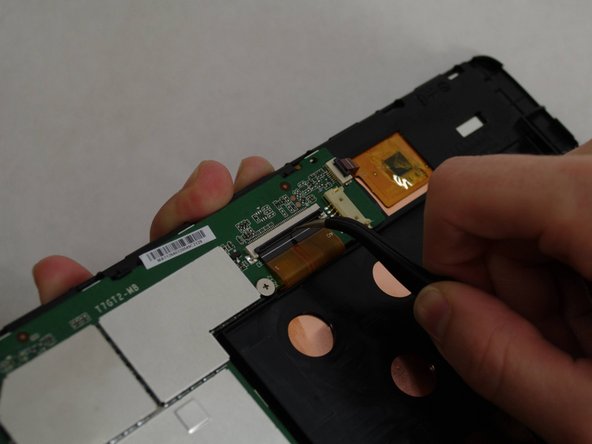
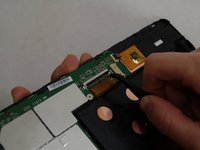
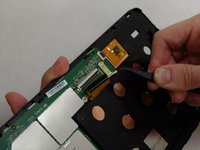
Using needle-nose tweezers, carefully flip up the dark gray cover on the right of the device holding the small orange/gold ribbon in place. (It is approximately 1/4" wide.)
-
With the tweezers, carefully pull the small ribbon out of its housing. It will stay attached to the device at the other end.
-
-
-
A wide orange/gold ribbon connects the screen to the motherboard. (Ribbon is approximately 1" wide.)
-
Carefully pull the black tape off the ribbon housing and set it aside. You will need to replace the tape when reassembling the device.
-
-
-
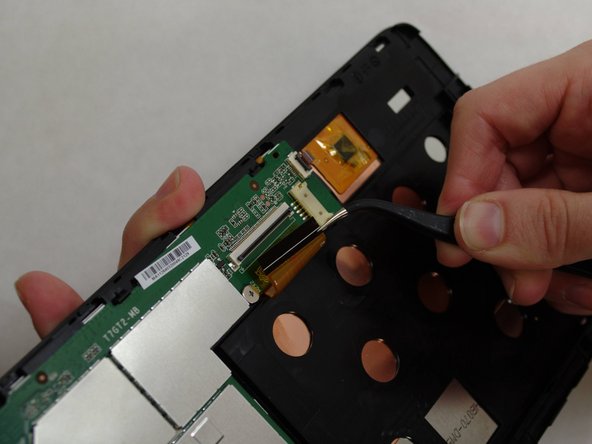
Using needle-nose tweezers, carefully flip up the dark gray cover.
-
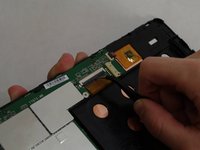
With the tweezers, carefully pull the wide ribbon from its housing. It will stay attached to the device at the other end.
-
-
-
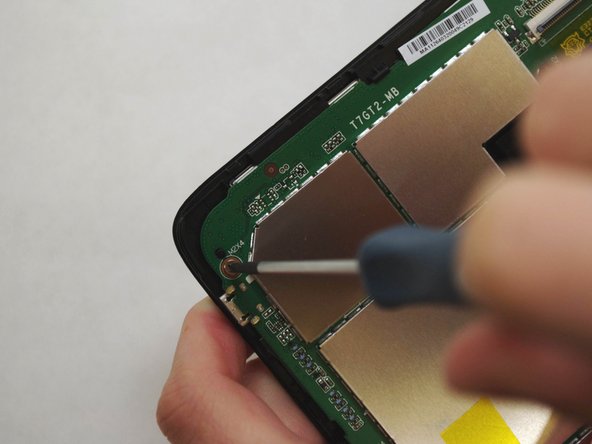
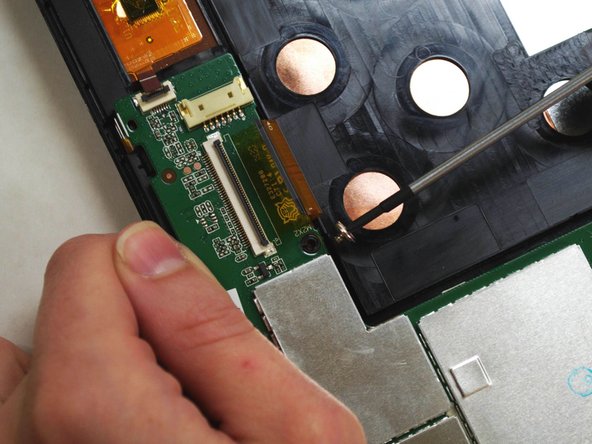
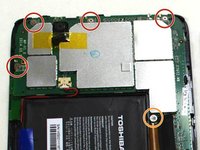
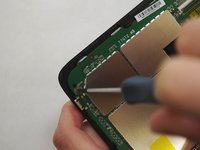
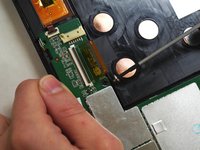
Using a Phillips 000 screwdriver, remove the screws holding components together.
-
Remove four 4.2 mm Phillips screws
-
Remove one 3 mm Phillips screw
-
-
-
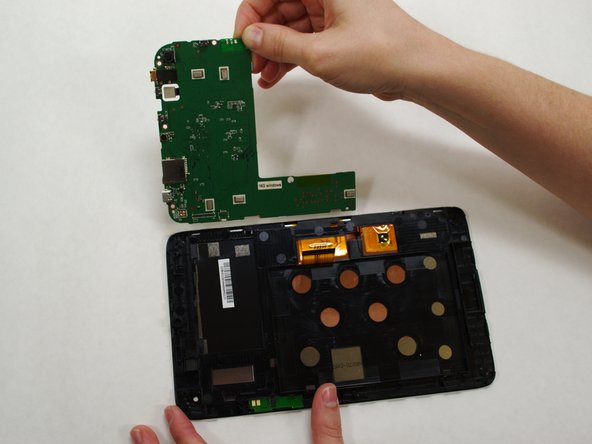
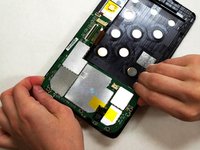
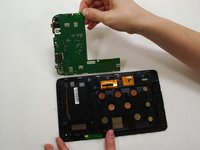
Holding the motherboard carefully by the edges, gently lift it up off the screen and carefully set it aside.
-











To reassemble your device, follow these instructions in reverse order.

チーム

UW Tacoma, Team 1-3, Liner SU 2015 UW Tacoma, Team 1-3, Liner SU 2015人のメンバー
UWT-LINER-SU15S1G3
4 メンバー
6のガイドは作成済み
1件のガイドコメント
What is the small orange/gold ribbon in step 8 used for? I'm assuming that it's what registers touches on the screen because my tablet isn't reading my touches. I ask this because the dark grey bar on my tablet has been broken off, so there's nothing to hold the ribbon in place, and I can't do anything on my tablet because it won't respond to me touching it.
