メインコンテンツにスキップ
リペアコミュニティに参加 - アカウントの作成

Toshiba Encore Mini Front-Facing Camera Replacement

必要な工具と部品

  1. Toshiba Encore Mini Front-Facing Camera Replacement, Battery: 手順 1、 2の画像 1 Toshiba Encore Mini Front-Facing Camera Replacement, Battery: 手順 1、 2の画像 2
    • To replace the battery, the rear cover must first be removed.

    • Using the flat end of the spudger, gently pry open the back case from the rest of the device.

    • It may be easier to start along one of the long edges and carefully work your way toward the corner, then along the short edge.

    FixBotに聞いてみる

    コメントを追加

  2. Toshiba Encore Mini Front-Facing Camera Replacement: 手順 2、 1の画像 1
    • Remove the rear cover and set it aside.

    FixBotに聞いてみる

    コメントを追加

  3. Toshiba Encore Mini Front-Facing Camera Replacement: 手順 3、 1の画像 1
    • Carefully remove the electrical tape that holds the battery in place.

    FixBotに聞いてみる

    コメントを追加

  4. Toshiba Encore Mini Front-Facing Camera Replacement: 手順 4、 2の画像 1 Toshiba Encore Mini Front-Facing Camera Replacement: 手順 4、 2の画像 2
    この手順で使用する道具:
    Tweezers
    $4.99
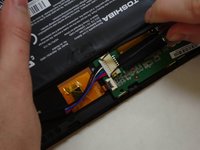
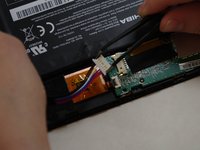
    • Using needle-nose tweezers, gently push the large white wire connector (connected to the black, red and blue wires) out of its housing.

    FixBotに聞いてみる

    コメントを追加

  5. Toshiba Encore Mini Front-Facing Camera Replacement: 手順 5、 1の画像 1
    • Gently lift the battery out of the device.

    • Be careful not to pull on the connecting wires.

    FixBotに聞いてみる

    コメントを追加

  6. Toshiba Encore Mini Front-Facing Camera Replacement, Front-Facing Camera: 手順 6、 3の画像 1 Toshiba Encore Mini Front-Facing Camera Replacement, Front-Facing Camera: 手順 6、 3の画像 2 Toshiba Encore Mini Front-Facing Camera Replacement, Front-Facing Camera: 手順 6、 3の画像 3
    この手順で使用する道具:
    Tweezers
    $4.99
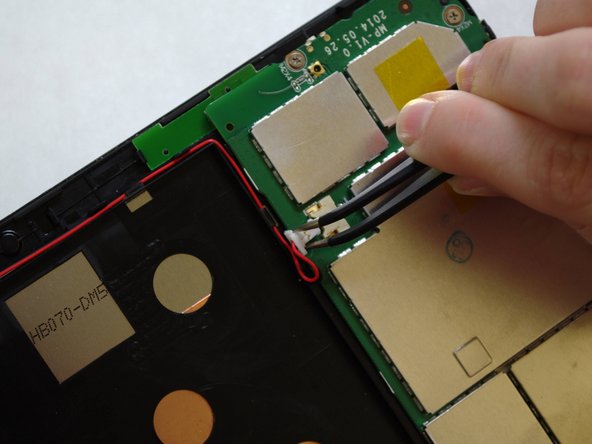
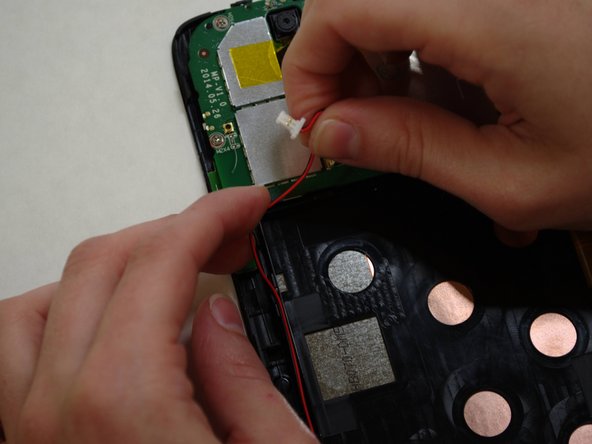
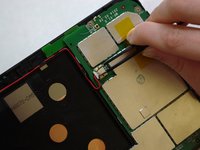
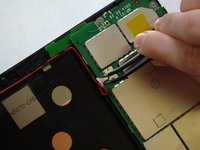
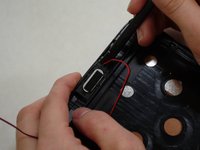
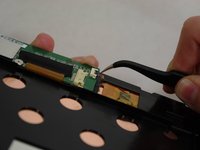
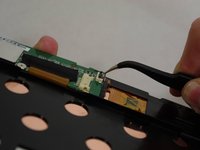
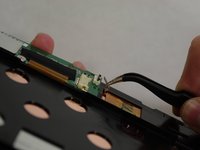
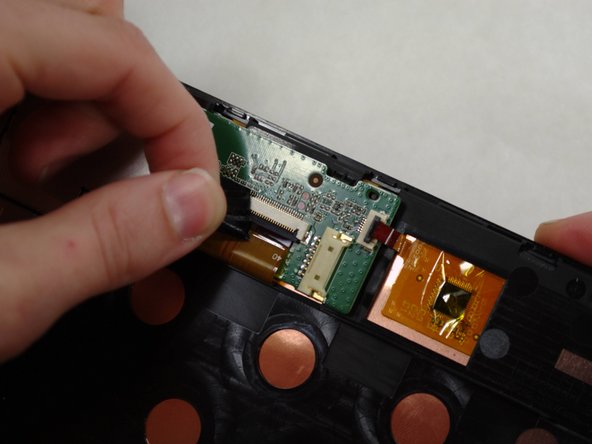
    • The audio module must be removed to replace the front-facing camera.

    • Using needle-nose tweezers, carefully push the small white wire connector (red/black wires) out of its housing.

    • Gently remove red/black wire strands from the clips holding them to the back of the screen.

    FixBotに聞いてみる

    コメントを追加

  7. Toshiba Encore Mini Front-Facing Camera Replacement: 手順 7、 2の画像 1 Toshiba Encore Mini Front-Facing Camera Replacement: 手順 7、 2の画像 2
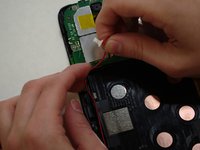
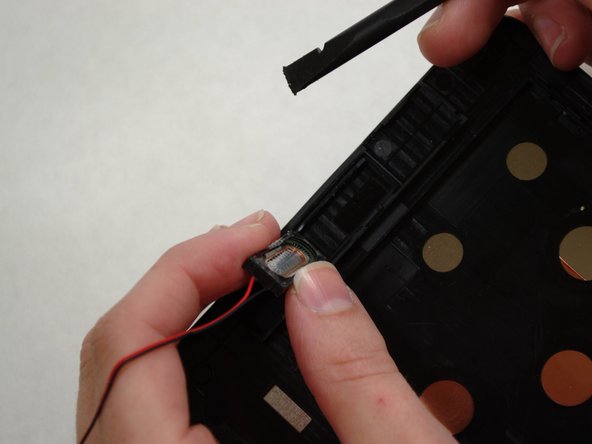
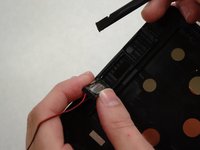
    • Gently pry audio module from the back of the screen using tweezers and spudger. Be careful not to pull on the wires.

    • Adhesive on the bottom of the speaker module may make it difficult to remove.

    • Set the audio module and attached wire aside.

    FixBotに聞いてみる

    コメントを追加

  8. Toshiba Encore Mini Front-Facing Camera Replacement: 手順 8、 3の画像 1 Toshiba Encore Mini Front-Facing Camera Replacement: 手順 8、 3の画像 2 Toshiba Encore Mini Front-Facing Camera Replacement: 手順 8、 3の画像 3
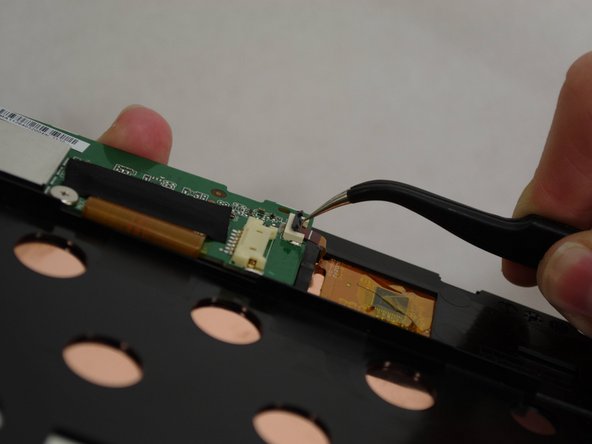
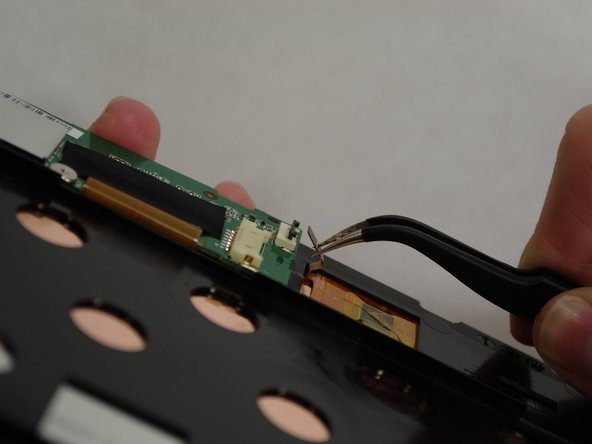
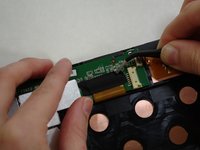
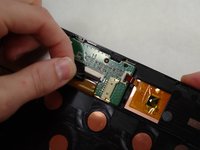
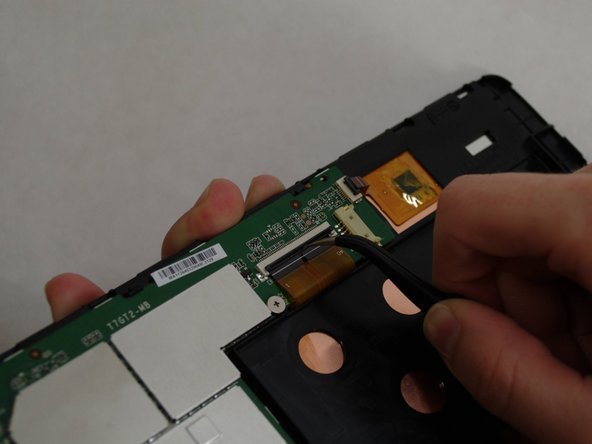
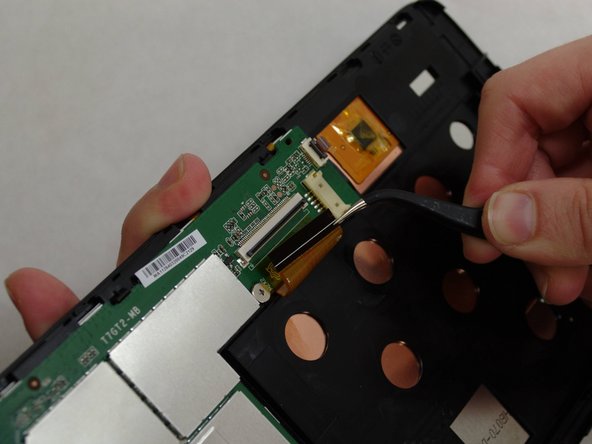
    • Using needle-nose tweezers, carefully flip up the dark gray cover on the right of the device holding the small orange ribbon in place. (It is approximately 1/4" wide.)

    • With the tweezers, carefully pull the small ribbon out of its housing. It will stay attached to the device at the other end.

    FixBotに聞いてみる

    コメントを追加

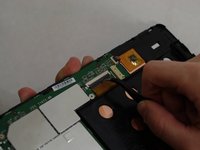
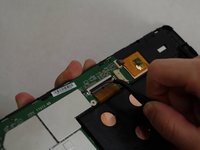
  9. Toshiba Encore Mini Front-Facing Camera Replacement: 手順 9、 2の画像 1 Toshiba Encore Mini Front-Facing Camera Replacement: 手順 9、 2の画像 2
    • A wide orange/gold ribbon connects the screen to the motherboard. (Ribbon is approximately 1" wide.)

    • Carefully pull the black tape off the ribbon housing and set it aside. You will need to replace the tape when reassembling the device.

    FixBotに聞いてみる

    コメントを追加

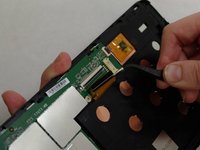
  10. Toshiba Encore Mini Front-Facing Camera Replacement: 手順 10、 3の画像 1 Toshiba Encore Mini Front-Facing Camera Replacement: 手順 10、 3の画像 2 Toshiba Encore Mini Front-Facing Camera Replacement: 手順 10、 3の画像 3
    • Damaging this ribbon will permanently disable your device!

    • Using needle-nose tweezers, carefully flip up the dark gray cover.

    • With the tweezers, carefully pull the wide ribbon from its housing. It will stay attached to the device at the other end.

    FixBotに聞いてみる

    コメントを追加

  11. Toshiba Encore Mini Front-Facing Camera Replacement: 手順 11、 3の画像 1 Toshiba Encore Mini Front-Facing Camera Replacement: 手順 11、 3の画像 2 Toshiba Encore Mini Front-Facing Camera Replacement: 手順 11、 3の画像 3
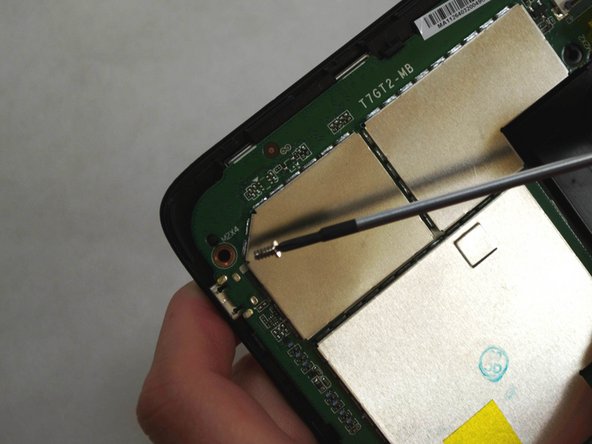
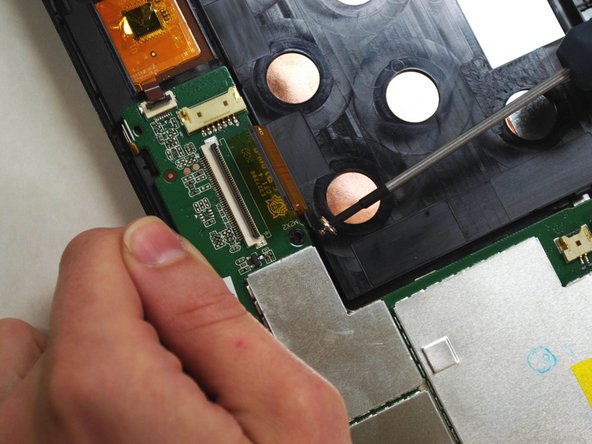
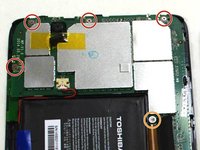
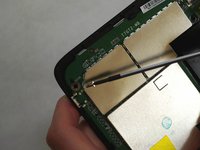
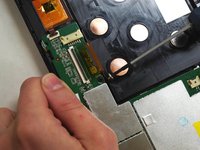
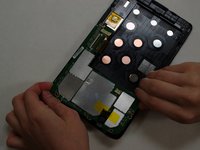
    • Using a Phillips 000 screwdriver, remove the screws holding components together.

    • Remove four 4.2 mm Phillips screws.

    • Remove one 3mm Phillips screw.

    FixBotに聞いてみる

    コメントを追加

  12. Toshiba Encore Mini Front-Facing Camera Replacement: 手順 12、 2の画像 1 Toshiba Encore Mini Front-Facing Camera Replacement: 手順 12、 2の画像 2
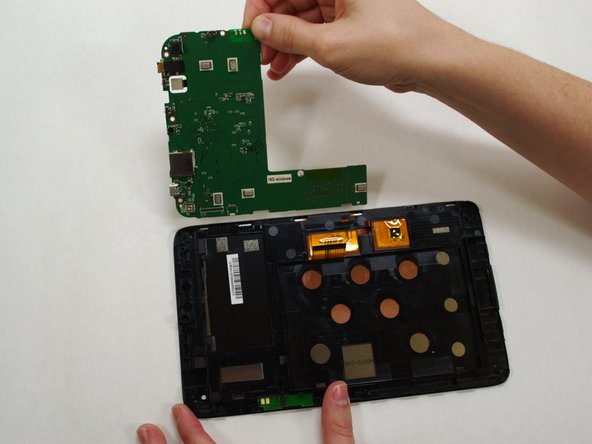
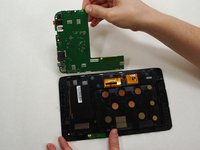
    • Holding the motherboard carefully by the edges, gently lift it up off the screen and carefully set it aside.

    • The motherboard may resist as you try to lift it --this is normal.

    FixBotに聞いてみる

    コメントを追加

  13. Toshiba Encore Mini Front-Facing Camera Replacement: 手順 13、 2の画像 1 Toshiba Encore Mini Front-Facing Camera Replacement: 手順 13、 2の画像 2
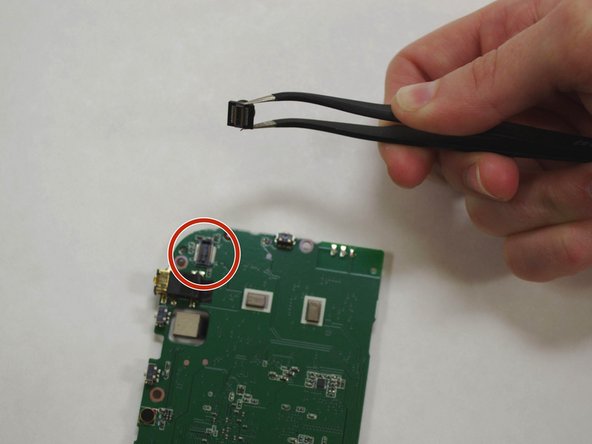
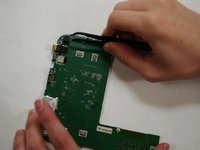
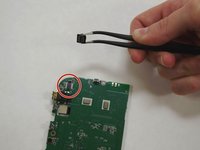
    • The front-facing camera may dislodge freely when removing the motherboard.

    • If camera has not already "popped" off the motherboard, use needle-nose tweezers to gently grasp the camera and remove from motherboard.

    FixBotに聞いてみる

    コメントを追加

終わりに

To reassemble your device, follow these instructions in reverse order.

キャンセル: このガイドを終了できませんでした。

作成者

4人の作成者と共同で作成されました。

Shirley Low

メンバー登録日: 07/09/15

143 ポイント

1ガイドが承認済み

チーム

UW Tacoma, Team 1-3, Liner SU 2015 UW Tacoma, Team 1-3, Liner SU 2015人のメンバー

UWT-LINER-SU15S1G3

4 メンバー

6のガイドは作成済み

0件のガイドコメント

コメントを追加

統計データ:

過去 24時間: 0

過去 7 日: 2

過去 30 日: 25

今までの合計 698