はじめに
This guide demonstrates and describes proper removal and replacement of the back casing. It is needed to access other parts for repair or replacement.
必要な工具と部品
-
-
-
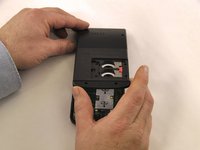
Locate battery cover on the back of the case.
-
Slide battery cover to the right reveal the batteries.
 FixBotに聞いてみる
-
-
-
-
Remove battery cover.
-
Slide the red lock down.
-
Slide the metal tab to the right of the top battery.
-
Remove the 3-Volt Lithium Coin Cell Battery.
-
Slide the red lock up.
-
Slide the metal tab to the right of the bottom battery.
-
Remove the 3-Volt Lithium Coin Cell Battery.
-
-
-
-
-
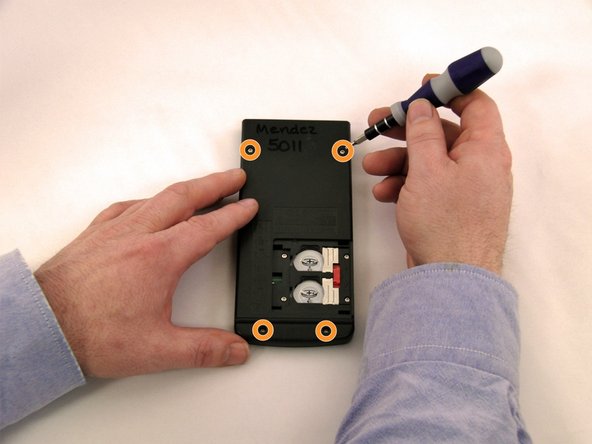
Using a Torx, T-6 star-bit screwdriver, unscrew four 7.38 mm screws from battery housing.
-
Unscrew four 7.15 mm screws from back casing.
-
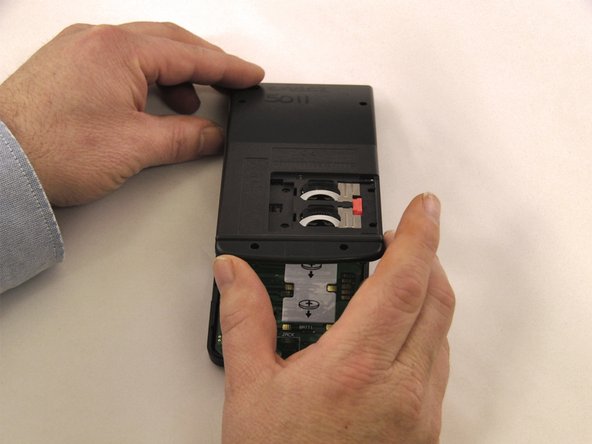
Using the blue plastic opener tool along the seam of the case, pry off front casing.
-
-


To reassemble your device, follow these instructions in reverse order.

チーム

Eastern Washington University, Team 1-1, Carnegie Winter 2015 Eastern Washington University, Team 1-1, Carnegie Winter 2015人のメンバー
EWU-CARNEGIE-W15S1G1
4 メンバー
23のガイドは作成済み
