メインコンテンツにスキップ
リペアコミュニティに参加 - アカウントの作成

Tatung TAC-6G Light Element Replacement

必要な工具と部品

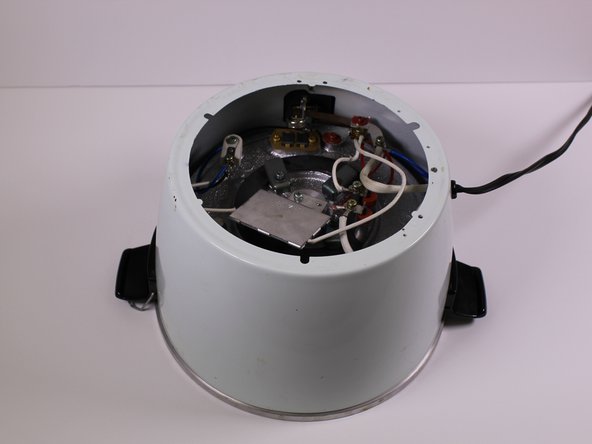
    1. Tatung TAC-6G Light Element Replacement, Light Element: 手順 1、 1の画像 1
      • Start with the device standing upright.

      FixBotに聞いてみる

      コメントを追加

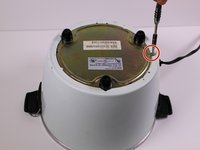
    2. Tatung TAC-6G Light Element Replacement: 手順 2、 1の画像 1
      • Remove the 11mm Phillips screw from below the power component panel.

      FixBotに聞いてみる

      コメントを追加

    3. Tatung TAC-6G Light Element Replacement: 手順 3、 1の画像 1
      • Pull the panel away from the rice cooker.

      • Remove the 9mm Phillips screw from behind the power component dashboard that is connected to the light plate.

      FixBotに聞いてみる

      コメントを追加

    4. Tatung TAC-6G Light Element Replacement: 手順 4、 1の画像 1
      • Pull the light plate from the power component panel.

      FixBotに聞いてみる

      コメントを追加

    5. Tatung TAC-6G Light Element Replacement: 手順 5、 1の画像 1
      • Flip the rice cooker device upside down.

      FixBotに聞いてみる

      コメントを追加

    6. Tatung TAC-6G Light Element Replacement: 手順 6、 2の画像 1 Tatung TAC-6G Light Element Replacement: 手順 6、 2の画像 2
      • Remove the one 7mm Phillips screw from the side of the brass panel

      • Lift the brass plate off of the device and set it aside.

      FixBotに聞いてみる

      コメントを追加

    7. Tatung TAC-6G Light Element Replacement: 手順 7、 1の画像 1
      • Remove the 7mm Phillips screw holding the white and maroon colored wires that are connected to the heating element.

      FixBotに聞いてみる

      コメントを追加

    8. Tatung TAC-6G Light Element Replacement: 手順 8、 1の画像 1
      • Remove the 10mm Phillips screw that connects the white, blue and black wires to the white plastic piece in the corner of the device.

      FixBotに聞いてみる

      コメントを追加

    9. Tatung TAC-6G Light Element Replacement: 手順 9、 1の画像 1
      • Remove the 7mm Phillips screw that connects two white wires and one red wire to the heating "warm" switch.

      FixBotに聞いてみる

      コメントを追加

    10. Tatung TAC-6G Light Element Replacement: 手順 10、 1の画像 1
      • Using your hand, pull out the light plate with the maroon red and black wires.

      FixBotに聞いてみる

      コメントを追加

    11. Tatung TAC-6G Light Element Replacement: 手順 11、 1の画像 1
      • Replace the light plate dashboard.

      FixBotに聞いてみる

      コメントを追加

終わりに

To reassemble your device, follow these instructions in reverse order.

キャンセル: このガイドを終了できませんでした。

作成者

3人の作成者と共同で作成されました。

Erin Charles

メンバー登録日: 01/28/16

215 ポイント

1ガイドが承認済み

チーム

University of Alabama, Team 1-6, Sydow campbell Spring 2016 University of Alabama, Team 1-6, Sydow campbell Spring 2016人のメンバー

UA-SYDOW CAMPBELL-S16S1G6

4 メンバー

6のガイドは作成済み

1件のガイドコメント

Reverse the steps for reassembly.

Tom Anderson - 返信 共有

コメントを追加

統計データ:

過去 24時間: 1

過去 7 日: 5

過去 30 日: 30

今までの合計 1,104