メインコンテンツにスキップ
リペアコミュニティに参加 - アカウントの作成

Table Lamp Cord Replacement

必要な工具と部品

  1. Table Lamp Cord Replacement, Cord: 手順 1、 2の画像 1 Table Lamp Cord Replacement, Cord: 手順 1、 2の画像 2
    • Required materials: AAMP rewire kit, light bulb (not pictured), lamp shade (optional).

    • The AAMP lamp rewire kit should include a new cord, a socket shell, a socket interior and bottle adaptors. (Refer the second image to view the contents of the kit).

    FixBotに聞いてみる

    コメントを追加

  2. Table Lamp Cord Replacement: 手順 2、 1の画像 1
    • Caution! Before removing the lightbulb, ensure that the lamp is unplugged.

    • Cut the old lamp wire using scissors.

    • Remove the cord from the lamp.

    • Dispose the cord.

    FixBotに聞いてみる

    コメントを追加

  3. Table Lamp Cord Replacement: 手順 3、 2の画像 1 Table Lamp Cord Replacement: 手順 3、 2の画像 2
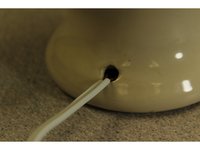
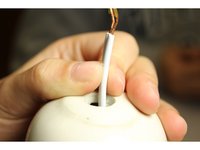
    • Thread the new wire through the hole on the bottom of the lamp. Pull it out through the top of the lamp base. (Refer the first image to get a better understanding.)

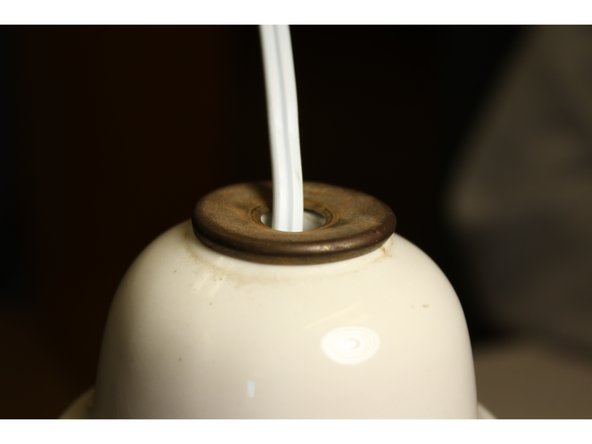
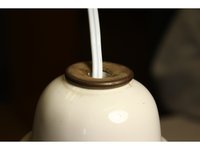
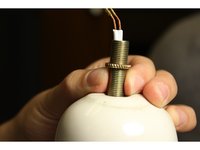
    • Place the old check ring on top of the lamp with the wire threaded through it. (Refer the second image to see the check ring.)

    FixBotに聞いてみる

    コメントを追加

  4. Table Lamp Cord Replacement: 手順 4、 2の画像 1 Table Lamp Cord Replacement: 手順 4、 2の画像 2
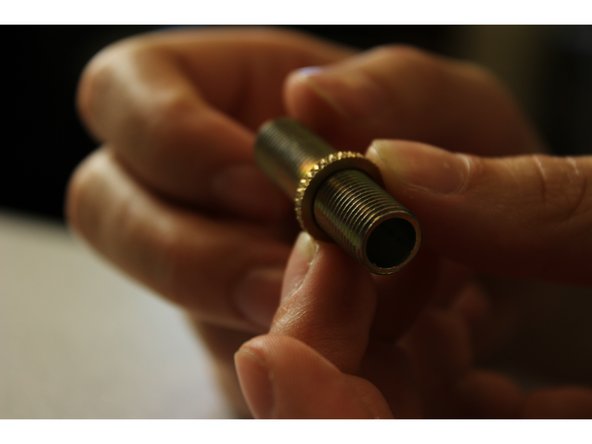
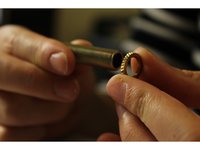
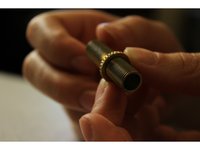
    • Place the lock nut at the end of the lamp nipple and turn it clockwise.

    • Thread the lock nut a quarter of the way through the lamp nipple.

    FixBotに聞いてみる

    コメントを追加

  5. Table Lamp Cord Replacement: 手順 5、 2の画像 1 Table Lamp Cord Replacement: 手順 5、 2の画像 2
    • Ensure that the lamp cord sticks through the top of the lamp base.

    • Insert the lamp nipple and the lock nut into the bottle, in such a way that one-fourth inch of the lamp nipple faces up.

    FixBotに聞いてみる

    コメントを追加

  6. Table Lamp Cord Replacement: 手順 6、 1の画像 1
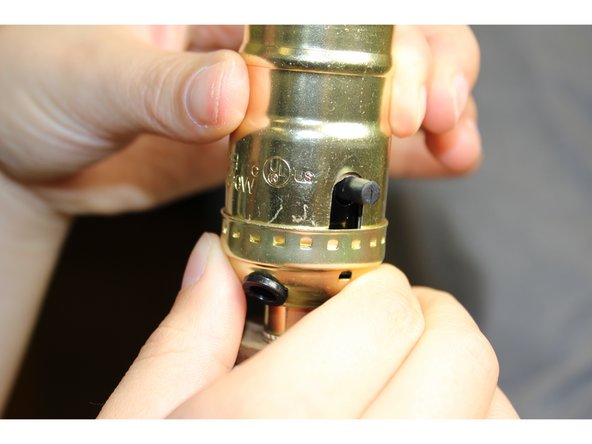
    • Insert the socket in the lamp nipple.

    • Tighten the socket by turning it clockwise until it reaches the lock nut.

    FixBotに聞いてみる

    コメントを追加

  7. Table Lamp Cord Replacement: 手順 7、 1の画像 1
    • Pull either ends of the wire so that you have about 2-3 inches of the wire separated.

    FixBotに聞いてみる

    コメントを追加

  8. Table Lamp Cord Replacement: 手順 8、 1の画像 1
    • Tie an underwriter's knot in the two separated pieces of wire.

    • How to tie the knot: Form a loop using the first wire. Take the second wire and form a loop around the first. Pass the tail of the second wire through the loop of the first.

    FixBotに聞いてみる

    コメントを追加

  9. Table Lamp Cord Replacement: 手順 9、 1の画像 1
    • Check both the conductors at the end of the wire. Find the ribbed conductor and wrap it around the silver-colored screw. Connect the other conductor to the brass-colored screw.

    • Tighten both of the screws in a clockwise direction. Make sure the conductors are securely under the screw head.

    FixBotに聞いてみる

    コメントを追加

  10. Table Lamp Cord Replacement: 手順 10、 2の画像 1 Table Lamp Cord Replacement: 手順 10、 2の画像 2
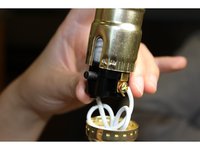
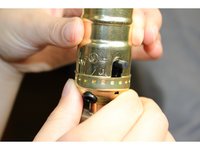
    • Place the socket shell (with paper liner) over the socket interior. Snap it into correct position. Listen for clicks to make sure that the shell is locked properly.

    • The socket should snap together to form one piece.

    FixBotに聞いてみる

    コメントを追加

  11. Table Lamp Cord Replacement: 手順 11、 1の画像 1
    • Caution: Be sure that the rewired lamp is not plugged at this step.

    • Insert the new light bulb into the socket. Plug the cord and turn it on.

    FixBotに聞いてみる

    コメントを追加

終わりに

To reassemble your device, follow these instructions in reverse order.

キャンセル: このガイドを終了できませんでした。

3 の人々がこのガイドを完成させました。

作成者

7人の作成者と共同で作成されました。

Aysha Vear

メンバー登録日: 11/04/15

195 ポイント

1ガイドが承認済み

チーム

University of Maine, Team 1-3, Diaz Fall 2015 University of Maine, Team 1-3, Diaz Fall 2015人のメンバー

UMAINE-DIAZ-F15S1G3

3 メンバー

1のガイドは作成済み

0件のガイドコメント

コメントを追加

統計データ:

過去 24時間: 1

過去 7 日: 10

過去 30 日: 60

今までの合計 8,417