メインコンテンツにスキップ
リペアコミュニティに参加 - アカウントの作成

Sony Vaio PCG-F360 Floppy Drive Replacement

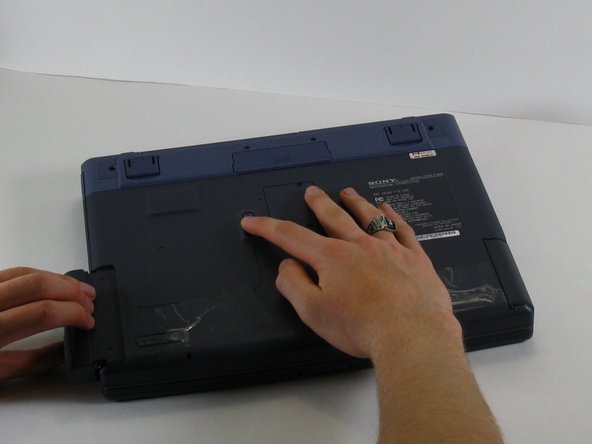
    1. Sony Vaio PCG-F360 Floppy Drive Replacement, Battery: 手順 1、 1の画像 1
      • Position the laptop screen-side down as shown.

      • In this position the battery housing will be located on the right hand side.

      FixBotに聞いてみる

      コメントを追加

    2. Sony Vaio PCG-F360 Floppy Drive Replacement: 手順 2、 1の画像 1
      • Lift the panel up and then out to gain access to the battery.

      FixBotに聞いてみる

      コメントを追加

    3. Sony Vaio PCG-F360 Floppy Drive Replacement: 手順 3、 1の画像 1
      • Use the indentations to pull the old battery out.

      FixBotに聞いてみる

      コメントを追加

    4. Sony Vaio PCG-F360 Floppy Drive Replacement: 手順 4、 1の画像 1
      • The battery is now removed and it is safe to move on to uninstalling other components.

      FixBotに聞いてみる

      コメントを追加

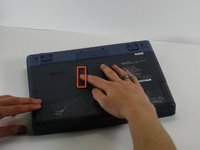
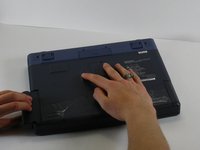
    1. Sony Vaio PCG-F360 Floppy Drive Replacement, Floppy Drive: 手順 5、 2の画像 1 Sony Vaio PCG-F360 Floppy Drive Replacement, Floppy Drive: 手順 5、 2の画像 2
      • With one hand slide and hold the tab shown.

      • With your other hand, pull the floppy drive out of the floppy drive bay.

      • To replace the floppy drive, simply slide the drive into the slot until it clicks.

      FixBotに聞いてみる

      コメントを追加

終わりに

To reassemble your device, follow these instructions in reverse order.

キャンセル: このガイドを終了できませんでした。

作成者

6人の作成者と共同で作成されました。

ahintz

メンバー登録日: 04/21/10

28 ポイント

8のガイドは作成済み

チーム

Cal Poly, Team 16-3, Maness Spring 2010 Cal Poly, Team 16-3, Maness Spring 2010人のメンバー

CPSU-MANESS-S10S16G3

3 メンバー

40のガイドは作成済み

0件のガイドコメント

コメントを追加

統計データ:

過去 24時間: 1

過去 7 日: 7

過去 30 日: 39

今までの合計 3,200