メインコンテンツにスキップ
リペアコミュニティに参加 - アカウントの作成

Sony Tablet S Charging Connector Replacement

必要な工具と部品

  1. Sony Tablet S Charging Connector Replacement, Battery: 手順 1、 2の画像 1 Sony Tablet S Charging Connector Replacement, Battery: 手順 1、 2の画像 2
    • Ensure that the device is completely turned off before attempting a repair. The battery may still have charge; use caution touching the components.

    • Use a plastic opening tool to remove the two rubber grips on the back of the tablet.

    FixBotに聞いてみる

    コメントを追加

  2. Sony Tablet S Charging Connector Replacement: 手順 2、 1の画像 1
    • Remove the two 10mm Phillips #0 screws located under the grips.

    FixBotに聞いてみる

    コメントを追加

  3. Sony Tablet S Charging Connector Replacement: 手順 3、 2の画像 1 Sony Tablet S Charging Connector Replacement: 手順 3、 2の画像 2
    • Flip the tablet over and use a plastic opening tool to pry the casing away from the top of the screen. Push the back cover off.

    • There is adhesive holding the case on located at the top of the screen. Push the casing toward the top of the screen while also wiggling it back and forth.

    FixBotに聞いてみる

    コメントを追加

  4. Sony Tablet S Charging Connector Replacement: 手順 4、 1の画像 1
    • Once the casing is off, remove the nine 5mm Phillips #0 screws shown.

    FixBotに聞いてみる

    コメントを追加

  5. Sony Tablet S Charging Connector Replacement: 手順 5、 1の画像 1
    • Remove the white ribbon cable by pulling the blue tab straight up out of the socket and then peeling up the tape securing it to the tablet.

    • Use caution when removing the cable, as the socket is very fragile.

    FixBotに聞いてみる

    コメントを追加

  6. Sony Tablet S Charging Connector Replacement: 手順 6、 1の画像 1
    • Remove the copper ribbon cable by gently using a spudger to pry it up from its socket.

    • Use caution when removing the cable, as the socket is very fragile.

    FixBotに聞いてみる

    コメントを追加

  7. Sony Tablet S Charging Connector Replacement: 手順 7、 1の画像 1
    • Slide the bottom grey cover piece away from the body and remove it.

    • If this piece gives resistance, use a spudger on the sides of the tablet to pry it loose.

    FixBotに聞いてみる

    コメントを追加

  8. Sony Tablet S Charging Connector Replacement: 手順 8、 1の画像 1
    • Remove the five 4mm Phillips #000 screws.

    • Remove the two 5mm Phillips #000 screws holding the charger in place.

    FixBotに聞いてみる

    コメントを追加

  9. Sony Tablet S Charging Connector Replacement: 手順 9、 3の画像 1 Sony Tablet S Charging Connector Replacement: 手順 9、 3の画像 2 Sony Tablet S Charging Connector Replacement: 手順 9、 3の画像 3
    • Position the charging port at an angle so you can thread it through the opening as you remove the black plastic cover from the back of the tablet.

    • If the cover is not coming off easily, use a plastic opening tool to pry it loose from the edges of the screen.

    FixBotに聞いてみる

    コメントを追加

  10. Sony Tablet S Charging Connector Replacement: 手順 10、 2の画像 1 Sony Tablet S Charging Connector Replacement: 手順 10、 2の画像 2
    • Use a spudger to lift the zero insertion force connector latch for the long ribbon cable to the right of the battery, then pull the cable loose from its socket.

    • Use caution when removing the cable, as the socket is very fragile.

    FixBotに聞いてみる

    コメントを追加

  11. Sony Tablet S Charging Connector Replacement: 手順 11、 1の画像 1
    • Remove the three 5mm Phillips #0 screws securing the original battery.

    FixBotに聞いてみる

    コメントを追加

  12. Sony Tablet S Charging Connector Replacement: 手順 12、 2の画像 1 Sony Tablet S Charging Connector Replacement: 手順 12、 2の画像 2
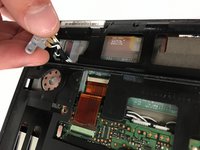
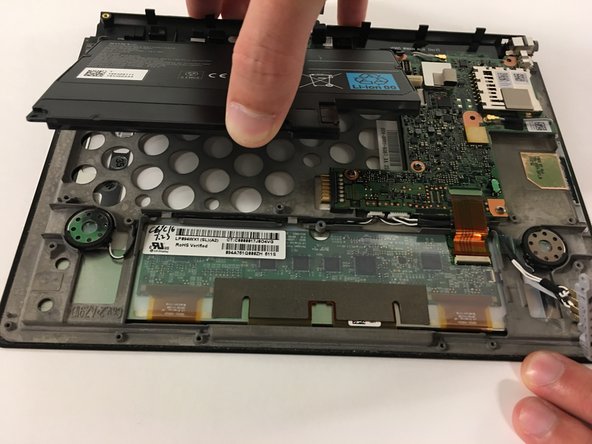
    • Use the spudger to pop the battery loose and remove the battery.

    FixBotに聞いてみる

    コメントを追加

  13. Sony Tablet S Charging Connector Replacement, Charging Connector: 手順 13、 2の画像 1 Sony Tablet S Charging Connector Replacement, Charging Connector: 手順 13、 2の画像 2
    • Unscrew the single 5mm Phillips #000 screw.

    FixBotに聞いてみる

    コメントを追加

  14. Sony Tablet S Charging Connector Replacement: 手順 14、 2の画像 1 Sony Tablet S Charging Connector Replacement: 手順 14、 2の画像 2
    • Peel up the tape securing the assembly.

    FixBotに聞いてみる

    コメントを追加

  15. Sony Tablet S Charging Connector Replacement: 手順 15、 3の画像 1 Sony Tablet S Charging Connector Replacement: 手順 15、 3の画像 2 Sony Tablet S Charging Connector Replacement: 手順 15、 3の画像 3
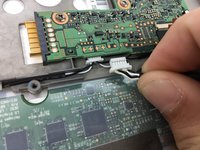
    • Use a spudger to disengage the zero insertion force latch securing the copper ribbon cable.

    • Pull away the ribbon cable.

    FixBotに聞いてみる

    コメントを追加

  16. Sony Tablet S Charging Connector Replacement: 手順 16、 2の画像 1 Sony Tablet S Charging Connector Replacement: 手順 16、 2の画像 2
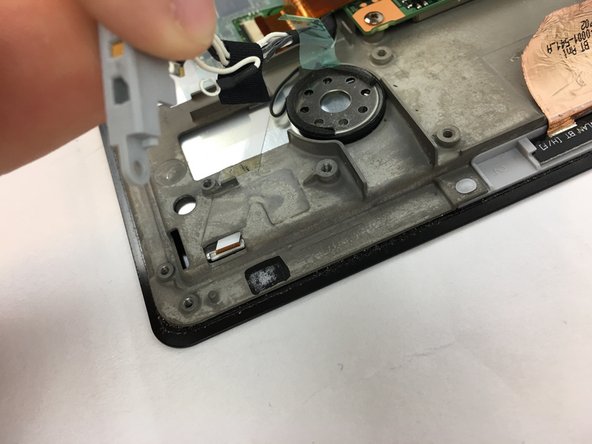
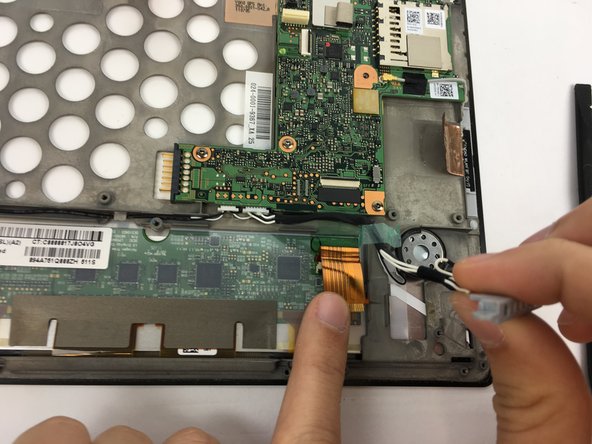
    • Disconnect the charging assembly from the pin connector.

    • Pull on it very gently; the socket is very fragile.

    FixBotに聞いてみる

    コメントを追加

  17. Sony Tablet S Charging Connector Replacement: 手順 17、 1の画像 1
    • Remove the assembly.

    FixBotに聞いてみる

    コメントを追加

終わりに

To reassemble your device, follow these instructions in reverse order.

キャンセル: このガイドを終了できませんでした。

3 の人々がこのガイドを完成させました。

作成者

1人の作成者と共同作成されました。

Austin Mann

メンバー登録日: 09/28/16

287 ポイント

5のガイドは作成済み

チーム

USF Tampa, Team 3-5, Passmore Fall 2016 USF Tampa, Team 3-5, Passmore Fall 2016人のメンバー

USFT-PASSMORE-F16S3G5

3 メンバー

5のガイドは作成済み

1件のガイドコメント

Thank you it helped me. :)

e_hlpr - 返信 共有

コメントを追加

統計データ:

過去 24時間: 2

過去 7 日: 8

過去 30 日: 42

今までの合計 3,650