メインコンテンツにスキップ
リペアコミュニティに参加 - アカウントの作成

Sony SRS-XB30 Wires Replacement

必要な工具と部品

    1. Sony SRS-XB30 Wires Replacement, Battery: 手順 1、 1の画像 1
      • To remove the speaker grill, insert the big spudger underneath it in each corner.

      • Work around the edges to pry the grill up and off.

      FixBotに聞いてみる

      コメントを追加

    2. Sony SRS-XB30 Wires Replacement: 手順 2、 2の画像 1 Sony SRS-XB30 Wires Replacement: 手順 2、 2の画像 2
      • With the Sony logo facing towards you, use the medium spudger to lift the side plates from the internal frame.

      • This will need to be done on all four sides of the speaker to remove all four panels

      • This requires some effort because the adhesive is sticky.

      FixBotに聞いてみる

      コメントを追加

    3. Sony SRS-XB30 Wires Replacement: 手順 3、 2の画像 1 Sony SRS-XB30 Wires Replacement: 手順 3、 2の画像 2
      • Locate the four screws on the now exposed front panel.

      • Using the screwdriver with bit T7, unscrew each screw (15.0 mm long).

      FixBotに聞いてみる

      コメントを追加

    4. Sony SRS-XB30 Wires Replacement: 手順 4、 1の画像 1
      • Next, remove the four outer edge screws, located on each corner of the speaker. The outer edge of the speaker is a clear plastic.

      • Use the same T7 screwdriver head here.

      • Remove each of the four corner screws (15.0 mm long).

      FixBotに聞いてみる

      コメントを追加

    5. Sony SRS-XB30 Wires Replacement: 手順 5、 1の画像 1
      • With a little force, carefully lift the lid of the speaker.

      • Make sure that you do not pull on the wires.

      FixBotに聞いてみる

      コメントを追加

    6. Sony SRS-XB30 Wires Replacement: 手順 6、 3の画像 1 Sony SRS-XB30 Wires Replacement: 手順 6、 3の画像 2 Sony SRS-XB30 Wires Replacement: 手順 6、 3の画像 3
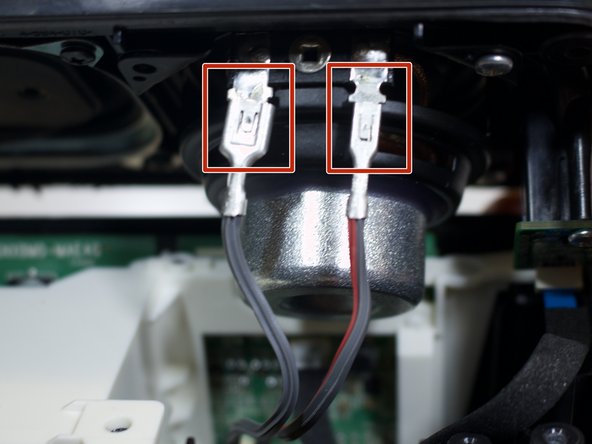
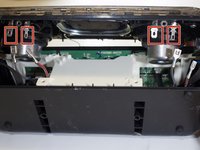
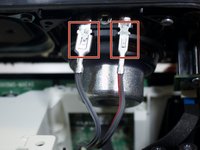
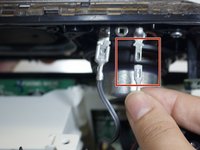
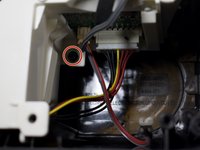
      • Unclip the four wire connectors (that are attached to the speaker lid).

      • Disconnect the thin yellow wire (attached to the speaker lid) from its port.

      FixBotに聞いてみる

      コメントを追加

    7. Sony SRS-XB30 Wires Replacement: 手順 7、 1の画像 1
      • Separate the speaker lid from the bottom frame.

      • To prepare the speaker for the next step place the lid parallel to the frame.

      FixBotに聞いてみる

      コメントを追加

    8. Sony SRS-XB30 Wires Replacement: 手順 8、 1の画像 1
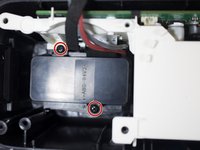
      • Locate the two silver screws (9 mm) attached to the two LED-light-chips on the speaker lid.

      • Using the screwdriver with bit PH1, unscrew each screw.

      FixBotに聞いてみる

      コメントを追加

    9. Sony SRS-XB30 Wires Replacement: 手順 9、 1の画像 1
      • Separate the speaker lid entirely from the bottom frame.

      FixBotに聞いてみる

      コメントを追加

    10. Sony SRS-XB30 Wires Replacement: 手順 10、 1の画像 1
      • Remove the top screw (10 mm).

      • Use the screwdriver with bit T7.

      FixBotに聞いてみる

      コメントを追加

    11. Sony SRS-XB30 Wires Replacement: 手順 11、 2の画像 1 Sony SRS-XB30 Wires Replacement: 手順 11、 2の画像 2
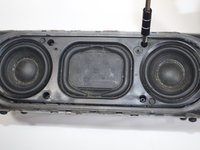
      • Locate and remove the three black screws (10.0 mm) within the internal frame. Use bit T7.

      • There are two screws on the left side of the white box and one to its right.

      FixBotに聞いてみる

      コメントを追加

    12. Sony SRS-XB30 Wires Replacement: 手順 12、 1の画像 1
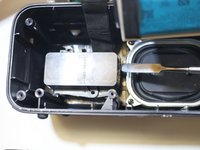
      • Slightly lift the white box with all the wires still attached.

      FixBotに聞いてみる

      コメントを追加

    13. Sony SRS-XB30 Wires Replacement: 手順 13、 2の画像 1 Sony SRS-XB30 Wires Replacement: 手順 13、 2の画像 2
      • Take the big spudger and pry the black casing up from the circuit box.

      FixBotに聞いてみる

      コメントを追加

    14. Sony SRS-XB30 Wires Replacement: 手順 14、 1の画像 1
      • Locate the blue film attached to the circuit box containing the charging port.

      • Detach the blue film from the box.

      FixBotに聞いてみる

      コメントを追加

    15. Sony SRS-XB30 Wires Replacement: 手順 15、 1の画像 1
      • Detach the yellow, black and red wires by pulling them directly up.

      FixBotに聞いてみる

      コメントを追加

    16. Sony SRS-XB30 Wires Replacement: 手順 16、 2の画像 1 Sony SRS-XB30 Wires Replacement: 手順 16、 2の画像 2
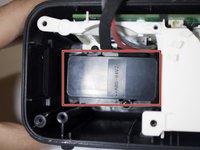
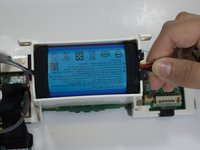
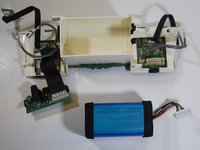
      • Insert the spudger along the battery edge and firmly hold the wires. Lift both sides up. The battery will pop out from its encasement.

      FixBotに聞いてみる

      コメントを追加

    1. Sony SRS-XB30 Wires Replacement, Wires: 手順 17、 1の画像 1
      • Locate the black, yellow, and red wires and steadily pull them smooth if they are tangled.

      FixBotに聞いてみる

      コメントを追加

    2. Sony SRS-XB30 Wires Replacement: 手順 18、 1の画像 1
      • Unravel any tangled wires or replace any damaged wires.

      • The wires should all run parallel to one another.

      FixBotに聞いてみる

      コメントを追加

終わりに

To reassemble your device, follow these instructions in reverse order.

キャンセル: このガイドを終了できませんでした。

作成者

1人の作成者と共同作成されました。

Isabella Durazo

メンバー登録日: 04/09/18

844 ポイント

1ガイドが承認済み

チーム

0件のガイドコメント

コメントを追加

統計データ:

過去 24時間: 1

過去 7 日: 4

過去 30 日: 32

今までの合計 1,912