この翻訳は機械によって生成されたものであり、まだ人間による校正は行われていません。 日本語を話せますか? レビューはこちらから。
はじめに
LCDスクリーンに傷がついたり損傷したりして、交換が必要な場合があります。この修理ガイドでは、デバイスの精密な部品を損傷することなく、安全にLCDスクリーンを取り外す方法を説明します。
必要な工具と部品
-
-
この手順で使用する道具:Tweezers$4.99
-
ピンセットを使って黒いプレートを取り外します。(裏側に付いている小さな四角い磁石を紛失しないよう注意してください。この磁石は、自撮り時の画面の自動回転を可能にします。)
-
-
-
両方のプレートを取り外した後、LCD画面の下部にある2本(1.75 mm)のプラスネジを外します。
-
2つの金属製スライドサイドパーツを取り外します。これにより、画面をスライドさせて取り外すことができます。
-
-
-
-
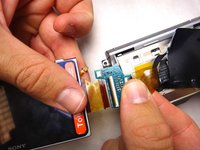
スパッジャーまたはオープニングツールを使用して、黒いロックタブを跳ね上げます。ケーブルをソケットからまっすぐ引き抜き、ディスプレイを取り外します。
-
-
-
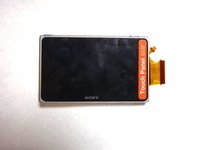
交換用スクリーンにはプラスチック製のフレームが付属していない場合があります。元のフレームは簡単に取り外して再利用できます。後ろからフレームを押し出して、液晶スクリーンを取り外します。これには少し力が必要です。フレームを割らないように注意してください。
-
取り外した後、フレームとスクリーンの間の粘着剤を取り除き、両面テープに交換します。
-
再組み立ての際、プラスチック製フレームの内側の縁に沿ってテープを貼り、デザインナイフでサイズに合わせてカットします。
-
小さなフレキシブルケーブルは、プラスチック製フレームの内側の縁に沿って折り曲げ、コネクタに合うように再度折り曲げる必要があります。元のケーブルの折り目に従ってください。
-


 FixBotに聞いてみる


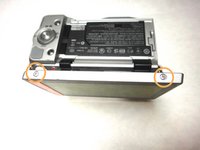
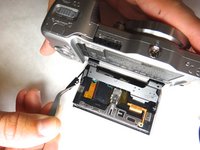
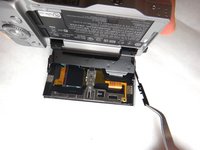


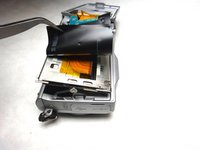
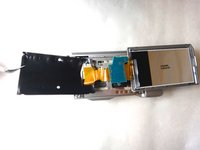


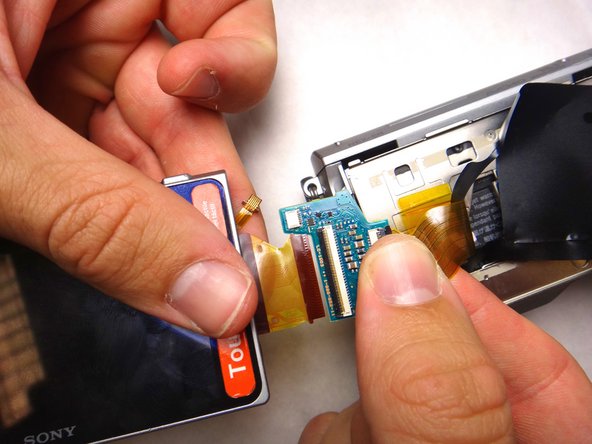
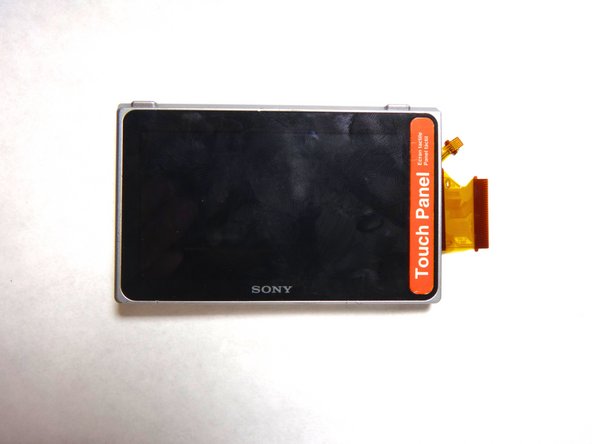
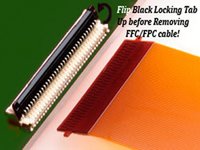

デバイスを再組み立てするには、これらのインストラクションを逆の順番に従って作業を進めてください。
12 の人々がこのガイドを完成させました。

チーム

Cal Poly, Team 8-9, Regan Spring 2014 Cal Poly, Team 8-9, Regan Spring 2014人のメンバー
CPSU-REGAN-S14S8G9
4 メンバー
84のガイドは作成済み
14件のガイドコメント
Success! This guide was very helpful. Here is a bit more info:
The LCD screen I ordered did not have the plastic frame. The original frame is easily separated. Push the LDC out of the frame from behind. This takes some force. Be careful not to break the frame. After separation, I removed the sticky material between them and replaced it with double sided tape. I first stuck strips of the tape to the inside edges of the plastic frame and then trimmed them to fit with a Exacto knife. The small flexible cable must be folded around the inside edge of the plastic frame and then folded again to meet the connector. Follow the folds of the original cable.
On reassembly I used a very tiny bit of double sided tape on each of the side rails, near the screw holes to hold them in place while putting on the outer most screen backing shown in step 6. When replacing this part pay special attention to the two small tabs at the bottom which must slide into slots at the bottom of the screen assembly.
Where can I buy the screen other than bidding on ebay
I purchased my NEX-5 replacement screen from e-Bay 'buy it now' from seller: szdigital2013. It came from China and cost a mere £10.29 inc.post.
Michael Sept.2017
I see it amazon but is too damned expensive 60 ,79
