メインコンテンツにスキップ
リペアコミュニティに参加 - アカウントの作成

Sony M-430 Microcassette-Corder Back Cover Replacement

必要な工具と部品

    1. Sony M-430 Microcassette-Corder Back Cover Replacement, Battery: 手順 1、 1の画像 1
      • Find the arrow on the battery cover on the back of the device.

      • While pressing down on the arrow, slide the cover towards the bottom of the recorder until it clicks.

      FixBotに聞いてみる

      コメントを追加

    2. Sony M-430 Microcassette-Corder Back Cover Replacement: 手順 2、 2の画像 1 Sony M-430 Microcassette-Corder Back Cover Replacement: 手順 2、 2の画像 2
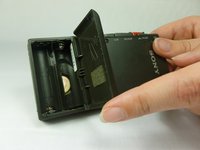
      • Lift the cover and remove the batteries.

      FixBotに聞いてみる

      コメントを追加

    1. Sony M-430 Microcassette-Corder Back Cover Replacement, Back Cover: 手順 3、 2の画像 1 Sony M-430 Microcassette-Corder Back Cover Replacement, Back Cover: 手順 3、 2の画像 2
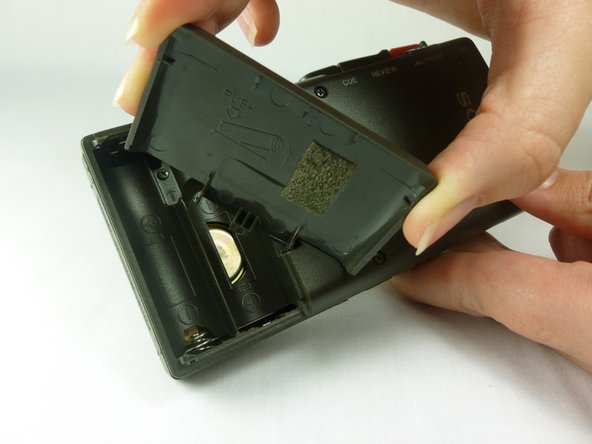
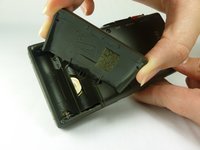
      • Remove the battery cover by first tilting it so it is at a right angle with the rest of the device.

      • Next, twist it to the side as shown in the second picture. The lid should simply snap off.

      • Potential for device damage: be careful not to apply too much force, as the lid may break.

      FixBotに聞いてみる

      コメントを追加

    2. Sony M-430 Microcassette-Corder Back Cover Replacement: 手順 4、 2の画像 1 Sony M-430 Microcassette-Corder Back Cover Replacement: 手順 4、 2の画像 2
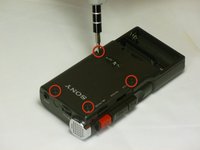
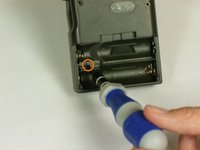
      • Use a #00 Phillips head screwdriver to remove the four (1.7x16 mm) screws from the back case.

      • Next, use the same screwdriver to unscrew the (1.7X5 mm) screw, which is located inside the battery compartment.

      FixBotに聞いてみる

      コメントを追加

    3. Sony M-430 Microcassette-Corder Back Cover Replacement: 手順 5、 1の画像 1
      • Use a spudger to push in the two tabs located on the bottom of the device.

      • It works best to push the tabs at an upward angle (towards the top of the battery compartment). It may take a decent amount of force in order to push in the tabs.

      FixBotに聞いてみる

      コメントを追加

    4. Sony M-430 Microcassette-Corder Back Cover Replacement: 手順 6、 1の画像 1
      • With a firm grip on the larger half, remove the back cover by lifting first on the battery area.

      • The back cover should lift cleanly off.

      FixBotに聞いてみる

      コメントを追加

終わりに

To reassemble your device, follow these instructions in reverse order.

キャンセル: このガイドを終了できませんでした。

ある他の人がこのガイドを完成しました。

作成者

7人の作成者と共同で作成されました。

Matt Teare

メンバー登録日: 01/20/12

35 ポイント

3のガイドは作成済み

チーム

Cal Poly, Team 10-34, Amido Winter 2012 Cal Poly, Team 10-34, Amido Winter 2012人のメンバー

CPSU-AMIDO-W12S10G34

4 メンバー

28のガイドは作成済み

0件のガイドコメント

コメントを追加

統計データ:

過去 24時間: 0

過去 7 日: 9

過去 30 日: 42

今までの合計 2,698