メインコンテンツにスキップ
リペアコミュニティに参加 - アカウントの作成

Sony DSC-RX100MA Back Cover Replacement

必要な工具と部品

    1. Sony DSC-RX100MA Back Cover Replacement, Back Cover: 手順 1、 3の画像 1 Sony DSC-RX100MA Back Cover Replacement, Back Cover: 手順 1、 3の画像 2 Sony DSC-RX100MA Back Cover Replacement, Back Cover: 手順 1、 3の画像 3
      • Remove battery by sliding the tab to open the cover

      FixBotに聞いてみる

      コメントを追加

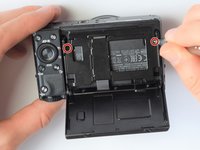
    2. Sony DSC-RX100MA Back Cover Replacement: 手順 2、 3の画像 1 Sony DSC-RX100MA Back Cover Replacement: 手順 2、 3の画像 2 Sony DSC-RX100MA Back Cover Replacement: 手順 2、 3の画像 3
      • Using the screwdriver, remove all screws (black 2.5mm) from outermost layer of the assembly.

      • All screws in the camera can be removed with the PH 0 driver head.

      FixBotに聞いてみる

      コメントを追加

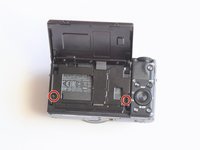
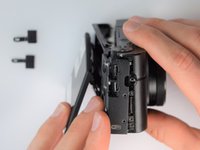
    3. Sony DSC-RX100MA Back Cover Replacement: 手順 3、 3の画像 1 Sony DSC-RX100MA Back Cover Replacement: 手順 3、 3の画像 2 Sony DSC-RX100MA Back Cover Replacement: 手順 3、 3の画像 3
      • Also using the screwdriver, remove screws (black 1mm) underneath articulated LCD screen.

      • Remove the marked 2.5 mm screws with the screwdriver

      FixBotに聞いてみる

      コメントを追加

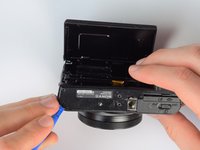
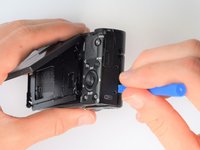
    4. Sony DSC-RX100MA Back Cover Replacement: 手順 4、 2の画像 1 Sony DSC-RX100MA Back Cover Replacement: 手順 4、 2の画像 2
      • Using the plastic opening tools, carefully pry off the bottom plate.

      • Do not pull too hard as you may break the plastic casing.

      FixBotに聞いてみる

      コメントを追加

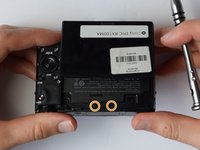
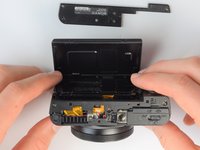
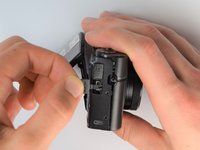
    5. Sony DSC-RX100MA Back Cover Replacement: 手順 5、 3の画像 1 Sony DSC-RX100MA Back Cover Replacement: 手順 5、 3の画像 2 Sony DSC-RX100MA Back Cover Replacement: 手順 5、 3の画像 3
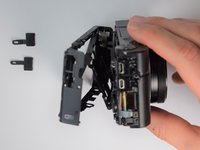
      • Using the same plastic opening tools, separate the screen and back assembly from the front portion of the camera

      • Once the back assembly is slightly detached, pull the media covers for the HDMI and Multimedia ports

      FixBotに聞いてみる

      コメントを追加

    6. Sony DSC-RX100MA Back Cover Replacement: 手順 6、 2の画像 1 Sony DSC-RX100MA Back Cover Replacement: 手順 6、 2の画像 2
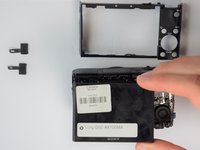
      • Remove the back cover

      FixBotに聞いてみる

      コメントを追加

終わりに

To reassemble your device, follow these instructions in reverse order.

キャンセル: このガイドを終了できませんでした。

2 の人々がこのガイドを完成させました。

作成者

6人の作成者と共同で作成されました。

KC Egger

メンバー登録日: 02/10/17

315 ポイント

2のガイドは作成済み

チーム

Cal Poly, Team 21-1, Maness Winter 2017 Cal Poly, Team 21-1, Maness Winter 2017人のメンバー

CPSU-MANESS-W17S21G1

5 メンバー

10のガイドは作成済み

1件のガイドコメント

Hi! Two of the 1mm screws fell out of my camera from behind the display, where can I find new ones? I keep checking amazon and its kits of 750pcs+ and they don't seem like the right 1mm screws. Do you know where I can get some?

Victoria Gallardo - 返信 共有

コメントを追加

統計データ:

過去 24時間: 4

過去 7 日: 17

過去 30 日: 56

今までの合計 4,228