メインコンテンツにスキップ
リペアコミュニティに参加 - アカウントの作成

Sony Cyber-shot DSC-P9 Flash Replacement

必要な工具と部品

    1. Sony Cyber-shot DSC-P9 Flash Replacement, Battery: 手順 1、 1の画像 1
      • Slide the battery latch down the side of the camera with your hands.

      • The latch will automatically pop open.

      FixBotに聞いてみる

      コメントを追加

    2. Sony Cyber-shot DSC-P9 Flash Replacement: 手順 2、 1の画像 1
      • Unlatch the clip over the battery.

      • The battery will partially pop out.

      FixBotに聞いてみる

      コメントを追加

    3. Sony Cyber-shot DSC-P9 Flash Replacement: 手順 3、 2の画像 1 Sony Cyber-shot DSC-P9 Flash Replacement: 手順 3、 2の画像 2
      • Remove the battery from the camera.

      FixBotに聞いてみる

      コメントを追加

    1. Sony Cyber-shot DSC-P9 Flash Replacement, Outer Casing: 手順 4、 2の画像 1 Sony Cyber-shot DSC-P9 Flash Replacement, Outer Casing: 手順 4、 2の画像 2
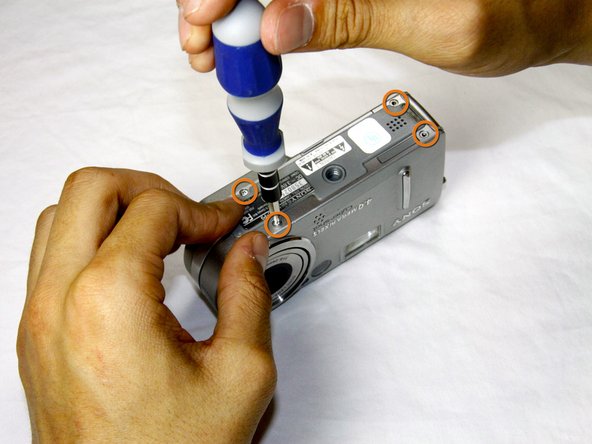
      • Remove the four 3.0mm Phillips #000 screws on the top of the camera with the phillips screwdriver.

      • Remove the additional four 3.0mm Phillips #000 screws on the bottom of the camera.

      FixBotに聞いてみる

      コメントを追加

    2. Sony Cyber-shot DSC-P9 Flash Replacement: 手順 5、 2の画像 1 Sony Cyber-shot DSC-P9 Flash Replacement: 手順 5、 2の画像 2
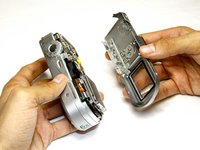
      • Once the screws are removed, slowly remove the back casing from the rest of the camera.

      FixBotに聞いてみる

      コメントを追加

    3. Sony Cyber-shot DSC-P9 Flash Replacement: 手順 6、 2の画像 1 Sony Cyber-shot DSC-P9 Flash Replacement: 手順 6、 2の画像 2
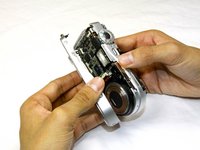
      • Then, pull the front case away from the rest of the camera.

      FixBotに聞いてみる

      コメントを追加

    4. Sony Cyber-shot DSC-P9 Flash Replacement: 手順 7、 1の画像 1
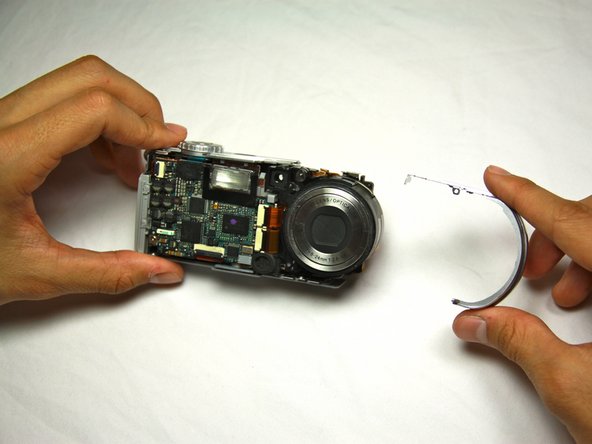
      • After the casing is removed, the camera should look as shown.

      FixBotに聞いてみる

      コメントを追加

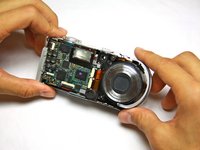
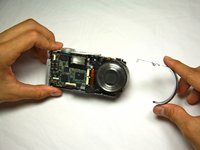
    1. Sony Cyber-shot DSC-P9 Flash Replacement, Lens: 手順 8、 2の画像 1 Sony Cyber-shot DSC-P9 Flash Replacement, Lens: 手順 8、 2の画像 2
      • Dislodge the round casing from the lens.

      • Pull it away from the rest of the camera.

      FixBotに聞いてみる

      コメントを追加

    2. Sony Cyber-shot DSC-P9 Flash Replacement: 手順 9、 1の画像 1
      • Unscrew the two 4.0mm Phillips #000 screws from the display.

      FixBotに聞いてみる

      コメントを追加

    3. Sony Cyber-shot DSC-P9 Flash Replacement: 手順 10、 1の画像 1
      • Pull the two ribbon cables out of their slots on the back circuit board.

      FixBotに聞いてみる

      コメントを追加

    4. Sony Cyber-shot DSC-P9 Flash Replacement: 手順 11、 1の画像 1
      • Remove the three 4.0mm Phillips #000 screws holding the back panel in place.

      FixBotに聞いてみる

      コメントを追加

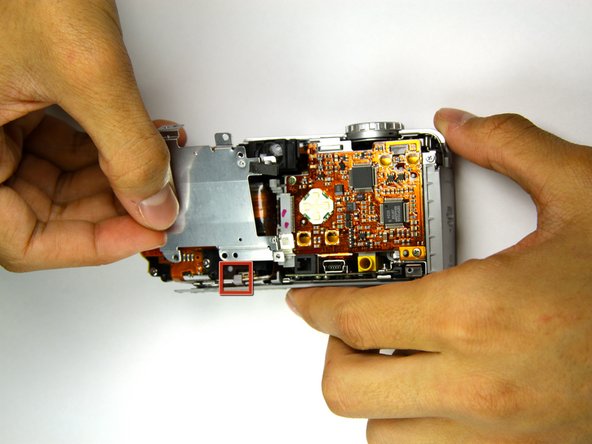
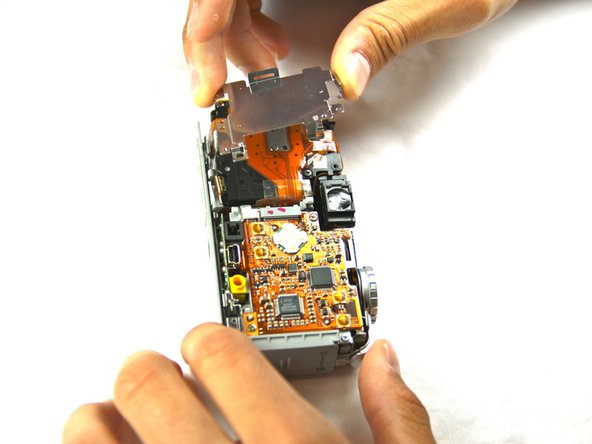
    5. Sony Cyber-shot DSC-P9 Flash Replacement: 手順 12、 3の画像 1 Sony Cyber-shot DSC-P9 Flash Replacement: 手順 12、 3の画像 2 Sony Cyber-shot DSC-P9 Flash Replacement: 手順 12、 3の画像 3
      • Work the back panel out from under the small grey clip.

      • Slide the back panel off of the camera by dislodging it from the remaining clips.

      • Below is a flat, orange cable connecting the lens to the motherboard.

      • Be careful not to bend the back plate during this process.

      FixBotに聞いてみる

      コメントを追加

    6. Sony Cyber-shot DSC-P9 Flash Replacement: 手順 13、 1の画像 1
      • Turn the camera over so that you can see the front of the lens.

      • Two connectors link the lens to the motherboard.

      • Gently bring the lens away from the camera.

      FixBotに聞いてみる

      コメントを追加

    7. Sony Cyber-shot DSC-P9 Flash Replacement: 手順 14、 1の画像 1
      • Using the flat end of the plastic spudger tool, flip up the black tabs on the connectors.

      • Be careful not to exert too much force, as the connectors are delicate.

      FixBotに聞いてみる

      コメントを追加

    8. Sony Cyber-shot DSC-P9 Flash Replacement: 手順 15、 3の画像 1 Sony Cyber-shot DSC-P9 Flash Replacement: 手順 15、 3の画像 2 Sony Cyber-shot DSC-P9 Flash Replacement: 手順 15、 3の画像 3
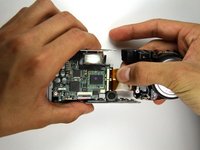
      • Gently pull out the cables and move the lens away from the rest of the camera.

      • You should now have two distinct, separate components.

      FixBotに聞いてみる

      コメントを追加

    1. Sony Cyber-shot DSC-P9 Flash Replacement, Flash: 手順 16、 1の画像 1
      • Remove the 3.0mm Phillips #000 screw at the top of the battery door.

      FixBotに聞いてみる

      コメントを追加

    2. Sony Cyber-shot DSC-P9 Flash Replacement: 手順 17、 2の画像 1 Sony Cyber-shot DSC-P9 Flash Replacement: 手順 17、 2の画像 2
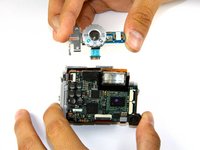
      • Pull off the top button piece. You will have to detach a small blue ribbon cable.

      FixBotに聞いてみる

      コメントを追加

    3. Sony Cyber-shot DSC-P9 Flash Replacement: 手順 18、 2の画像 1 Sony Cyber-shot DSC-P9 Flash Replacement: 手順 18、 2の画像 2
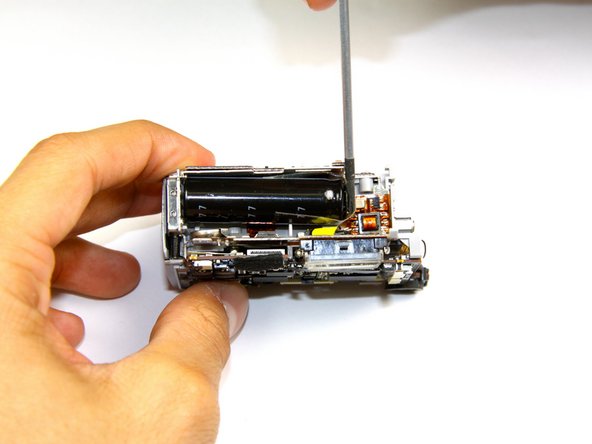
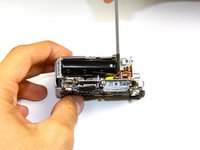
      • Caution: the capacitor, a black cylinder near the top of the camera, might have a charge in it, which could be harmful to you or the camera. Neutralize it by touching both wires with a screwdriver at the same time.

      FixBotに聞いてみる

      コメントを追加

    4. Sony Cyber-shot DSC-P9 Flash Replacement: 手順 19、 3の画像 1 Sony Cyber-shot DSC-P9 Flash Replacement: 手順 19、 3の画像 2 Sony Cyber-shot DSC-P9 Flash Replacement: 手順 19、 3の画像 3
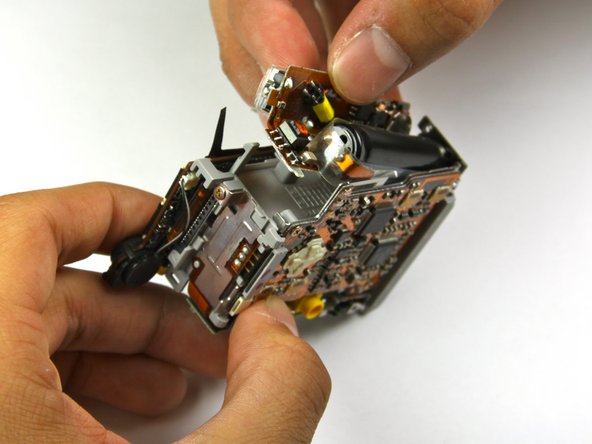
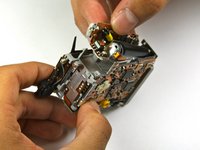
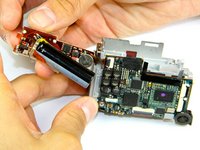
      • Remove the flash mechanism. It is held in place by a clip on the side of the camera.

      • The capacitor and flash will rotate out, still attached by a ribbon cable on the left.

      FixBotに聞いてみる

      コメントを追加

    5. Sony Cyber-shot DSC-P9 Flash Replacement: 手順 20、 2の画像 1 Sony Cyber-shot DSC-P9 Flash Replacement: 手順 20、 2の画像 2
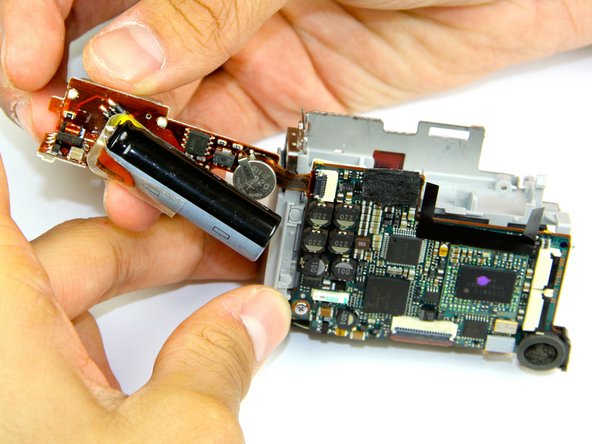
      • Lift up the black tab with the spudger.

      • Gently remove the ribbon cable from the rest of the camera.

      • The flash component is now completely separate from the rest of the camera.

      FixBotに聞いてみる

      コメントを追加

終わりに

To reassemble your device, follow these instructions in reverse order.

キャンセル: このガイドを終了できませんでした。

作成者

4人の作成者と共同で作成されました。

Andrew Forster

メンバー登録日: 04/16/12

12 ポイント

2のガイドは作成済み

チーム

Cal Poly, Team 17-25, Amido Spring 2012 Cal Poly, Team 17-25, Amido Spring 2012人のメンバー

CPSU-AMIDO-S12S17G25

4 メンバー

35のガイドは作成済み

0件のガイドコメント

コメントを追加

統計データ:

過去 24時間: 2

過去 7 日: 6

過去 30 日: 22

今までの合計 1,079