メインコンテンツにスキップ
リペアコミュニティに参加 - アカウントの作成

Sony Cyber-shot DSC-HX1 Button Assembly Replacement

必要な工具と部品

    1. Sony Cyber-shot DSC-HX1 Button Assembly Replacement, Battery: 手順 1、 1の画像 1
      • Make sure the surface you place the screen on is clean of debris and dust. Otherwise you risk scratching your screen.

      • Place the camera with the bottom facing you and the lens facing up.

      FixBotに聞いてみる

      コメントを追加

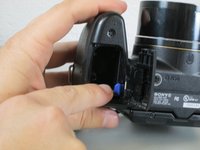
    2. Sony Cyber-shot DSC-HX1 Button Assembly Replacement: 手順 2、 1の画像 1
      • Push down and away from the camera to the left on the indicated indentation in the battery cover. The compartment should slide open as shown.

      FixBotに聞いてみる

      コメントを追加

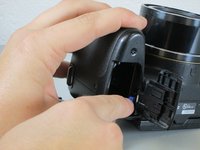
    3. Sony Cyber-shot DSC-HX1 Button Assembly Replacement: 手順 3、 2の画像 1 Sony Cyber-shot DSC-HX1 Button Assembly Replacement: 手順 3、 2の画像 2
      • Push the blue tab towards the camera body to the right, while simultaneously pulling out the battery.

      • The battery is not shown here. However, normally the battery would be in the displayed compartment.

      FixBotに聞いてみる

      コメントを追加

    1. Sony Cyber-shot DSC-HX1 Button Assembly Replacement, Button Assembly: 手順 4、 1の画像 1
      • On the top of the inside the battery compartment, remove the #00 6.0 mm Phillips screw.

      FixBotに聞いてみる

      コメントを追加

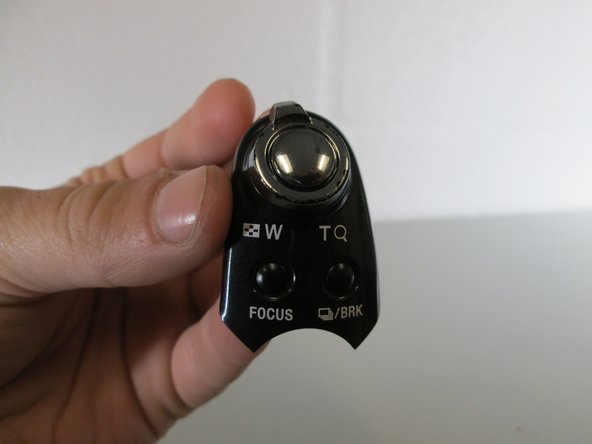
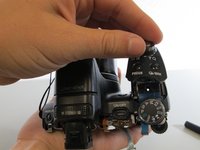
    2. Sony Cyber-shot DSC-HX1 Button Assembly Replacement: 手順 5、 2の画像 1 Sony Cyber-shot DSC-HX1 Button Assembly Replacement: 手順 5、 2の画像 2
      • Lift the button housing from its position on top of the camera.

      FixBotに聞いてみる

      コメントを追加

終わりに

To reassemble your device, follow these instructions in reverse order.

キャンセル: このガイドを終了できませんでした。

2 の人々がこのガイドを完成させました。

作成者

1人の作成者と共同作成されました。

Brianna Greenlaw

メンバー登録日: 04/06/15

1,316 ポイント

5のガイドは作成済み

チーム

Cal Poly, Team 17-3, Forte Spring 2015 Cal Poly, Team 17-3, Forte Spring 2015人のメンバー

CPSU-FORTE-S15S17G3

4 メンバー

15のガイドは作成済み

0件のガイドコメント

コメントを追加

統計データ:

過去 24時間: 1

過去 7 日: 6

過去 30 日: 33

今までの合計 1,280