メインコンテンツにスキップ
リペアコミュニティに参加 - アカウントの作成

Sonos Playbase Optical Audio Port Replacement

必要な工具と部品

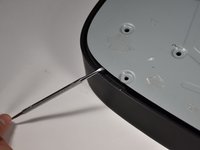
  1. Sonos Playbase Optical Audio Port Replacement, Bottom Panel: 手順 1、 3の画像 1 Sonos Playbase Optical Audio Port Replacement, Bottom Panel: 手順 1、 3の画像 2 Sonos Playbase Optical Audio Port Replacement, Bottom Panel: 手順 1、 3の画像 3
    この手順で使用する道具:
    Pro Tech Toolkit
    $79.95
    • Turn the Playbase upside down so that the "Sonos Playbase" imprint is face up.

    • Remove the bottom panel with an Opening Tool by inserting underneath and prying upwards.

    • Melt the adhesive with an iOpener for ease of opening

    • Use a Metal Spudger if the plastic spudgers do not work.

    • Take care to avoid damaging the plastic or the device if using a metal spudger.

    FixBotに聞いてみる

    コメントを追加

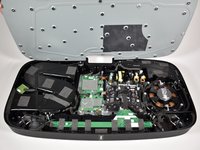
  2. Sonos Playbase Optical Audio Port Replacement: 手順 2、 2の画像 1 Sonos Playbase Optical Audio Port Replacement: 手順 2、 2の画像 2
    この手順で使用する道具:
    Pro Tech Toolkit
    $79.95
    • Remove the fourteen 11mm T-10 screws by turning counter-clockwise.

    • Remove the seven 44mm T-20 screws by turning counter-clockwise.

    • Remove the twenty-two 34mm T-20 screws by turning counter-clockwise.

    • Record where each screw belongs for easier reassembly.

    FixBotに聞いてみる

    コメントを追加

  3. Sonos Playbase Optical Audio Port Replacement: 手順 3、 2の画像 1 Sonos Playbase Optical Audio Port Replacement: 手順 3、 2の画像 2
    この手順で使用する道具:
    Pro Tech Toolkit
    $79.95
    • Remove the metal plate with a Opening Tool by inserting underneath and prying upwards.

    • Use a metal spudger if plastic openers do not work.

    • Take care to avoid damaging the plastic or the device if using a metal spudger.

    FixBotに聞いてみる

    コメントを追加

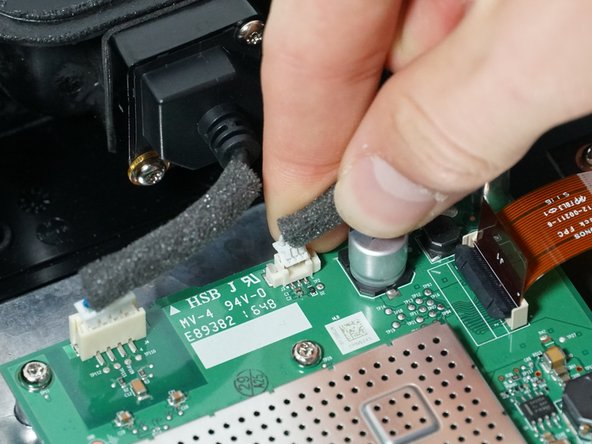
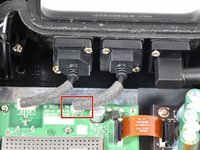
  4. Sonos Playbase Optical Audio Port Replacement, Optical Audio Port: 手順 4、 2の画像 1 Sonos Playbase Optical Audio Port Replacement, Optical Audio Port: 手順 4、 2の画像 2
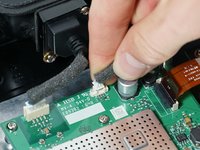
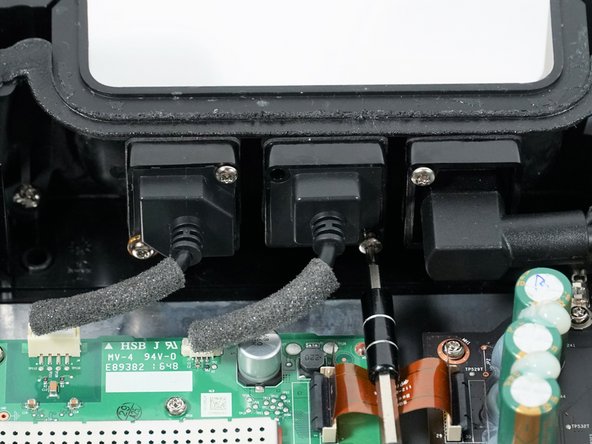
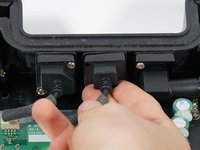
    • Unplug the optical audio port from the main circuit board by pinching the white clip and pulling upward.

    FixBotに聞いてみる

    コメントを追加

  5. Sonos Playbase Optical Audio Port Replacement: 手順 5、 2の画像 1 Sonos Playbase Optical Audio Port Replacement: 手順 5、 2の画像 2
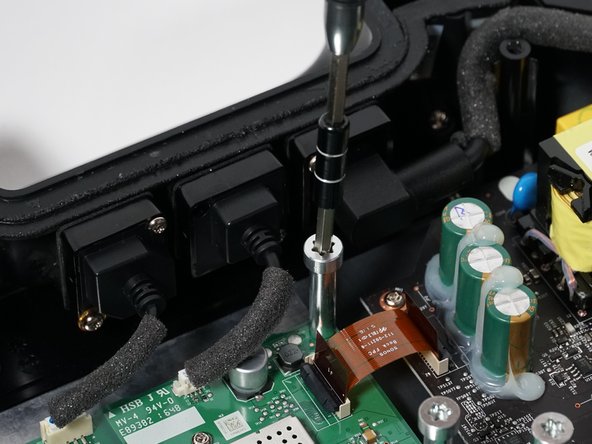
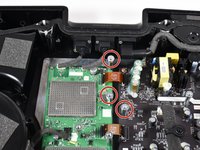
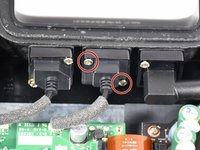
    • Remove the three 38mm T-55 screws preventing you from removing the Optical Audio Port screws by turning them counterclockwise.

    FixBotに聞いてみる

    コメントを追加

  6. Sonos Playbase Optical Audio Port Replacement: 手順 6、 2の画像 1 Sonos Playbase Optical Audio Port Replacement: 手順 6、 2の画像 2
    この手順で使用する道具:
    Pro Tech Toolkit
    $79.95
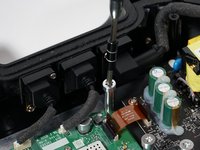
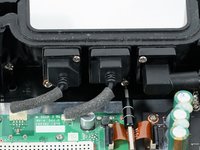
    • Remove the two 18mm T-10 screws holding the Ethernet Port in place by turning them counterclockwise.

    FixBotに聞いてみる

    コメントを追加

  7. Sonos Playbase Optical Audio Port Replacement: 手順 7、 2の画像 1 Sonos Playbase Optical Audio Port Replacement: 手順 7、 2の画像 2
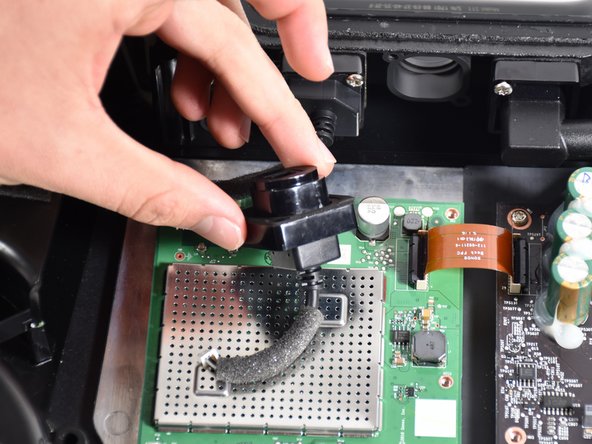
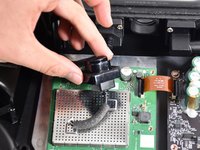
    • Remove the Optical Audio Port from the housing by pinching the sides and pulling outward.

    FixBotに聞いてみる

    コメントを追加

終わりに

To reassemble your device, follow these instructions in reverse order.

キャンセル: このガイドを終了できませんでした。

作成者

4人の作成者と共同で作成されました。

James Andrews

メンバー登録日: 10/08/18

423 ポイント

4のガイドは作成済み

チーム

Cal Poly, Team S17-G2, White Fall 2018 Cal Poly, Team S17-G2, White Fall 2018人のメンバー

CPSU-WHITE-F18S17G2

4 メンバー

8のガイドは作成済み

1件のガイドコメント

Thank you for this guide, but any idea where to purchase a replacement optical audio port from?

donovanclarkson - 返信 共有

コメントを追加

統計データ:

過去 24時間: 1

過去 7 日: 3

過去 30 日: 24

今までの合計 2,944