-
-
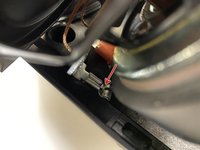
Use a thin guitar pick to carefully pry up the grille (photo one)
 FixBotに聞いてみる
-
-
-
Continue to work your way around the sides until the grille is freed.
-
-
-
-
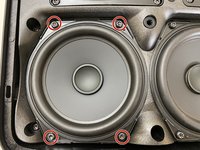
Remove the four red circled Torx T20 screws securing the driver to the front panel.
-
-
-
The insulated terminal simply pulls off to disconnect.
-
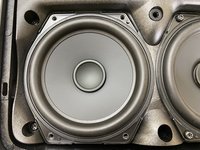
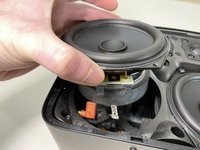
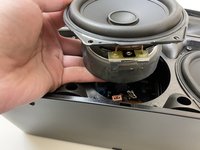
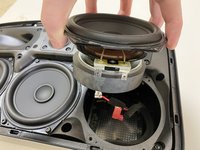
The midwoofer may now be carefully removed from the supporting frame.
-
-
-
Remove the four red circled Torx T20 screws securing the driver to the front panel.
-
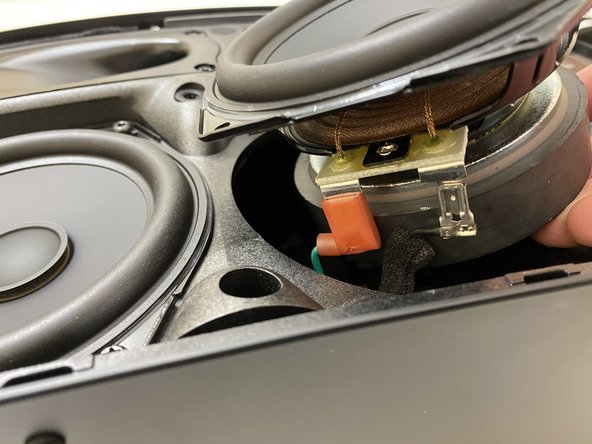
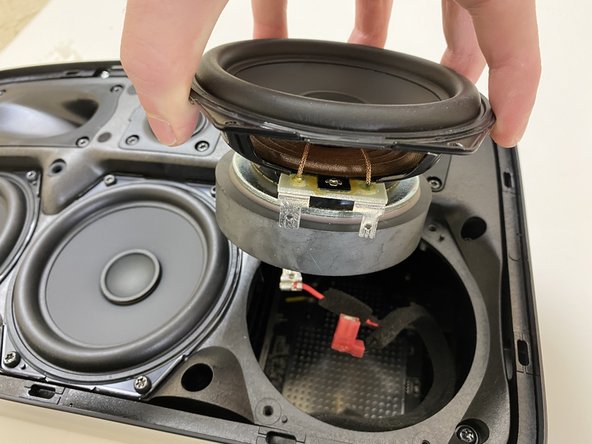
Raise the midwoofer out of the cabinet slightly to enable you to disconnect the terminals.
-
Again, the insulated terminal simply slides off, but the non insulated terminal's locking tab must be depressed.
-
-
-
Remove the four T20 screws securing the driver to the front panel
-
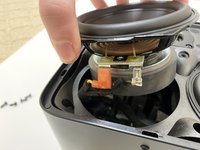
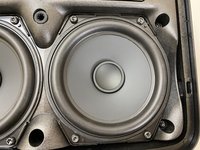
Lift the driver out of the cabinet.
-
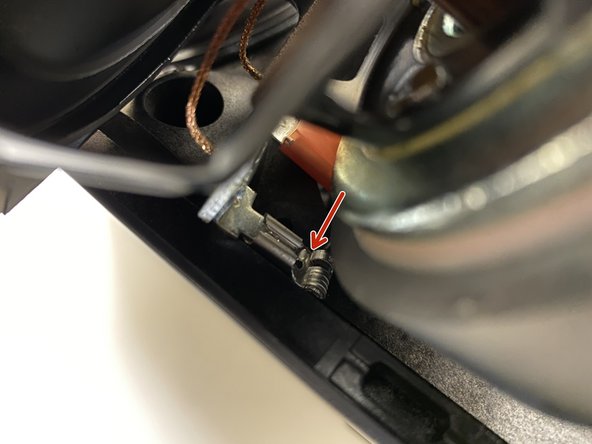
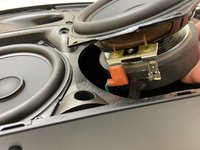
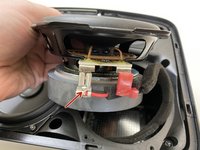
The left noninsulated terminal again has a locking tab that must be depressed. (red arrow, photo two) The right terminal is simply pulled off.
-


To reassemble your device, follow these instructions in reverse order.
ある他の人がこのガイドを完成しました。
2件のガイドコメント
Hola sabes donde podría comprar los parlantes tengo un somos five y están las tres bocinas reventadas
Ricardo.tranamil.h@gmail.com
Hola nesecito comprar las bocinas de repuestos por favor