はじめに
Traction pads are used to give you extra grip when you have one foot out of the bindings. This guide is about detaching and attaching traction pads.
必要な工具と部品
-
-
-
Use a plastic or metal scraper to remove the existing traction pad.
 FixBotに聞いてみる
-
-
-
-
If there is any residual adhesive left from the old traction pad, soak it with adhesive remover.
-
Let the adhesive remover sit for a few minutes.
-
Wipe away the residue using a towel and water.
-
Dry the the surface where the new traction pad will be placed.
-
-
-
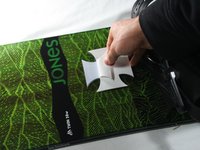
Peel the back off of the new traction pad to reveal the adhesive.
-
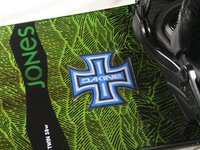
When placed, the traction pad should be about an inch away from the rear binding.
-
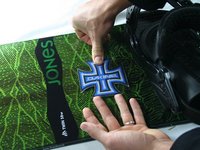
To avoid creating air bubbles, start with one corner of the pad and roll the rest down.
-
Press down firmly to help it stick to the board and remove any air bubbles that may have occurred.
-
Give the adhesive a minimum of 12 hours to dry before use.
-
-



チーム

Cal Poly, Team 17-4, Forte Winter 2014 Cal Poly, Team 17-4, Forte Winter 2014人のメンバー
CPSU-FORTE-W14S17G4
5 メンバー
11のガイドは作成済み
