はじめに
Replace your LCD display only as a last option. Since the LCD display uses a flexible flat cable(FFC), improperly inserting the cable may cause damage to your device.
必要な工具と部品
-
-
From the back of the device, slide the back panel downwards to unlock the panel.
-
Lift the panel up, exposing the battery.
 FixBotに聞いてみる
-
-
-
-
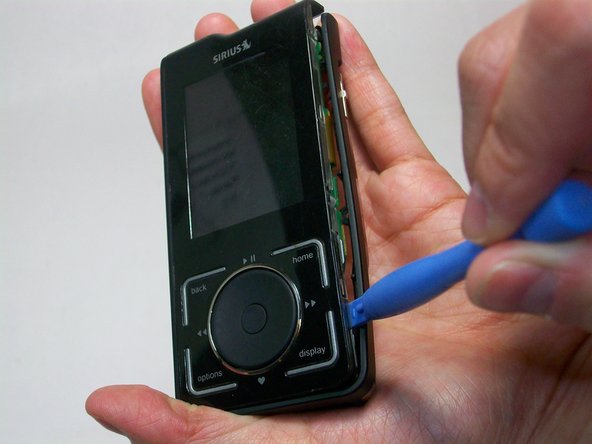
Start by using a plastic opening tool to loosen the front cover from the sides.
-
Work your way to the bottom of the cover then the top.
-
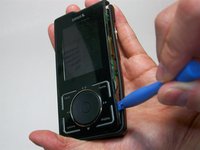
Carefully pry the front cover off.
-
-
-
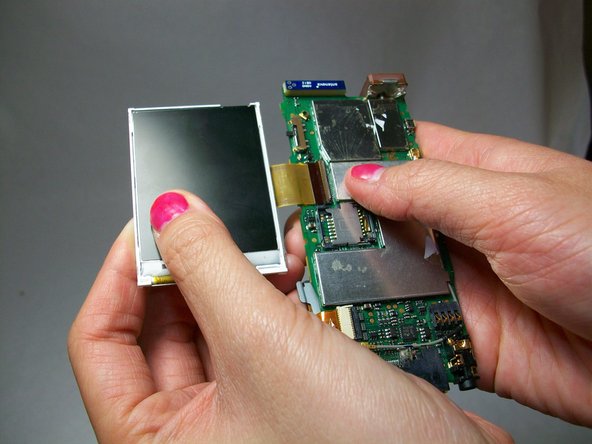
Gently lift the latch on the the ribbon cable connector inward (towards the motherboard).
-
-
-
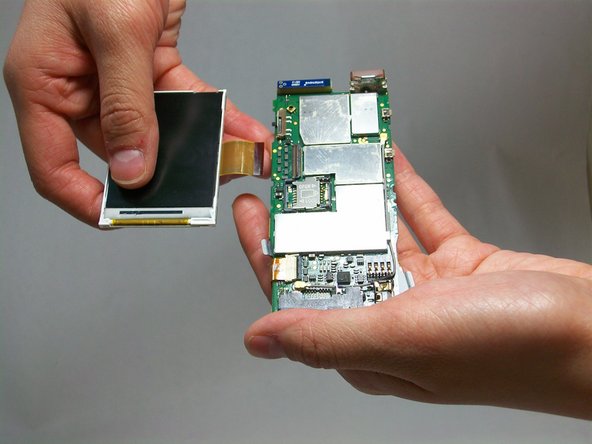
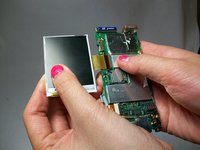
Carefully grip the screen and pull it away from the ribbon connector located on the motherboard.
-


To reassemble your device, follow these instructions in reverse order.
ある他の人がこのガイドを完成しました。
チーム

USF Tampa, Team 6-6, Brown Winter 2015 USF Tampa, Team 6-6, Brown Winter 2015人のメンバー
USFT-BROWN-W15S6G6
4 メンバー
5のガイドは作成済み