はじめに
The HEPA filter removes at least 99% of airborne particles such as pollen and dander. This guide allows you to access this filter, which is trickier to get to than the other filters.
-
-
-
Look towards the side of the vacuum for the orange "Floor Nozzle" button.
-
Press the "Floor Nozzle" button and pull out the body of the vacuum up and away from the floor motor.
 FixBotに聞いてみる
-
-
-
-
Locate an orange dial at the bottom of the now-separate body of the vacuum.
-
Turn the dial so that it is pointed towards the open-lock icon.
-
-
-
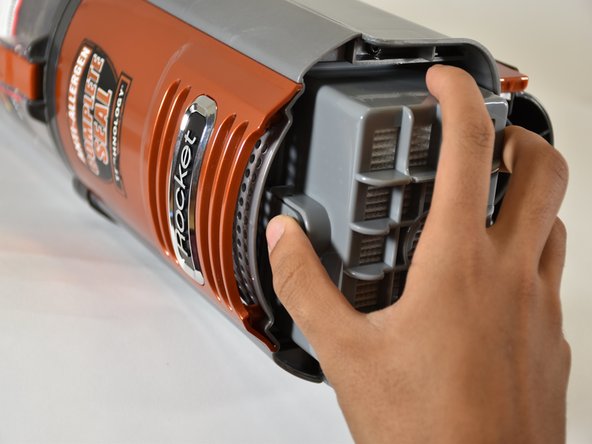
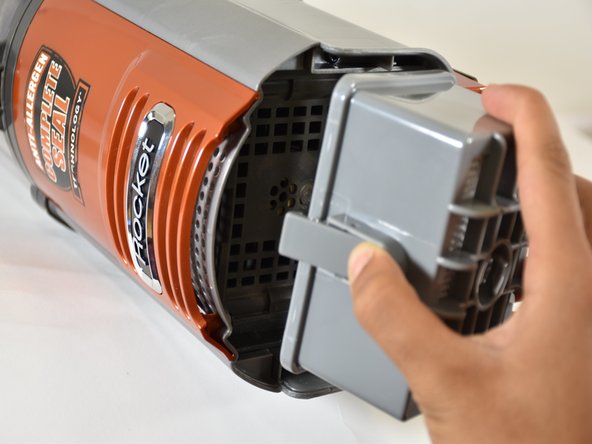
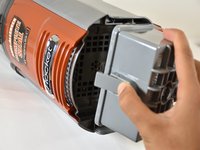
Open the cap to reveal the HEPA filter. The HEPA filter is a large grey rectangle with a tab on the side.
-
Press the tab, and pull out the filter.
-
-


To reassemble your device, follow these instructions in reverse order.
ある他の人がこのガイドを完成しました。

チーム

Cal Poly, Team S18-G6, Livingston Winter 2018 Cal Poly, Team S18-G6, Livingston Winter 2018人のメンバー
CPSU-LIVINGSTON-W18S18G6
4 メンバー
15のガイドは作成済み
