メインコンテンツにスキップ
リペアコミュニティに参加 - アカウントの作成

Shark IQ AV993 Front Caster Wheel Replacement

必要な工具と部品

  1. Shark IQ AV993 Front Caster Wheel Replacement, Battery: 手順 1、 1の画像 1
    • Unscrew the two 14 mm screws on the battery panel using a Phillips #1 screwdriver.

    FixBotに聞いてみる
  2. Shark IQ AV993 Front Caster Wheel Replacement: 手順 2、 1の画像 1
    • Gently pull the white tabs on the battery straight upward.

    • There is a clip inserted into a plastic housing via wiring. Disconnect the battery by pressing in the clip.

    • Don't pull up on the battery too hard as a wire connects to the robot. Don't want to damage the wire here.

    • Remove the battery from the device.

    FixBotに聞いてみる
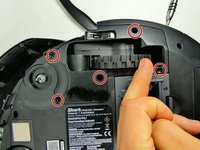
  3. Shark IQ AV993 Front Caster Wheel Replacement, Bumper: 手順 3、 2の画像 1 Shark IQ AV993 Front Caster Wheel Replacement, Bumper: 手順 3、 2の画像 2
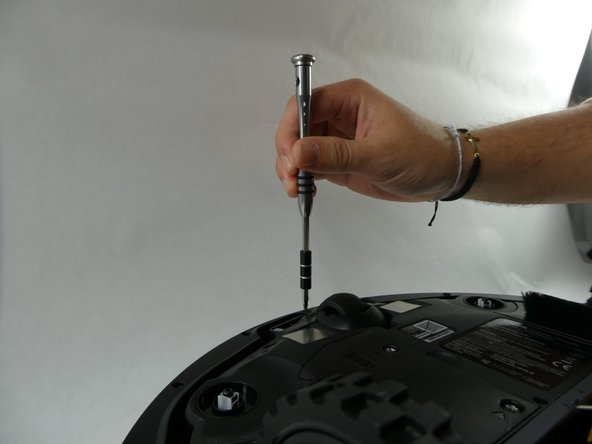
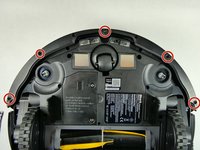
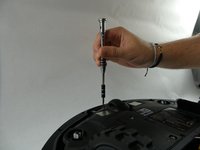
    • Remove the five 10 mm screws from the bottom of the device using a T15 Torx screwdriver.

    FixBotに聞いてみる
  4. Shark IQ AV993 Front Caster Wheel Replacement: 手順 4、 1の画像 1
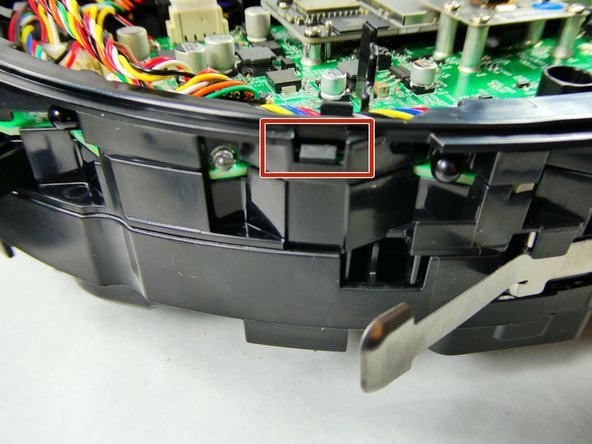
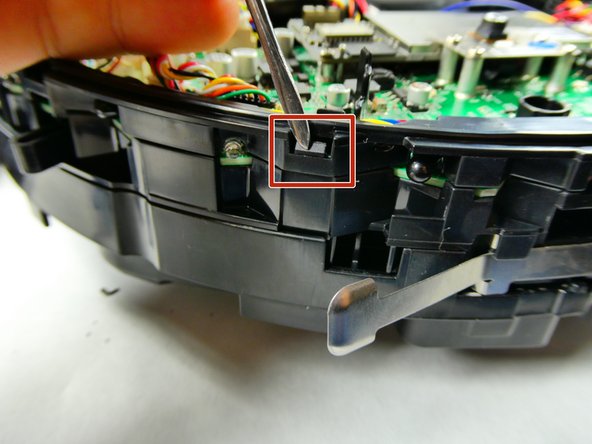
    • Pry both ends of the black piece to snap it out of place.

    FixBotに聞いてみる
  5. Shark IQ AV993 Front Caster Wheel Replacement: 手順 5、 1の画像 1
    • Use both hands to lift the device.

    • The front bumper that is seated on the device will fall off.

    • This is completely normal, as the screws and the bottom holder are the only things holding the bumper in place.

    FixBotに聞いてみる
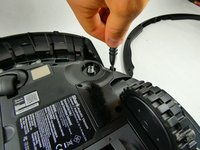
  6. Shark IQ AV993 Front Caster Wheel Replacement, Wheels: 手順 6、 2の画像 1 Shark IQ AV993 Front Caster Wheel Replacement, Wheels: 手順 6、 2の画像 2
    • Flip over the vacuum so that the bottom is facing upwards.

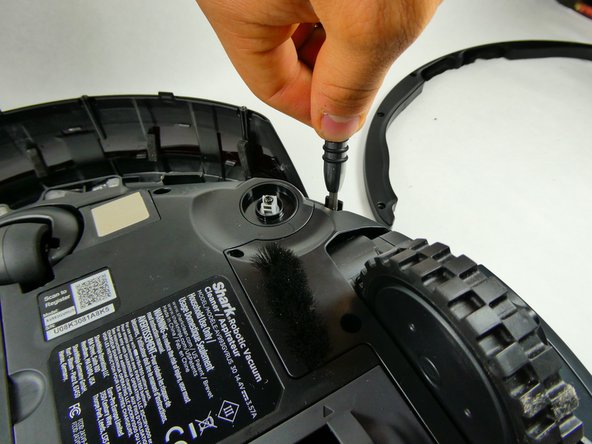
    • Remove the five 14 mm screws using a T20 Torx screwdriver.

    FixBotに聞いてみる
  7. Shark IQ AV993 Front Caster Wheel Replacement: 手順 7、 1の画像 1
    • Pull upward on the wheel to remove the wheel housing.

    • Carefully remove this as there is a clip connecting to the wheel.

    • Press the tab on the clip and slide the wires out of the housing.

    • Repeat this step and the previous step for the other wheel assembly.

    FixBotに聞いてみる
  8. Shark IQ AV993 Front Caster Wheel Replacement, Roller Brush: 手順 8、 1の画像 1
    • Remove the dust bin from the device by pressing down on the release button and pulling out the tray.

    FixBotに聞いてみる
  9. Shark IQ AV993 Front Caster Wheel Replacement: 手順 9、 1の画像 1
    • Turn the device over so the bottom is facing upwards.

    • Press on the release tabs located on the roller brush cover.

    • Remove the cover from the device.

    FixBotに聞いてみる
  10. Shark IQ AV993 Front Caster Wheel Replacement: 手順 10、 1の画像 1
    • Use your hands to lift the roller brush out of the device.

    FixBotに聞いてみる
  11. Shark IQ AV993 Front Caster Wheel Replacement, Motherboard: 手順 11、 1の画像 1
    • Remove the five 14 mm screws from the bottom of the device using a T20 Torx screwdriver.

    FixBotに聞いてみる
  12. Shark IQ AV993 Front Caster Wheel Replacement: 手順 12、 1の画像 1
    • Use your hands to lift the bottom of the vacuum away from the top plastic cover.

    • To lift this section off, you may need to apply slight pressure to the top plastic cover. If not, the cover should fall right off as it just rests on guide pins.

    FixBotに聞いてみる
  13. Shark IQ AV993 Front Caster Wheel Replacement: 手順 13、 2の画像 1 Shark IQ AV993 Front Caster Wheel Replacement: 手順 13、 2の画像 2
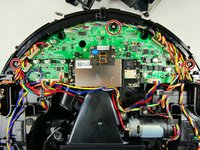
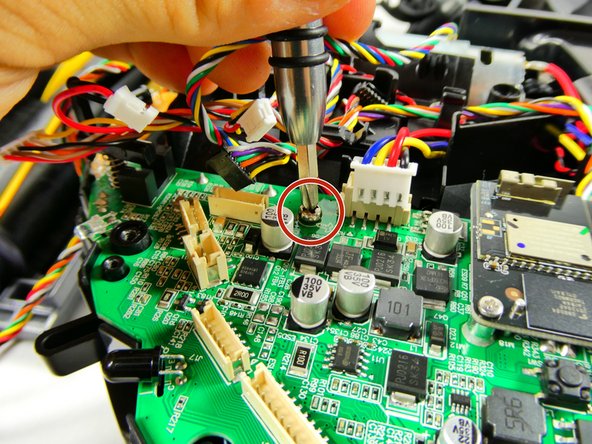
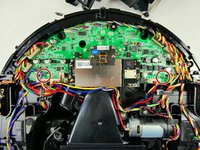
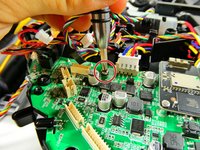
    • Remove the three 10 mm screws using a Phillips #1 screwdriver.

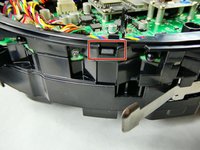
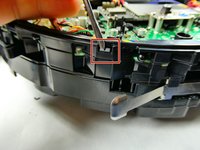
    • Off to the right and left sides of the robot you will find one clip leading to a smaller independent board. Remove the singular 9 mm screw using a T15 Torx screwdriver to free the edges of the plastic element holding the motherboard down. Repeat this for the other side.

    • Detach the white connector from the plastic housing. Repeat this for the other side.

    • Do not pull on this housing element too hard, as they are not soldered onto the board very well. This could result ripping the housing clean off the board, rendering the device inoperable until reassembly.

    FixBotに聞いてみる
  14. Shark IQ AV993 Front Caster Wheel Replacement: 手順 14、 3の画像 1 Shark IQ AV993 Front Caster Wheel Replacement: 手順 14、 3の画像 2 Shark IQ AV993 Front Caster Wheel Replacement: 手順 14、 3の画像 3
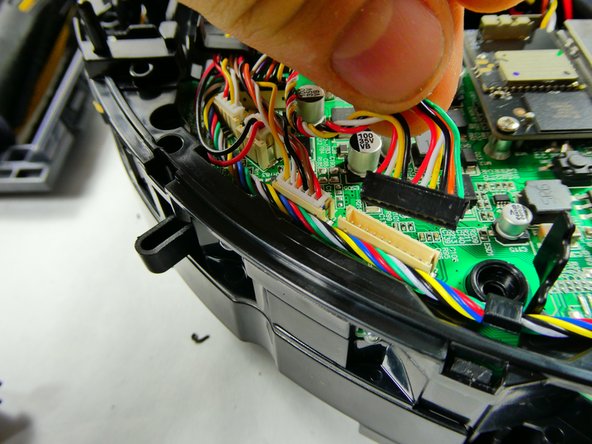
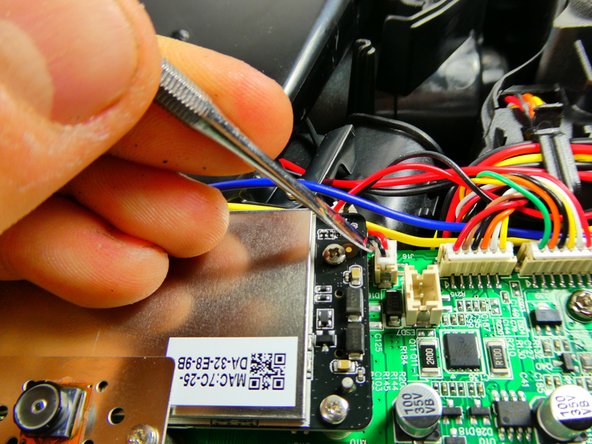
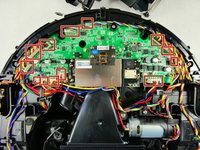
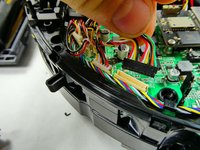
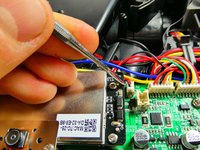
    • Unplug each of the thirteen connectors from their housings on the motherboard.

    • Using a spudger may be of assistance to leverage the smaller ones out.

    • Do not pull/pry on the connectors too hard, as they are not seated onto the motherboard very well. This could result in ripping one of the housings clean off the board, rendering the device inoperable until replacement.

    FixBotに聞いてみる
  15. Shark IQ AV993 Front Caster Wheel Replacement: 手順 15、 1の画像 1
    • This clip holds all the wires in an organized manner and is a part of the plastic housing that needs to be removed.

    • Take the wires out of this clip so that the plastic cover can be free.

    FixBotに聞いてみる
  16. Shark IQ AV993 Front Caster Wheel Replacement: 手順 16、 3の画像 1 Shark IQ AV993 Front Caster Wheel Replacement: 手順 16、 3の画像 2 Shark IQ AV993 Front Caster Wheel Replacement: 手順 16、 3の画像 3
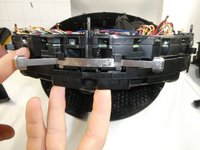
    • As indicated this is the plastic cover we are trying to remove from the bot, clearly distinctive by the lip.

    • On either side of the bot, there are clips that insert into the upper plastic housing piece that hold the motherboard down. Popping these pieces off will free this covering, allowing the motherboard to be almost free.

    FixBotに聞いてみる
  17. Shark IQ AV993 Front Caster Wheel Replacement: 手順 17、 2の画像 1 Shark IQ AV993 Front Caster Wheel Replacement: 手順 17、 2の画像 2
    • Remove the two 10 mm screws using a Phillips #1 screwdriver, freeing the motherboard from the plastic holdings below the board.

    FixBotに聞いてみる
  18. Shark IQ AV993 Front Caster Wheel Replacement: 手順 18、 2の画像 1 Shark IQ AV993 Front Caster Wheel Replacement: 手順 18、 2の画像 2
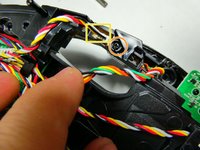
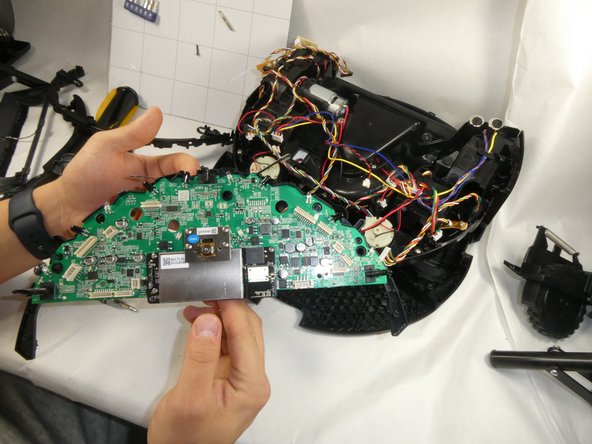
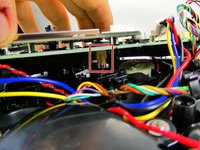
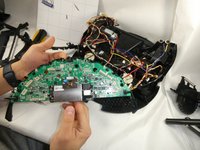
    • Upon lifting up the motherboard, which will lift straight up, there is a singular clip that connects the rest of the bot. Unclip this, where the clip is large enough to undo with a finger.

    • Once this is removed, the motherboard and the plastic it is clipped to can be removed from the rest of the bot.

    FixBotに聞いてみる
  19. Shark IQ AV993 Front Caster Wheel Replacement: 手順 19、 2の画像 1 Shark IQ AV993 Front Caster Wheel Replacement: 手順 19、 2の画像 2
    この手順で使用する道具:
    Tweezers
    $4.99
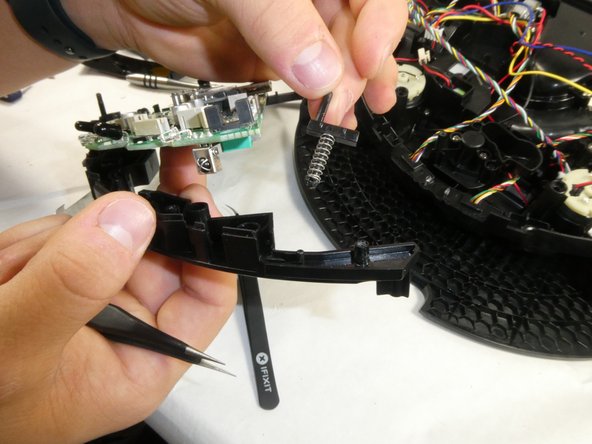
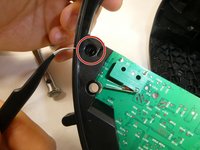
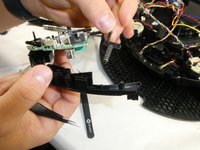
    • The board is attached to the plastic frame by these spring-loaded clips. Pinch the bottom of these with some tweezers and push the ends through the hole they bore to remove them.

    • Once these two clips, one on either side, are removed, the motherboard will be independent from the plastic framing, ready to be replaced.

    FixBotに聞いてみる
  20. Shark IQ AV993 Front Caster Wheel Replacement, Front Caster Wheel: 手順 20、 2の画像 1 Shark IQ AV993 Front Caster Wheel Replacement, Front Caster Wheel: 手順 20、 2の画像 2
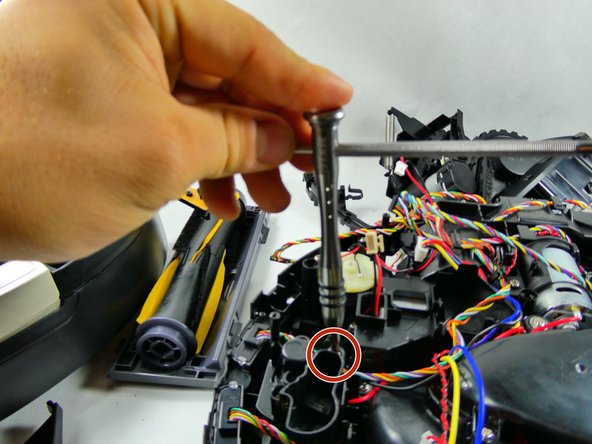
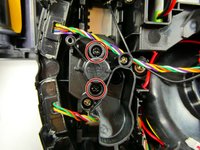
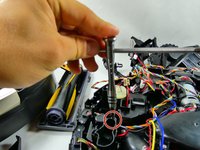
    • Remove two 12 mm screws using a Phillips #1 screwdriver to loosen the front caster wheel.

    • Using some additional torque maybe required here, as these screws are held in very securely.

    FixBotに聞いてみる
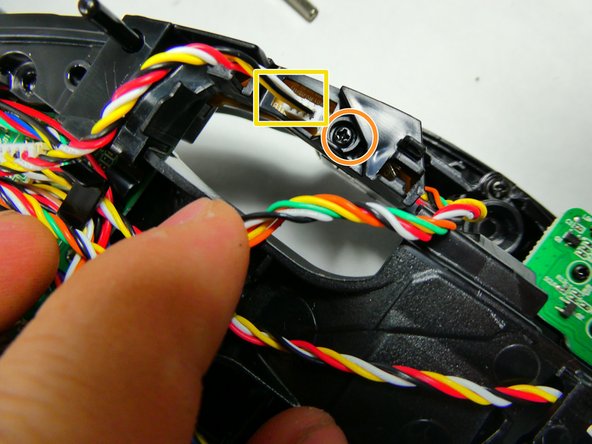
  21. Shark IQ AV993 Front Caster Wheel Replacement: 手順 21、 1の画像 1
    • Upon unscrewing those two screws completely, the plastic housing should fall out. If the wheel was already falling out, then the clip is what is needed.

    • This red clip belongs on the end of the piece highlighted in orange. Once broken off, it may be advantageous to replace the whole unit, but with some bending of this metal ring, it can be maneuvered back onto this metal piece. If this is not an option, replacement is the proper route here.

    FixBotに聞いてみる
終わりに

To reassemble your device, follow these instructions in reverse order.

作成者

2人の作成者と共同で作成されました。

Kyle Rhines

メンバー登録日: 10/26/22

600 ポイント

4のガイドは作成済み

チーム

UMass Dartmouth, Team 3-3, Botvin Fall 2022 UMass Dartmouth, Team 3-3, Botvin Fall 2022人のメンバー

UMASSD-BOTVIN-F22S3G3

3 メンバー

6のガイドは作成済み

0件のガイドコメント

コメントを追加

統計データ:

過去 24時間: 2

過去 7 日: 26

過去 30 日: 94

今までの合計 1,743