メインコンテンツにスキップ
リペアコミュニティに参加 - アカウントの作成

Sanyo VPC-T850 Shutter Button Replacement

必要な工具と部品

    1. Sanyo VPC-T850 Shutter Button Replacement, Battery: 手順 1、 1の画像 1
      • Make sure the camera is powered off by pressing and holding the small, square button embedded in the top rim of the camera.

      FixBotに聞いてみる

      コメントを追加

    2. Sanyo VPC-T850 Shutter Button Replacement: 手順 2、 1の画像 1
      • Locate the hatch found on the bottom of the camera.

      • Open the hatch by gripping the small notch and sliding it outwards.

      FixBotに聞いてみる

      コメントを追加

    3. Sanyo VPC-T850 Shutter Button Replacement: 手順 3、 1の画像 1
      • Push the small, plastic arm out of the way to free the battery.

      • The battery is spring loaded and will pop out slightly when the arm is moved.

      FixBotに聞いてみる

      コメントを追加

    4. Sanyo VPC-T850 Shutter Button Replacement: 手順 4、 1の画像 1
      • Pull the battery out of the camera and close the hatch.

      • To reinsert, there is a triangle on the battery indicating which direction to slide it in.

      FixBotに聞いてみる

      コメントを追加

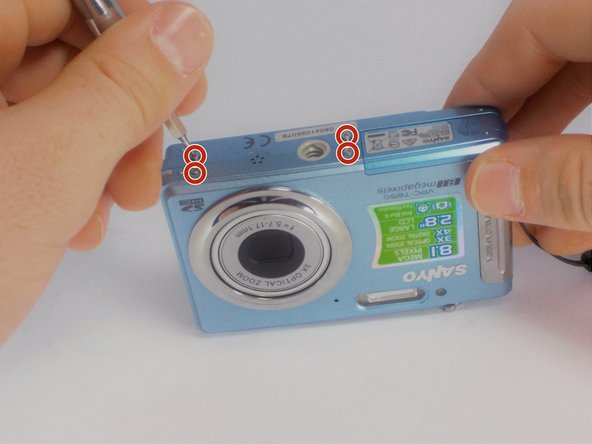
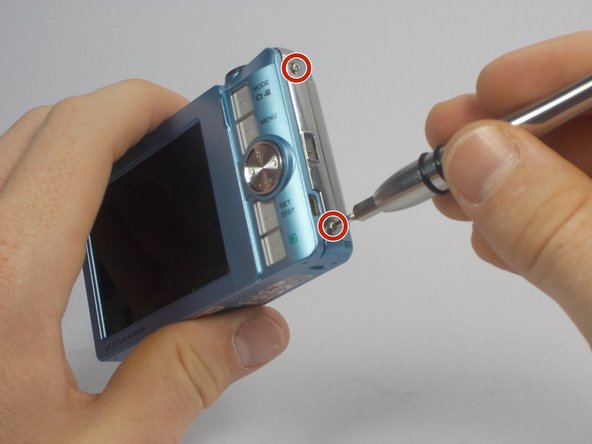
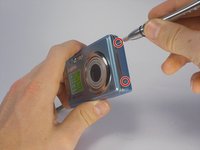
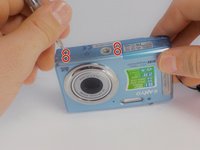
    1. Sanyo VPC-T850 Shutter Button Replacement, Outer Casing: 手順 5、 3の画像 1 Sanyo VPC-T850 Shutter Button Replacement, Outer Casing: 手順 5、 3の画像 2 Sanyo VPC-T850 Shutter Button Replacement, Outer Casing: 手順 5、 3の画像 3
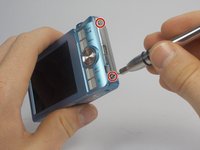
      • Using your Phillips #000 Screwdriver, remove the eight screws located around the sides and bottom of the camera.

      • Be sure to keep track of the side each screw comes from, as they come in different lengths.

      FixBotに聞いてみる

      コメントを追加

    2. Sanyo VPC-T850 Shutter Button Replacement: 手順 6、 2の画像 1 Sanyo VPC-T850 Shutter Button Replacement: 手順 6、 2の画像 2
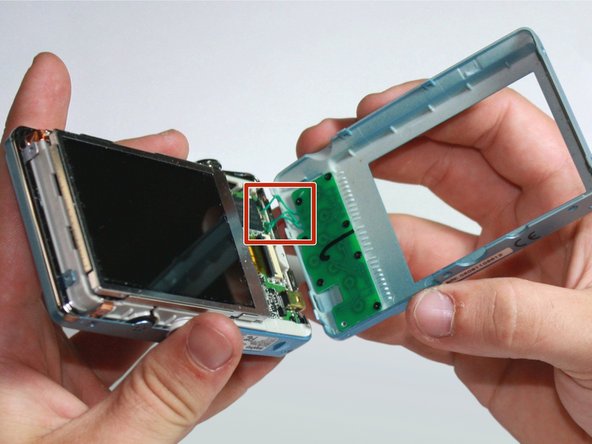
      • Orient the camera so the display is facing up.

      • Gently pull off the rear panel surrounding the display.

      • There are still three green wires connecting the panel to the rest of the camera.

      • Use your prying tool if you have difficulties removing the panel by hand.

      FixBotに聞いてみる

      コメントを追加

    3. Sanyo VPC-T850 Shutter Button Replacement: 手順 7、 1の画像 1
      • Remove the eight black screws connecting the keypad circuit board to the rear panel.

      FixBotに聞いてみる

      コメントを追加

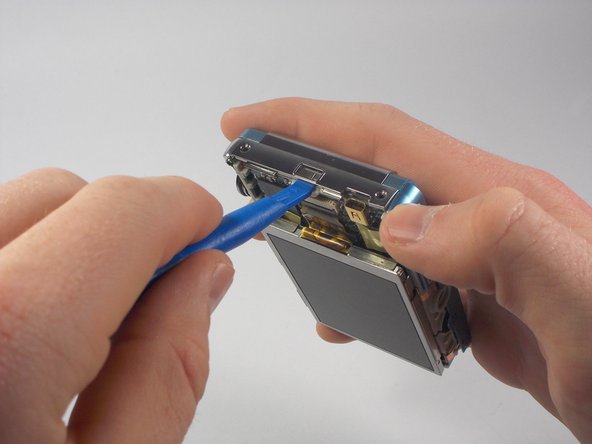
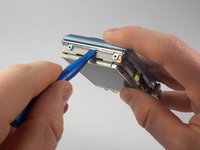
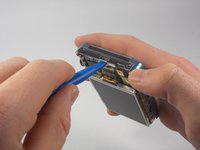
    4. Sanyo VPC-T850 Shutter Button Replacement: 手順 8、 2の画像 1 Sanyo VPC-T850 Shutter Button Replacement: 手順 8、 2の画像 2
      • With a plastic opening tool, gently remove the chrome framing on the left and right sides of the camera.

      FixBotに聞いてみる

      コメントを追加

    5. Sanyo VPC-T850 Shutter Button Replacement: 手順 9、 1の画像 1
      • Flip the camera over so the lens is facing up.

      • Gently lift up the front panel to remove it from the rest of the camera.

      • Use your plastic opening tool if you have difficulties removing the panel by hand.

      FixBotに聞いてみる

      コメントを追加

    1. Sanyo VPC-T850 Shutter Button Replacement, Shutter Button: 手順 10、 1の画像 1
      • Find the chrome framing located on the top of the camera.

      • The physical shutter button apparatus is directly attached to this frame.

      FixBotに聞いてみる

      コメントを追加

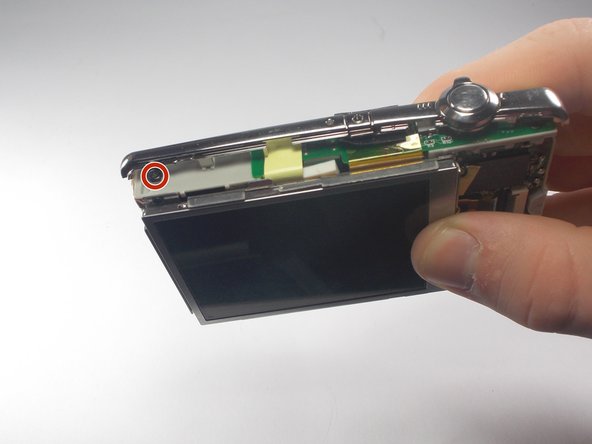
    2. Sanyo VPC-T850 Shutter Button Replacement: 手順 11、 2の画像 1 Sanyo VPC-T850 Shutter Button Replacement: 手順 11、 2の画像 2
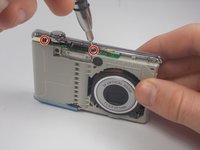
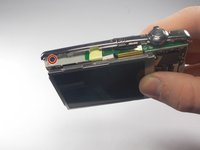
      • Remove the three black screws connecting the chrome frame to the camera.

      • Three screws are located toward the front, with the remaining one above the display.

      FixBotに聞いてみる

      コメントを追加

    3. Sanyo VPC-T850 Shutter Button Replacement: 手順 12、 1の画像 1
      • Gently remove the loosened chrome frame and connected shutter button from the camera.

      FixBotに聞いてみる

      コメントを追加

終わりに

To reassemble your device, follow these instructions in reverse order.

キャンセル: このガイドを終了できませんでした。

作成者

2人の作成者と共同で作成されました。

James Robinson

メンバー登録日: 10/27/15

459 ポイント

4のガイドは作成済み

チーム

UMass Dartmouth, Team 5-5, Gulbrandsen Fall 2015 UMass Dartmouth, Team 5-5, Gulbrandsen Fall 2015人のメンバー

UMASSD-GULBRANDSEN-F15S5G5

3 メンバー

10のガイドは作成済み

0件のガイドコメント

コメントを追加

統計データ:

過去 24時間: 0

過去 7 日: 10

過去 30 日: 45

今までの合計 709