メインコンテンツにスキップ

Samsung WB2200F Flash Option Button Replacement

必要な工具と部品

  1. Samsung WB2200F Flash Option Button Replacement, Battery: 手順 1、 1の画像 1
    • Place the camera upside down on a hard surface such as a table. Make sure that the battery compartment is visible.

  2. Samsung WB2200F Flash Option Button Replacement: 手順 2、 1の画像 1
    • Twist the nob counter-clockwise while pushing cover to the left. Then pull the cover up to reveal the battery.

  3. Samsung WB2200F Flash Option Button Replacement: 手順 3、 1の画像 1
    • Slide the blue tab to the right to release the battery.

  4. Samsung WB2200F Flash Option Button Replacement: 手順 4、 1の画像 1
    • Carefully slide the battery out of the camera. It can then be replaced with a new battery.

  5. Samsung WB2200F Flash Option Button Replacement, Face-plate: 手順 5、 3の画像 1 Samsung WB2200F Flash Option Button Replacement, Face-plate: 手順 5、 3の画像 2 Samsung WB2200F Flash Option Button Replacement, Face-plate: 手順 5、 3の画像 3
    • Remove the 6mm screws located on the bottom and sides of the camera using the using the screw driver with the JIS size 000 head.

  6. Samsung WB2200F Flash Option Button Replacement: 手順 6、 1の画像 1
    • Remove the two 6mm screws located underneath the battery cover using the same screw driver with the JIS size 000 head.

  7. Samsung WB2200F Flash Option Button Replacement: 手順 7、 1の画像 1
    • Carefully pry the face-plate away from the body of the camera, starting from the battery compartment. It should come off without too much trouble, although it may require force.

    • Make sure to not damage any of the electronic components of the camera

  8. Samsung WB2200F Flash Option Button Replacement, Flash Option Button: 手順 8、 1の画像 1
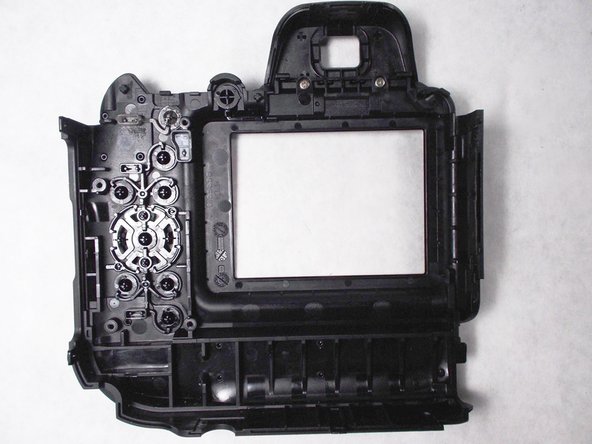
    • Looking at the back of the exposed face plate, remove the four 5mm screws, that hold down the metal cover, using the screw driver with the JIS size 000 head.

  9. Samsung WB2200F Flash Option Button Replacement: 手順 9、 1の画像 1
    • Gently lift off the metal cover.

  10. Samsung WB2200F Flash Option Button Replacement: 手順 10、 1の画像 1
    • Clean out any dust or debris from the button interface.

    • Replace faulty button.

終わりに

To reassemble your device, follow these instructions in reverse order.

作成者

2人の作成者と共同で作成されました。

Rachelle

メンバー登録日: 03/08/16

213 ポイント

2のガイドは作成済み

チーム

UMass Dartmouth, Team 5-4, Landers Spring 2016 UMass Dartmouth, Team 5-4, Landers Spring 2016人のメンバー

UMASSD-LANDERS-S16S5G4

3 メンバー

12のガイドは作成済み

0 件のコメント

コメントを追加

統計データ:

過去 24時間: 0

過去 7 日: 2

過去 30 日: 9

今までの合計 240