メインコンテンツにスキップ
リペアコミュニティに参加 - アカウントの作成

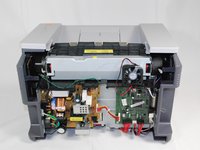
Samsung ML2510 Side Cooling Fan Replacement

必要な工具と部品

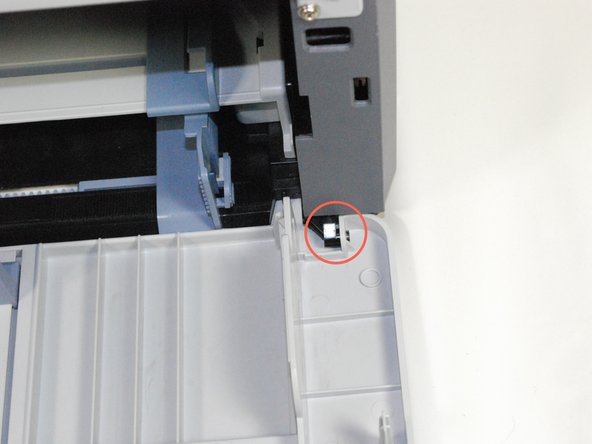
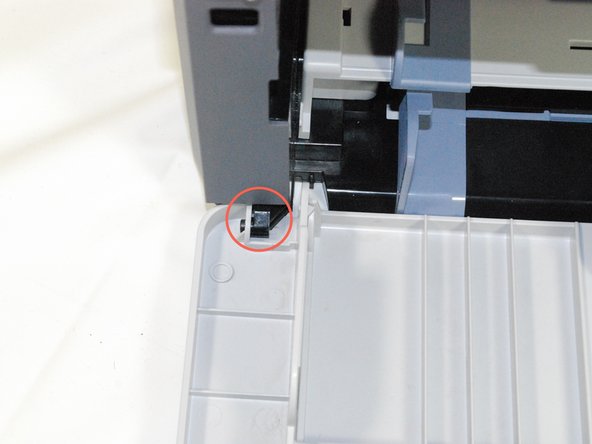
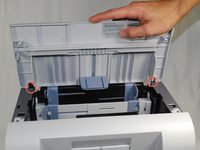
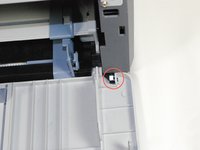
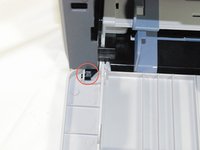
    1. Samsung ML2510 Side Cooling Fan Replacement, Removing Samsung ML2510 Back Panel: 手順 1、 3の画像 1 Samsung ML2510 Side Cooling Fan Replacement, Removing Samsung ML2510 Back Panel: 手順 1、 3の画像 2 Samsung ML2510 Side Cooling Fan Replacement, Removing Samsung ML2510 Back Panel: 手順 1、 3の画像 3
      • Remove the top hinged panel by taking out the pins at the bottom of this panel.

      FixBotに聞いてみる

      コメントを追加

    2. Samsung ML2510 Side Cooling Fan Replacement: 手順 2、 1の画像 1
      • Using a Phillips #2 screwdriver, remove the four screws on the back of the printer.

      FixBotに聞いてみる

      コメントを追加

    3. Samsung ML2510 Side Cooling Fan Replacement: 手順 3、 3の画像 1 Samsung ML2510 Side Cooling Fan Replacement: 手順 3、 3の画像 2 Samsung ML2510 Side Cooling Fan Replacement: 手順 3、 3の画像 3
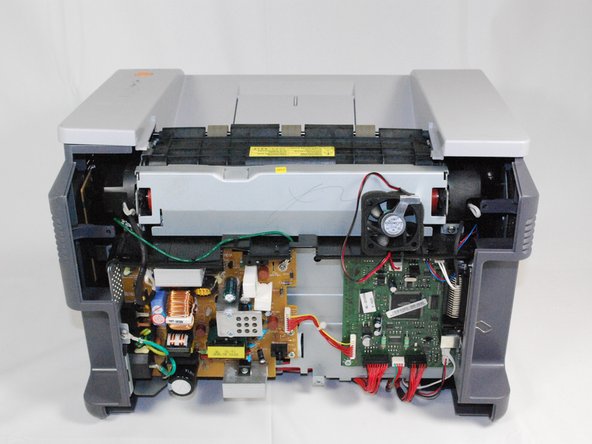
      • Gently lift the top panel while simultaneously pulling off the back panel.

      • Before pulling out the back panel entirely, make sure to remove the rear cooling fan from its slot.

      FixBotに聞いてみる

      コメントを追加

    1. Samsung ML2510 Side Cooling Fan Replacement, Side Cooling Fan: 手順 4、 3の画像 1 Samsung ML2510 Side Cooling Fan Replacement, Side Cooling Fan: 手順 4、 3の画像 2 Samsung ML2510 Side Cooling Fan Replacement, Side Cooling Fan: 手順 4、 3の画像 3
      • Locate the holes on the panel that are attached to the main body.

      • Remove the front panel by gently moving the holes from the pegs one by one.

      FixBotに聞いてみる

      コメントを追加

    2. Samsung ML2510 Side Cooling Fan Replacement: 手順 5、 1の画像 1
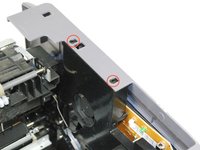
      • Using a Phillips #2 screwdriver, remove the two 1" screws on the front face of the printer.

      FixBotに聞いてみる

      コメントを追加

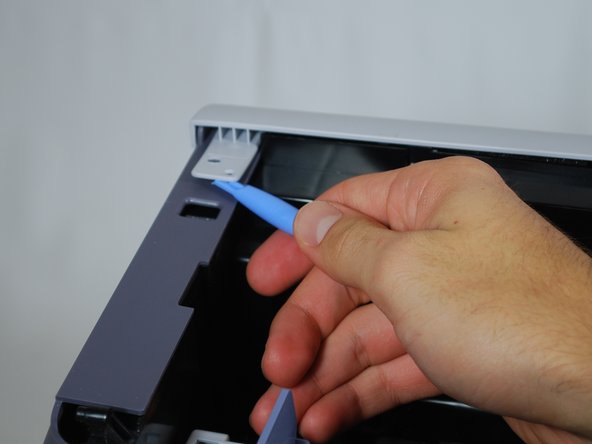
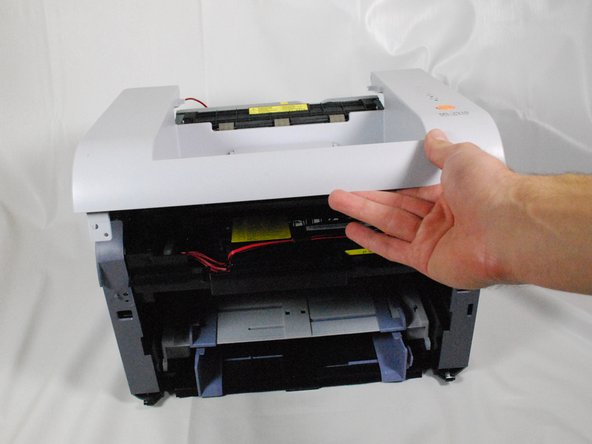
    3. Samsung ML2510 Side Cooling Fan Replacement: 手順 6、 3の画像 1 Samsung ML2510 Side Cooling Fan Replacement: 手順 6、 3の画像 2 Samsung ML2510 Side Cooling Fan Replacement: 手順 6、 3の画像 3
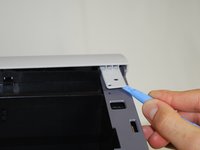
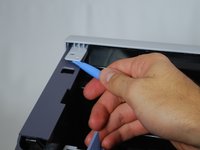
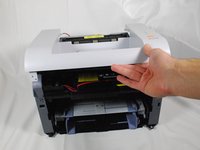
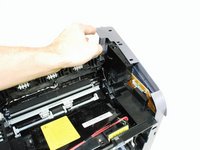
      • Using a plastic opening tool, gently lift one side of the top panel from its peg.

      • Repeat process for the other side.

      • Lift the top panel from the front to remove it entirely.

      FixBotに聞いてみる

      コメントを追加

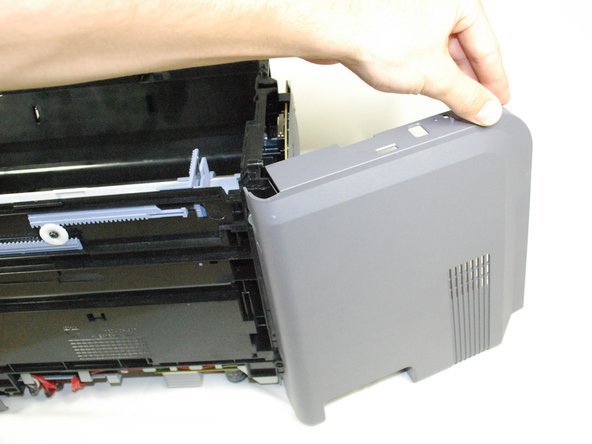
    4. Samsung ML2510 Side Cooling Fan Replacement: 手順 7、 3の画像 1 Samsung ML2510 Side Cooling Fan Replacement: 手順 7、 3の画像 2 Samsung ML2510 Side Cooling Fan Replacement: 手順 7、 3の画像 3
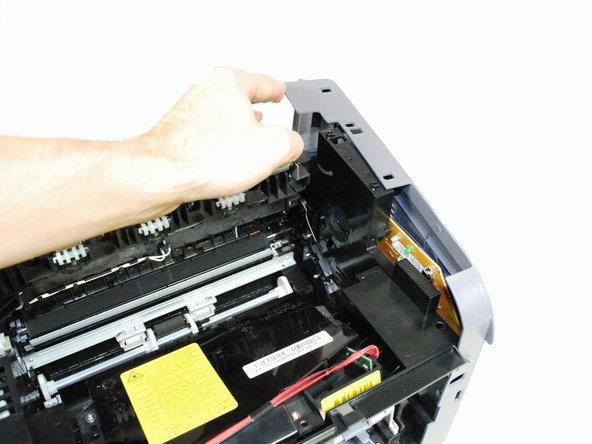
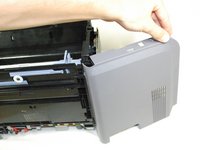
      • Lift the right side-panel up from the raised stops.

      • Gently rotate the panel as indicated in the picture to remove the panel entirely.

      FixBotに聞いてみる

      コメントを追加

    5. Samsung ML2510 Side Cooling Fan Replacement: 手順 8、 1の画像 1
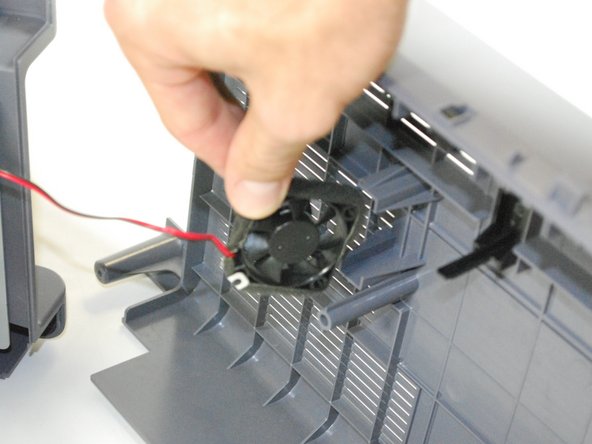
      • Poke out the side fan from the inside of the printer.

      FixBotに聞いてみる

      コメントを追加

    6. Samsung ML2510 Side Cooling Fan Replacement: 手順 9、 1の画像 1
      • Unplug the fan's wires from the side circuit board.

      • Replace the fan and reassemble the printer using reverse procedures.

      FixBotに聞いてみる

      コメントを追加

終わりに

To reassemble your device, follow these instructions in reverse order.

キャンセル: このガイドを終了できませんでした。

2 の人々がこのガイドを完成させました。

作成者

7人の作成者と共同で作成されました。

bbaustin

メンバー登録日: 10/12/11

268 ポイント

6のガイドは作成済み

チーム

Cal Poly, Team 17-18, Regan Fall 2011 Cal Poly, Team 17-18, Regan Fall 2011人のメンバー

CPSU-REGAN-F11S17G18

4 メンバー

12のガイドは作成済み

0件のガイドコメント

コメントを追加

統計データ:

過去 24時間: 1

過去 7 日: 3

過去 30 日: 25

今までの合計 2,945