メインコンテンツにスキップ
リペアコミュニティに参加 - アカウントの作成

Samsung HMX-W300 LCD Screen Replacement

必要な工具と部品

    1. Samsung HMX-W300 LCD Screen Replacement, Disassembling Samsung HMX-W300: 手順 1、 3の画像 1 Samsung HMX-W300 LCD Screen Replacement, Disassembling Samsung HMX-W300: 手順 1、 3の画像 2 Samsung HMX-W300 LCD Screen Replacement, Disassembling Samsung HMX-W300: 手順 1、 3の画像 3
      • To remove the wristband of the device, grab the middle loop and pull the band through.

      FixBotに聞いてみる

      コメントを追加

    2. Samsung HMX-W300 LCD Screen Replacement: 手順 2、 2の画像 1 Samsung HMX-W300 LCD Screen Replacement: 手順 2、 2の画像 2
      • Remove four screws with a Hex 1.5 mm screwdriver.

      FixBotに聞いてみる

      コメントを追加

    3. Samsung HMX-W300 LCD Screen Replacement: 手順 3、 3の画像 1 Samsung HMX-W300 LCD Screen Replacement: 手順 3、 3の画像 2 Samsung HMX-W300 LCD Screen Replacement: 手順 3、 3の画像 3
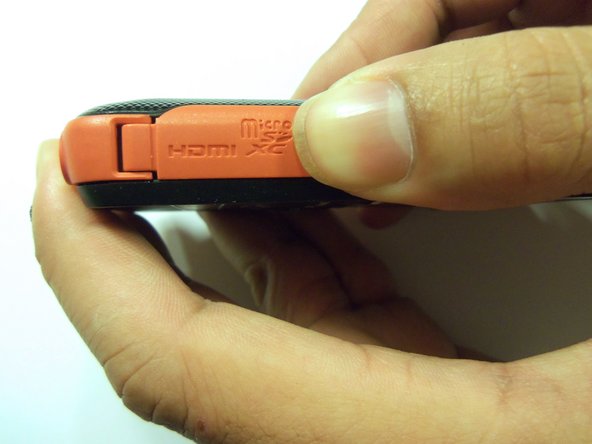
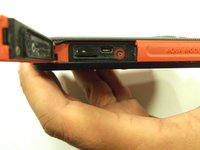
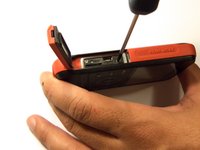
      • Open the HDMI door on the side of the camera.

      • Remove the single screw using a Phillips #00 screwdriver.

      FixBotに聞いてみる

      コメントを追加

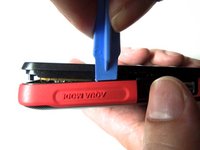
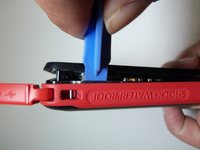
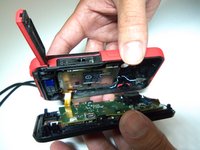
    4. Samsung HMX-W300 LCD Screen Replacement: 手順 4、 3の画像 1 Samsung HMX-W300 LCD Screen Replacement: 手順 4、 3の画像 2 Samsung HMX-W300 LCD Screen Replacement: 手順 4、 3の画像 3
      • Use the iFixit opening tool on both sides on the device. Pry apart both sections with light force.

      • Do not apply too much force. There is a wire that attaches the front case with the rear case that can be damaged.

      FixBotに聞いてみる

      コメントを追加

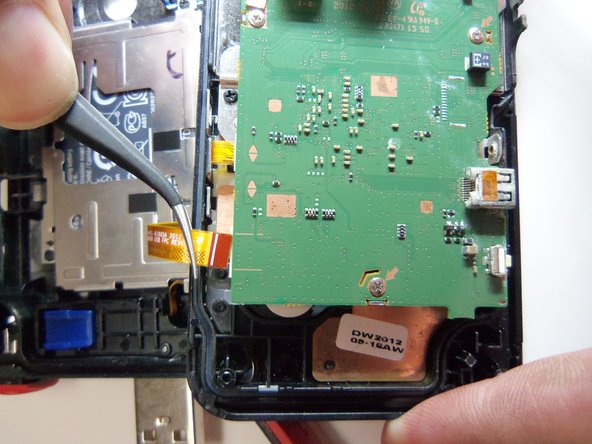
    5. Samsung HMX-W300 LCD Screen Replacement: 手順 5、 3の画像 1 Samsung HMX-W300 LCD Screen Replacement: 手順 5、 3の画像 2 Samsung HMX-W300 LCD Screen Replacement: 手順 5、 3の画像 3
      この手順で使用する道具:
      Tweezers
      $4.99
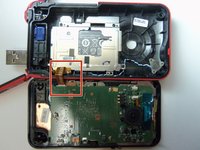
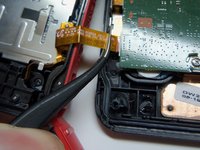
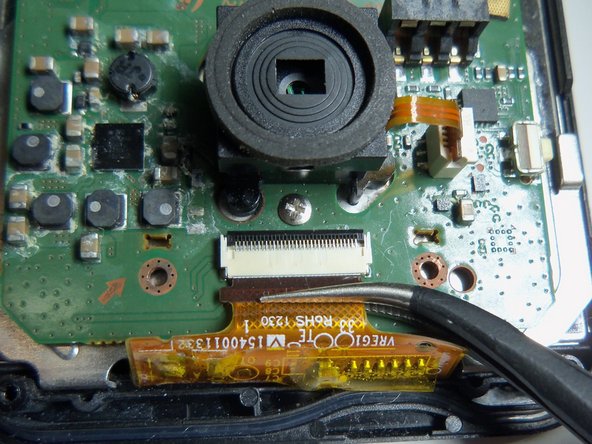
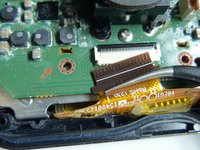
      • Pull the wire ribbon out with a pair of tweezers.

      FixBotに聞いてみる

      コメントを追加

    1. Samsung HMX-W300 LCD Screen Replacement, Remove tape.: 手順 6、 3の画像 1 Samsung HMX-W300 LCD Screen Replacement, Remove tape.: 手順 6、 3の画像 2 Samsung HMX-W300 LCD Screen Replacement, Remove tape.: 手順 6、 3の画像 3
      この手順で使用する道具:
      Tweezers
      $4.99
      FixBotに聞いてみる

      コメントを追加

    2. Samsung HMX-W300 LCD Screen Replacement, Unplug wire ribbon.: 手順 7、 2の画像 1 Samsung HMX-W300 LCD Screen Replacement, Unplug wire ribbon.: 手順 7、 2の画像 2
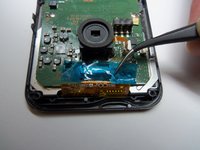
      • Use tweezers to grab the wire ribbon, then pull the wire out of connection.

      FixBotに聞いてみる

      コメントを追加

    3. Samsung HMX-W300 LCD Screen Replacement, Remove scerws.: 手順 8、 2の画像 1 Samsung HMX-W300 LCD Screen Replacement, Remove scerws.: 手順 8、 2の画像 2
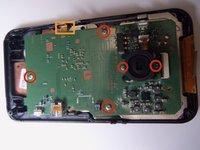
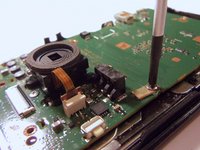
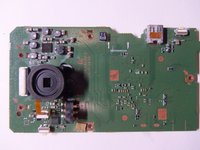
      • There are 5 Phillips size 00 screws. Remove all 5 screws.

      • Wire ribbon is attached to the motherboard.

      FixBotに聞いてみる

      コメントを追加

    4. Samsung HMX-W300 LCD Screen Replacement: 手順 9、 1の画像 1
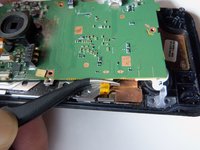
      • Pry the motherboard up using the plastic opening tool.

      • Be careful there is a wire ribbon holding the motherboard.

      FixBotに聞いてみる

      コメントを追加

    5. Samsung HMX-W300 LCD Screen Replacement, Disconnect wire ribbon.: 手順 10、 2の画像 1 Samsung HMX-W300 LCD Screen Replacement, Disconnect wire ribbon.: 手順 10、 2の画像 2
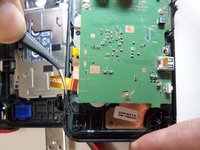
      • Use tweezers to disconnect the wire as shown. This will loosen the motherboard from the rear case.

      FixBotに聞いてみる

      コメントを追加

    1. Samsung HMX-W300 LCD Screen Replacement, Remove screws.: 手順 11、 3の画像 1 Samsung HMX-W300 LCD Screen Replacement, Remove screws.: 手順 11、 3の画像 2 Samsung HMX-W300 LCD Screen Replacement, Remove screws.: 手順 11、 3の画像 3
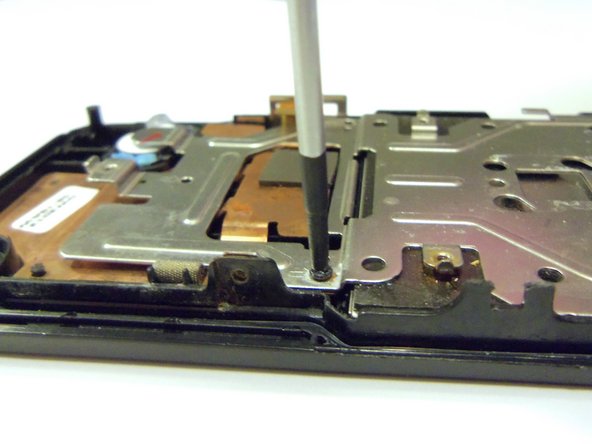
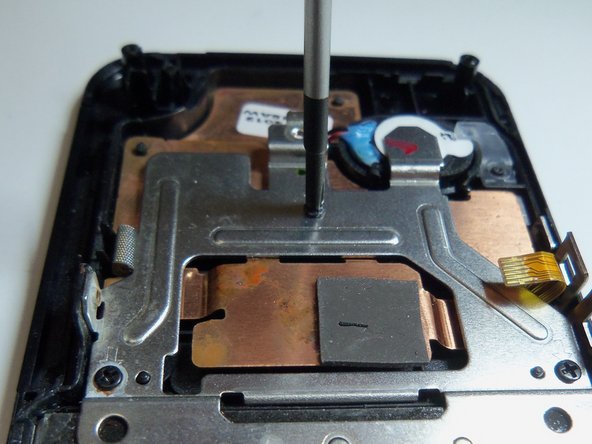
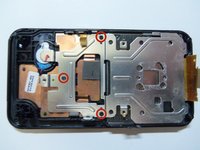
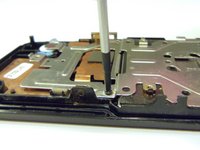
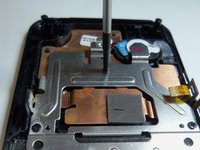
      • Use Phillips size 00 and remove the 3 screws as shown.

      FixBotに聞いてみる

      コメントを追加

    2. Samsung HMX-W300 LCD Screen Replacement, Pry screen.: 手順 12、 2の画像 1 Samsung HMX-W300 LCD Screen Replacement, Pry screen.: 手順 12、 2の画像 2
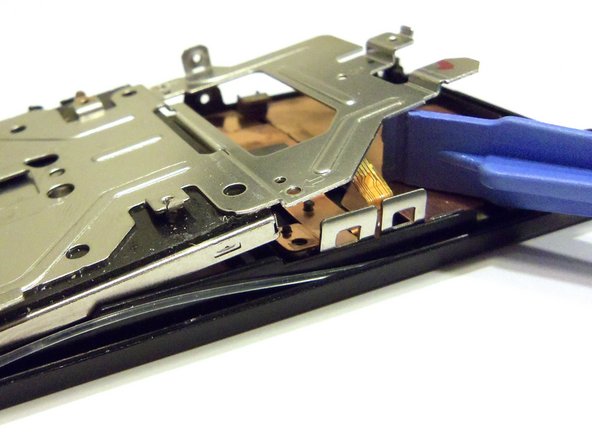
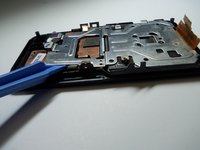
      • Pry the end of the screen with the plastic opening tool.

      FixBotに聞いてみる

      コメントを追加

    3. Samsung HMX-W300 LCD Screen Replacement: 手順 13、 3の画像 1 Samsung HMX-W300 LCD Screen Replacement: 手順 13、 3の画像 2 Samsung HMX-W300 LCD Screen Replacement: 手順 13、 3の画像 3
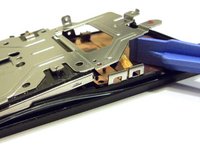
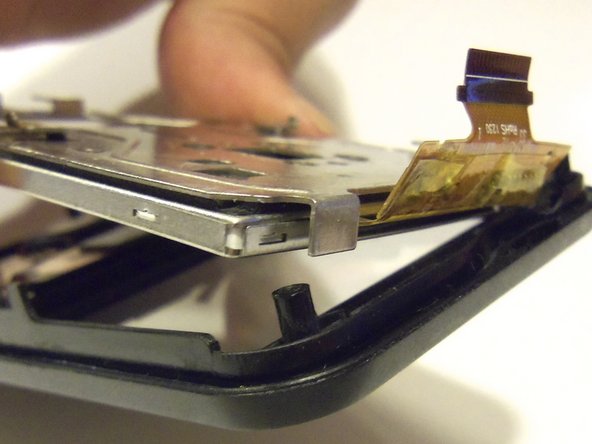
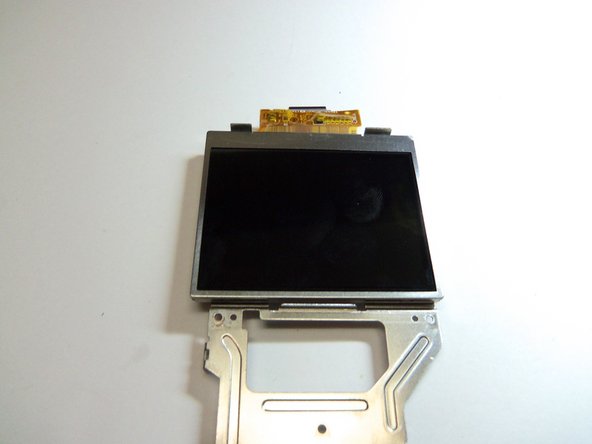
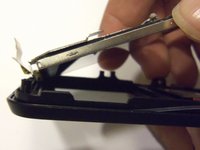
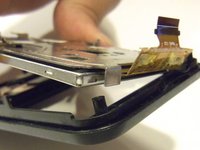
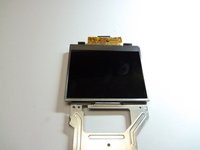
      • Grab the end of the screen, then pull towards the inside of the case. This is a bit tricky. This will release tabs at the top of the screen to the rear case.

      FixBotに聞いてみる

      コメントを追加

終わりに

To reassemble your device, follow these instructions in reverse order.

キャンセル: このガイドを終了できませんでした。

ある他の人がこのガイドを完成しました。

作成者

5人の作成者と共同で作成されました。

Robert

メンバー登録日: 01/21/15

966 ポイント

8のガイドは作成済み

チーム

USF Tampa, Team 9-2, Blackwell Winter 2015 USF Tampa, Team 9-2, Blackwell Winter 2015人のメンバー

USFT-BLACKWELL-W15S9G2

4 メンバー

16のガイドは作成済み

0件のガイドコメント

コメントを追加

統計データ:

過去 24時間: 0

過去 7 日: 10

過去 30 日: 26

今までの合計 793