メインコンテンツにスキップ

Samsung Gear VR With Controller Trackpad Replacement

必要な工具と部品

  1. Samsung Gear VR With Controller Trackpad Replacement, Inner Mask: 手順 1、 3の画像 1 Samsung Gear VR With Controller Trackpad Replacement, Inner Mask: 手順 1、 3の画像 2 Samsung Gear VR With Controller Trackpad Replacement, Inner Mask: 手順 1、 3の画像 3
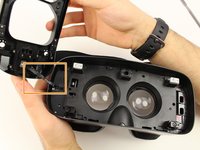
    • Push the switch on the right-hand side of the device to separate the cover from the main body.

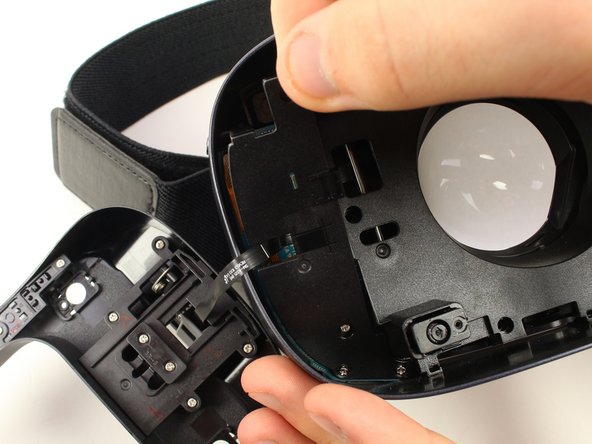
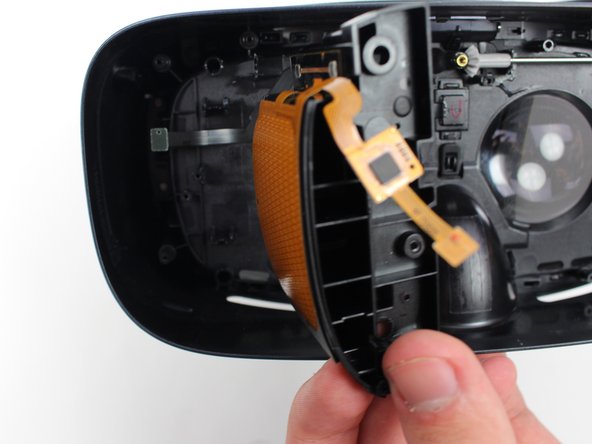
    • Pull the cover away from the main device.

  2. Samsung Gear VR With Controller Trackpad Replacement: 手順 2、 3の画像 1 Samsung Gear VR With Controller Trackpad Replacement: 手順 2、 3の画像 2 Samsung Gear VR With Controller Trackpad Replacement: 手順 2、 3の画像 3
    • Remove the four corner screw covers with a metal spudger.

    • The screw covers fly off when removed, so make sure to keep track of them.

  3. Samsung Gear VR With Controller Trackpad Replacement: 手順 3、 3の画像 1 Samsung Gear VR With Controller Trackpad Replacement: 手順 3、 3の画像 2 Samsung Gear VR With Controller Trackpad Replacement: 手順 3、 3の画像 3
    • Use a metal spudger to remove the screw cover centered at the top.

  4. Samsung Gear VR With Controller Trackpad Replacement: 手順 4、 3の画像 1 Samsung Gear VR With Controller Trackpad Replacement: 手順 4、 3の画像 2 Samsung Gear VR With Controller Trackpad Replacement: 手順 4、 3の画像 3
    • Remove the six 5mm Phillips #000 screws to detach the front phone mount.

    • Lift the front phone mount up and to the left.

    • Remove the front phone mount carefully because there is a wire harness on the left side of the headset.

  5. Samsung Gear VR With Controller Trackpad Replacement: 手順 5、 2の画像 1 Samsung Gear VR With Controller Trackpad Replacement: 手順 5、 2の画像 2
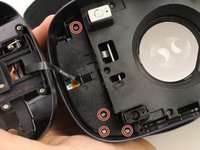
    • Remove the four 5mm Phillips #000 screws that secure the plate on the left side of the headset.

    • Pull the plate away from the motherboard gently.

  6. Samsung Gear VR With Controller Trackpad Replacement: 手順 6、 2の画像 1 Samsung Gear VR With Controller Trackpad Replacement: 手順 6、 2の画像 2
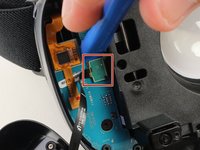
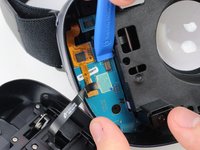
    • Use the iFixit opening tool to remove the pop connector holding the wire harness to the motherboard.

    • You can now completely remove the front phone mount from the headset.

  7. Samsung Gear VR With Controller Trackpad Replacement: 手順 7、 3の画像 1 Samsung Gear VR With Controller Trackpad Replacement: 手順 7、 3の画像 2 Samsung Gear VR With Controller Trackpad Replacement: 手順 7、 3の画像 3
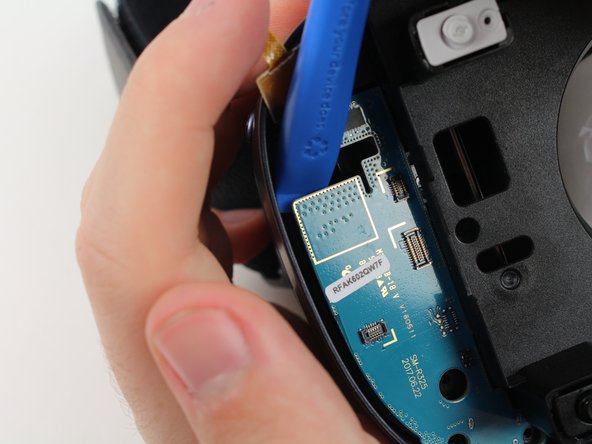
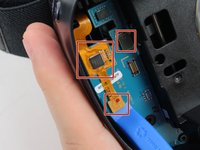
    • Remove the rest of the pop connectors on the motherboard using the iFixit opening tool.

    • Pry at the top of the motherboard with the iFixit opening tool to remove the motherboard.

    • The largest pop connector may require more effort to remove.

    • Make sure that nothing is connected to the motherboard before you pull it out.

  8. Samsung Gear VR With Controller Trackpad Replacement: 手順 8、 3の画像 1 Samsung Gear VR With Controller Trackpad Replacement: 手順 8、 3の画像 2 Samsung Gear VR With Controller Trackpad Replacement: 手順 8、 3の画像 3
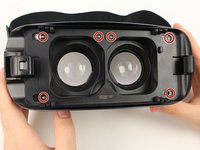
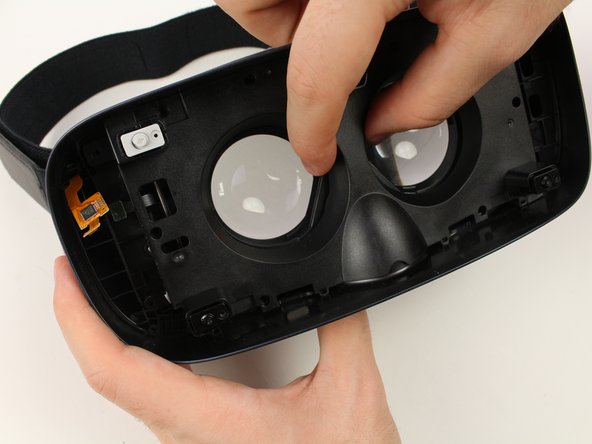
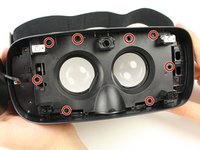
    • Remove the eight 5mm Phillips #000 screws on the inner mask.

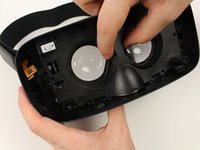
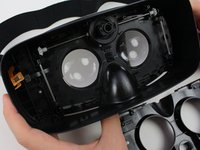
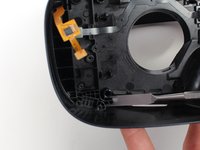
    • Gently separate the inner mask from the headset by pulling the mask from the inner sides of the lens sockets.

  9. Samsung Gear VR With Controller Trackpad Replacement, Trackpad: 手順 9、 3の画像 1 Samsung Gear VR With Controller Trackpad Replacement, Trackpad: 手順 9、 3の画像 2 Samsung Gear VR With Controller Trackpad Replacement, Trackpad: 手順 9、 3の画像 3
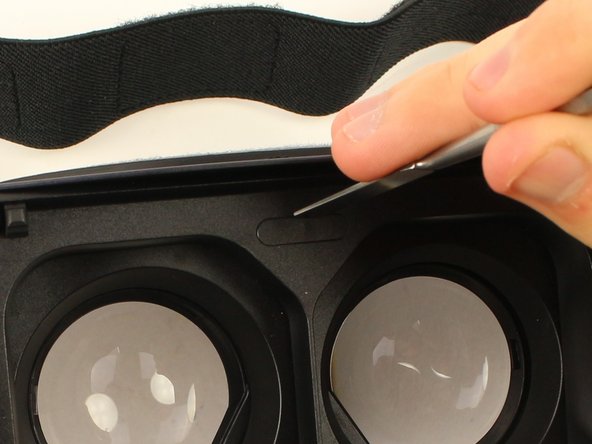
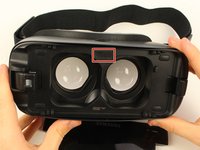
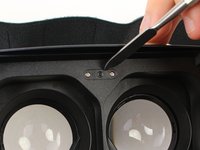
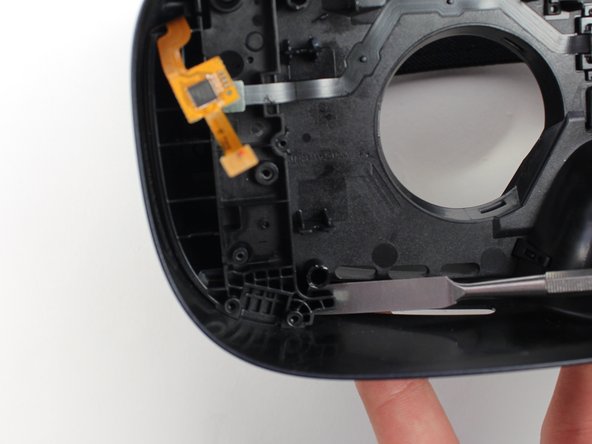
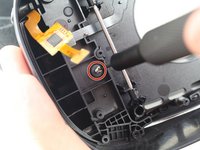
    • Remove the one 5mm Phillips #000 screw to detach the trackpad from the headset.

    • Pry the trackpad loose from the headset using the spudger.

終わりに

To reassemble your device, follow these instructions in reverse order.

ある他の人がこのガイドを完成しました。

作成者

1人の作成者と共同作成されました。

Jake Criscione

メンバー登録日: 01/24/19

587 ポイント

3のガイドは作成済み

チーム

Cal Poly, Team S18-G3, White Winter 2019 Cal Poly, Team S18-G3, White Winter 2019人のメンバー

CPSU-WHITE-W19S18G3

4 メンバー

7のガイドは作成済み

0 件のコメント

コメントを追加

統計データ:

過去 24時間: 1

過去 7 日: 2

過去 30 日: 12

今までの合計 331