メインコンテンツにスキップ
リペアコミュニティに参加 - アカウントの作成

Samsung Gear Live Heart Rate Monitor Replacement

必要な工具と部品

  1. Samsung Gear Live Heart Rate Monitor Replacement, Lay the watch face-down: 手順 1、 1の画像 1
    • Lay the watch face-down on a flat, stable surface.

    FixBotに聞いてみる

    コメントを追加

  2. Samsung Gear Live Heart Rate Monitor Replacement, Remove the holding pin: 手順 2、 1の画像 1
    • Press the watchband down against the work surface.

    • Press the tip of a flathead screwdriver against the edge of the spring-loaded holding pin.

    FixBotに聞いてみる

    コメントを追加

  3. Samsung Gear Live Heart Rate Monitor Replacement, Remove the watchband: 手順 3、 1の画像 1
    • With the spring-loaded pin pressed in, the watch band should release easily.

    • Gently pull the band away from the body of the watch.

    • Repeat steps 2 and 3 for the opposite side.

    FixBotに聞いてみる

    コメントを追加

  4. Samsung Gear Live Heart Rate Monitor Replacement, Locate the four screws: 手順 4、 1の画像 1
    • With the watch laying face-down, locate the four screws. They are located on the back of the watch, at the four corners.

    FixBotに聞いてみる
    コメントを追加

  5. Samsung Gear Live Heart Rate Monitor Replacement, Remove the 4 screws: 手順 5、 1の画像 1
    • Using a Torx-T5 screwdriver, remove each of the four 4mm screws and set them aside.

    FixBotに聞いてみる

    コメントを追加

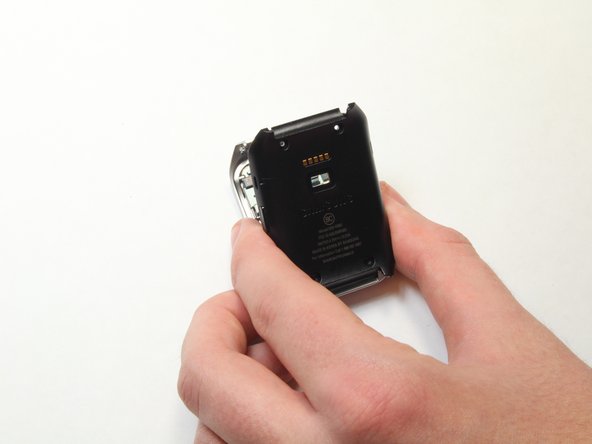
  6. Samsung Gear Live Heart Rate Monitor Replacement, Pry off the back of the watch.: 手順 6、 1の画像 1
    • Gently work the plastic opening tool under the top edge of the watch’s back cover.

    FixBotに聞いてみる

    コメントを追加

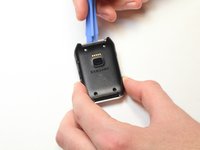
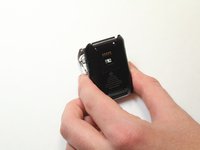
  7. Samsung Gear Live Heart Rate Monitor Replacement, Lift off the back cover: 手順 7、 2の画像 1 Samsung Gear Live Heart Rate Monitor Replacement, Lift off the back cover: 手順 7、 2の画像 2
    • With the watch’s back cover pried loose, gently lift it away from the front half of the watch.

    FixBotに聞いてみる

    コメントを追加

  8. Samsung Gear Live Heart Rate Monitor Replacement, Set both halves of the watch aside: 手順 8、 1の画像 1
    • Lay both halves of the watch body assembly face down (with internal components facing up).

    FixBotに聞いてみる

    コメントを追加

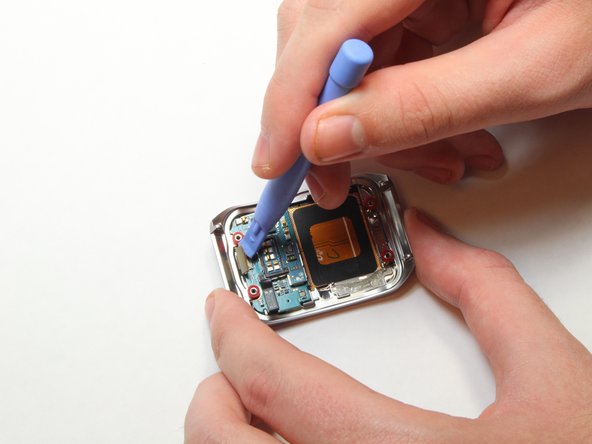
  9. Samsung Gear Live Heart Rate Monitor Replacement, Pry away the ribbon cable: 手順 9、 2の画像 1 Samsung Gear Live Heart Rate Monitor Replacement, Pry away the ribbon cable: 手順 9、 2の画像 2
    • Locate the ribbon cable connector near the edge of the watch's case.

    • Using the plastic opening tool, gently pry the connector from the motherboard

    FixBotに聞いてみる

    コメントを追加

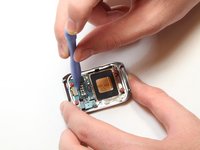
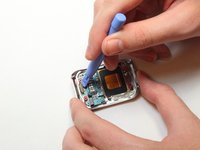
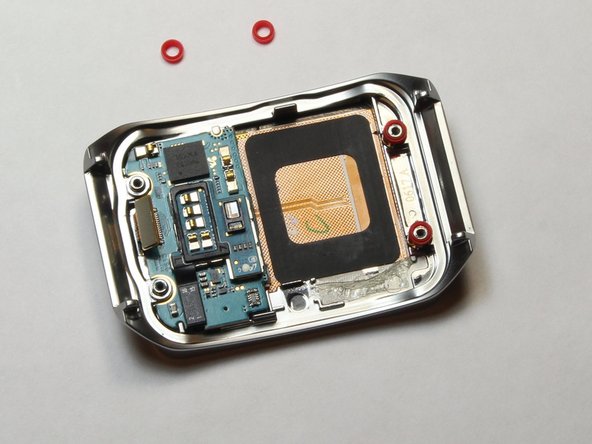
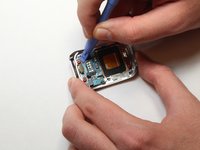
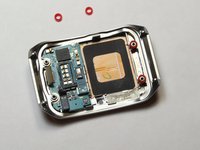
  10. Samsung Gear Live Heart Rate Monitor Replacement, Remove the red spacers: 手順 10、 2の画像 1 Samsung Gear Live Heart Rate Monitor Replacement, Remove the red spacers: 手順 10、 2の画像 2
    • Using the plastic opening tool, gently pry away the red spacers.

    • Set the spacers aside.

    FixBotに聞いてみる

    コメントを追加

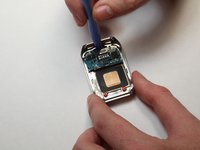
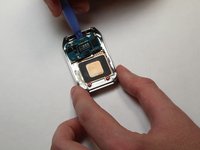
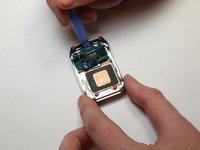
  11. Samsung Gear Live Heart Rate Monitor Replacement, Pry up the motherboard: 手順 11、 3の画像 1 Samsung Gear Live Heart Rate Monitor Replacement, Pry up the motherboard: 手順 11、 3の画像 2 Samsung Gear Live Heart Rate Monitor Replacement, Pry up the motherboard: 手順 11、 3の画像 3
    • Insert the end of the plastic opening tool under the motherboard.

    • Gently pry up the motherboard.

    FixBotに聞いてみる

    コメントを追加

  12. Samsung Gear Live Heart Rate Monitor Replacement, Remove the heart rate sensor cable: 手順 12、 2の画像 1 Samsung Gear Live Heart Rate Monitor Replacement, Remove the heart rate sensor cable: 手順 12、 2の画像 2
    • Set the motherboard on a flat, stable surface.

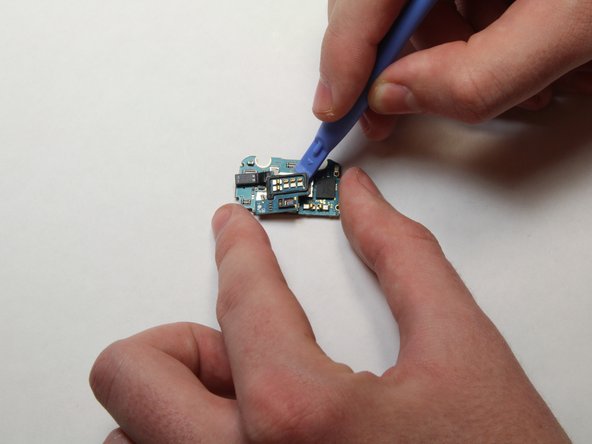
    • Using the plastic opening tool, gently pry the heart rate sensor cable from the motherboard.

    FixBotに聞いてみる

    コメントを追加

  13. Samsung Gear Live Heart Rate Monitor Replacement, Pry up the heart rate sensor: 手順 13、 3の画像 1 Samsung Gear Live Heart Rate Monitor Replacement, Pry up the heart rate sensor: 手順 13、 3の画像 2 Samsung Gear Live Heart Rate Monitor Replacement, Pry up the heart rate sensor: 手順 13、 3の画像 3
    • Once the cable is disconnected, run the plastic opening tool under the heart rate sensor from all sides, gently prying up as you go along.

    FixBotに聞いてみる

    コメントを追加

終わりに

To reassemble your device, follow these instructions in reverse order.

キャンセル: このガイドを終了できませんでした。

3 の人々がこのガイドを完成させました。

作成者

1人の作成者と共同作成されました。

Keith Cooper

メンバー登録日: 09/25/14

1,265 ポイント

6のガイドは作成済み

チーム

USF Tampa, Team 1-7, Brown Fall 2014 USF Tampa, Team 1-7, Brown Fall 2014人のメンバー

USFT-BROWN-F14S1G7

3 メンバー

7のガイドは作成済み

1件のガイドコメント

Check all of your guides to make sure you've indicate the needed tools.

Dan Brown - 返信 共有

コメントを追加

統計データ:

過去 24時間: 1

過去 7 日: 6

過去 30 日: 35

今までの合計 2,066