はじめに
This guide will first require the removal of the kickstand in order to access the battery. Removal of the back panel will require some force, and the help of a friend may be necessary. While removing the back panel there will be loud popping noises. This sound is the magnetized latches snapping off and is not doing damage to the device.
必要な工具と部品
-
-
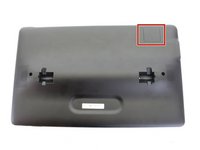
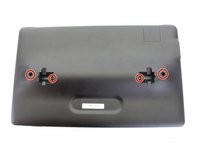
Place the device on a hard flat surface with its screen facing downwards.
-
Rotate the the kickstand so that the handle grip hole is up in the air and not touching the back of the tablet.
 FixBotに聞いてみる
-
-
-
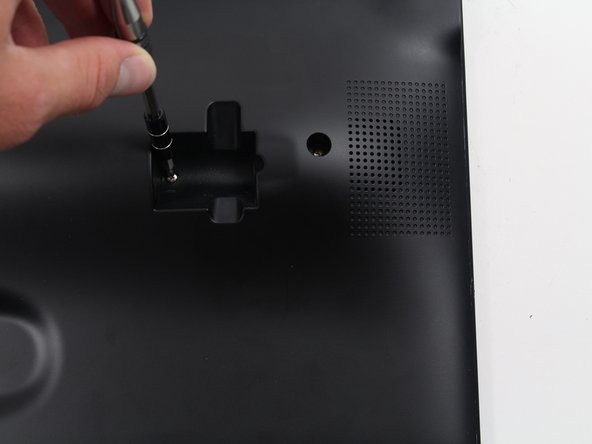
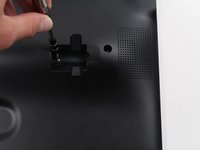
Stick the pointy end of the spudger into the circular opening of the leftmost metallic latch.
-
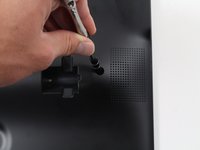
With the spudger still inserted, pry the spudger to the right pushing the latch opening along with it.
-
Once the latch is moved to the right, pull up on the left side of the kickstand, releasing it from the back of the tablet.
-
Repeat the previous steps for the rightmost latch, and then lift the kickstand off the back of the tablet.
-
-
-
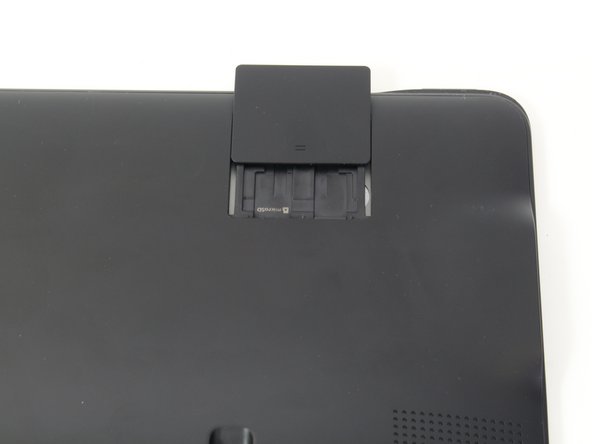
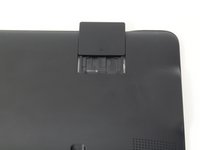
Check the device is completely turned off.
-
Slide open the SD compartment tab, and remove the SD card to ensure all data is saved.
-
-
-
-
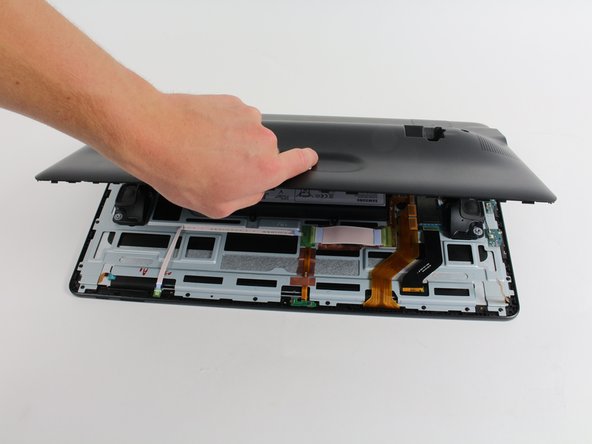
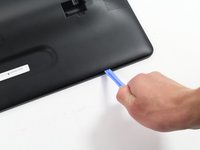
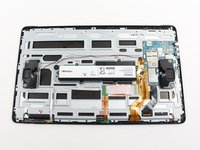
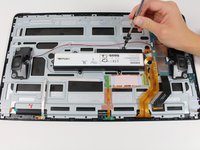
Insert the plastic opening tool between the seam of the back panel and the front casing to create an initial opening.
-
Insert the metal spudger within the opening.
-
Move the metal spudger down the seam, prying the back panel open as you go.
-
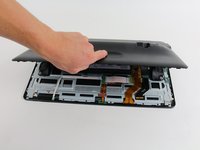
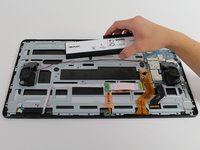
Once a large enough opening is made, pry the entire back panel off with your hand.
-
-
-
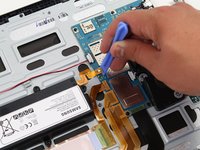
Using the plastic opening tool, lift off the orange press-fit connector (marked with a white arrow-head) where it attaches to the motherboard.
-
-
-
Remove the 6 screws (4 mm in length) using the Phillips #0 screwdriver.
-
Remove the battery from the device.
-


To reassemble your device, follow these instructions in reverse order.
40 の人々がこのガイドを完成させました。
チーム

Cal Poly, Team 4-5, Livingston Fall 2016 Cal Poly, Team 4-5, Livingston Fall 2016人のメンバー
CPSU-LIVINGSTON-F16S4G5
4 メンバー
12のガイドは作成済み
29件のガイドコメント
What size is the battery that fits into the SAMSUNG TAB VIEW?
I can't find Lithium ION 11.3 V 5700mAh battery for my Samsung Galaxy 18.4View Tablet, does anyone know where to get one?
What's difference between a 5700mAh battery and 5900mAh battery
Where can I find battery replacement for galaxy view
Greg Dover - 返信 共有