はじめに
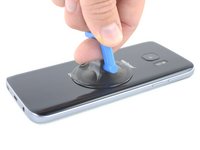
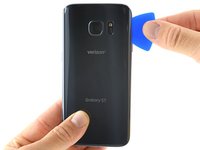
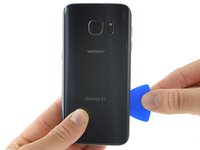
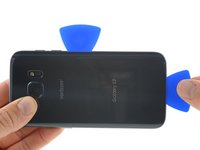
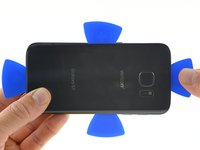
Samsung Galaxy S7のリアガラスを交換するにはこのガイドを参照してください。
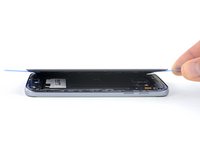
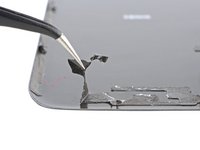
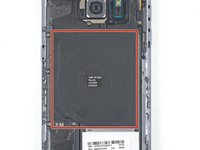
リアガラスカバーを外した後は本体にバックカバーを再装着するための交換用接着ストリップを留める必要があります。
必要な工具と部品


デバイスを再組み立てする際は、これらのインストラクションを逆の順番に従って作業を進めてください。
デバイスを再組み立てする際は、これらのインストラクションを逆の順番に従って作業を進めてください。
34 の人々がこのガイドを完成させました。
以下の翻訳者の皆さんにお礼を申し上げます:
100%

Midori Doiさんは世界中で修理する私たちを助けてくれています! あなたも貢献してみませんか?
翻訳を始める ›

6 件のコメント
They don’t tell you this, but be careful with the picks when you are trying to separate the back cover from the chassis. It’s very easy for the pick to get between the backplate, which is really clear plastic, and the foil-ish lining that makes it look like sleek black glass- I’m sure the heat doesn’t help keep the foil laminated to the backplate. Then your only option will be to replace the entire backplate, or remove the foil-ish lining and let the back of your phone be au natural.
When I removed the back cover, I found the adhesive had stayed adhered to the phone and separated from the back cover. This actually made it easier to remove cleanly with the forceps.
David Wood - 返信
Should you not replace the adhesive tape? If so, what type/brand/size should one use? Would this be appropriate? 4mm 3M red Strong Sticky Glue Tape for Samsung (https://www.amazon.com/gp/product/B07P1J...) ?
Hi Bryan!
You should definitely replace the adhesive. You can use some custom-cut adhesive made specifically for the S7, or you can use double-sided tape like Tesa tape. For this situation, the precut card would be more than enough.
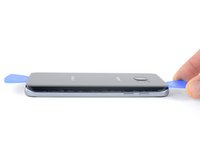
This one's a challenge with cracked glass, but it is doable if you go up to the crack and start working on other areas and meet it. Lift on both sides - carefully and with a constant, even pressure - and you'll be able to work around the glue.
I had to use 5 picks at most to fight the cracks, but once you get an entire side up it's easy work.