この翻訳は機械によって生成されたものであり、まだ人間による校正は行われていません。 日本語を話せますか? レビューはこちらから。
はじめに
この修理ガイドでは、LCDとデジタイザーで構成されるディスプレイアセンブリの取り外し手順を説明します。このアセンブリを取り外すことで、電話機の他の部品にもアクセスできるようになります。
必要な工具と部品
-
-
-
-
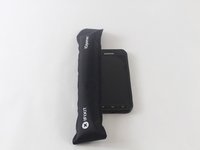
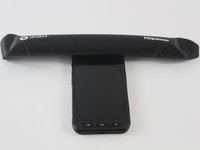
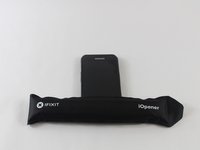
iOpener、ヘアードライヤー、またはヒートガンを使用して、スマートフォンの表面(側面、上部、下部)を60秒間加熱し、ガラスの周囲の接着剤を柔らかくします。
-
-
-
-
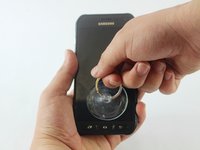
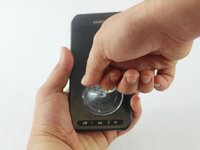
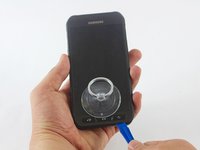
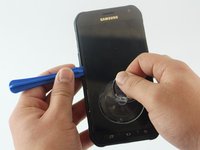
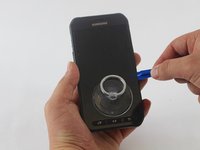
十分な隙間ができたら、電話のガラスとフレームの間にオープニングツールを差し込みます。
-
オープニングツールを画面の周囲にスライドさせ、ディスプレイを本体から優しくこじ開けて外します。
-
-
この手順で使用する道具:Tweezers$4.99
-
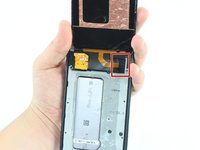
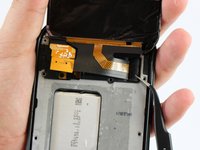
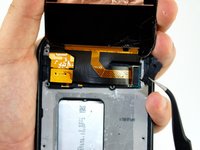
ガラスを取り外すと、本体上部でスクリーンとマザーボードを接続している箇所を覆う小さなカバーが見えます。ピンセットでカバー側面の折り目をつかみ、引き抜きます。
-
-


 FixBotに聞いてみる










デバイスを再組み立てするには、これらのインストラクションを逆の順番に従って作業を進めてください。
9 の人々がこのガイドを完成させました。

チーム

USF Tampa, Team 1-5, Sullivan Spring 2017 USF Tampa, Team 1-5, Sullivan Spring 2017人のメンバー
USFT-SULLIVAN-S17S1G5
3 メンバー
96のガイドは作成済み
6件のガイドコメント
Great guide but I don't think its difficult, one of the easier repairs out there.
johnwkrebs - 返信 共有
Okay, well, the hairdryer didn’t work. Or maybe that suction cup might help lift a screen that *isn’t* shattered…?
Ah, well. At least the guide was free and the screen kit was cheap; now it’s all just trash.
Suction cup does not work on a cracked screen. You will loose vacuum via the gaps in the cracks. Also be patient with the hair dryer. You must not rush that process. The idea is to heat the edge of the glass so that the glue strip under will melt or get soft enough to pull lose. Not to hot and not to cold. To hot and you damage the phone. To cold and the glue wont melt. It must be hot enough to touch with your finger for a few seconds before burning you. Then keep heating all the way around as you work IF you are working slow. The glue will harden if it cools done. I broke many screens before the process clicked in my mind. Now I realise how easy it was altogether.
Good luck
Brian Smith - 返信 共有
So we got it apart, which wasnt hard, just a pain! But yeah in the directions it says to put back together just reverse disrecyions. Umm yeah thats NOT working, i can NOT get the %#*@ screen connector reconnected. I've been trying for the 2 hours and it's not working! How am I suppose to line it up? And is it suppose to just clip together? What am I missing??? Please help!
How do you reseal the screen? Do new screens come with glue to reattach the screens with?
Hyrum Tripp - 返信 共有
