はじめに
Use this guide to replace the front panel assembly.
必要な工具と部品
ビデオの概要
-
-
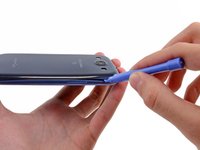
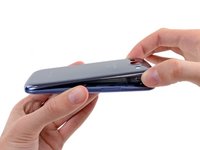
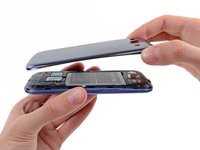
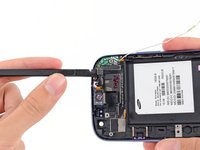
Insert a plastic opening tool or fingernail into the notch in the gap between the rear case and the rest of the phone, located at the top of the device.
-
Gently twist the opening tool to disconnect the clips securing the top of the rear case.
 FixBotに聞いてみる
-
-
-
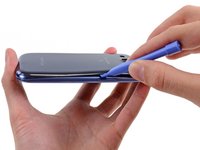
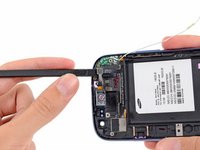
Slide the plastic opening tool left along the top edge and repeat the twisting motion to widen the gap between the rear case and the phone.
-
-
-
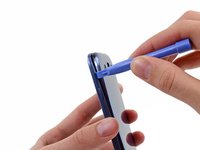
Continue to move the plastic opening tool around the perimeter of the top left corner, gently prying up along the rear case.
-
-
-
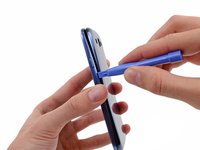
Pry along the top right side, and continue prying down the right side of the rear case.
-
-
-
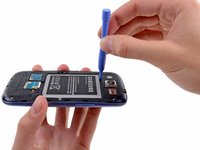
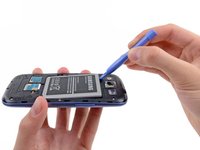
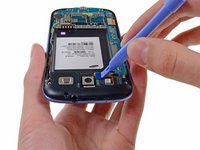
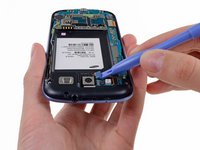
Wedge a plastic opening tool into the small notch above the battery.
-
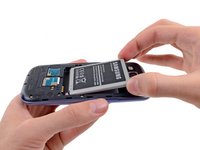
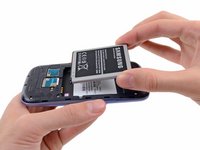
Pry the battery up out of its recess.
-
-
-
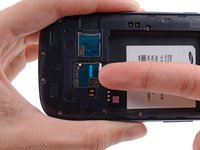
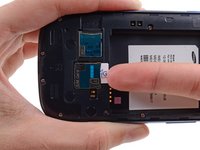
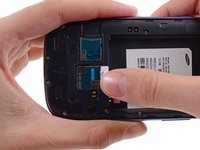
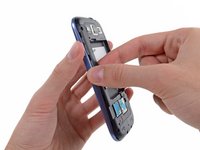
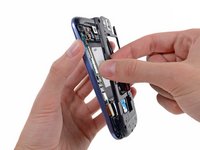
Using your fingernail, push the SIM card slightly deeper into its slot, until you hear a click.
-
After the click, release the card and it will pop out of its slot.
-
-
-
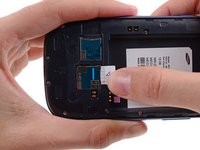
Use your thumb to slide enough of the SIM card out of its slot to grab ahold of it.
-
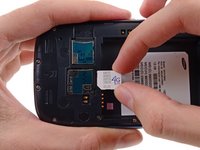
Grasp and remove the SIM card away from the phone.
-
-
-
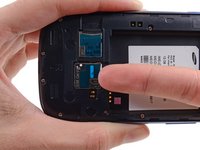
Using your fingernail, push the microSD card slightly deeper into its slot, until you hear a click.
-
After the click, release the card and it will pop out of its slot.
-
-
-
Use your thumb to slide the microSD card out of the slot.
-
Remove the microSD card from the phone.
-
-
-
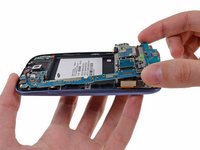
Remove the ten 4.0 mm Phillips screws securing the midframe to the front panel assembly.
-
-
-
Grasp the left side of the plastic midframe with your thumb and forefinger and lift it away from the phone.
-
-
-
-
Use a plastic opening tool to pry the rear-facing camera connector up from its socket on the motherboard.
-
-
-
Insert a plastic opening tool outboard of the speaker portion of the headphone jack/speaker assembly.
-
Gently pry the headphone jack/speaker assembly up from the front assembly.
-
-
-
Use a plastic opening tool to pry the front-facing camera connector from its socket on the motherboard.
-
-
-
Disconnect the digitizer cable by gently prying its connector up from its socket on the motherboard.
-
-
-
Pry the Wi-Fi antenna cable connector up from its socket on the motherboard.
-
Gently move the cable out of the way of the motherboard.
-
-
-
Remove the single 3.0 mm Phillips screw securing the motherboard to the front panel assembly.
-
-
-
Carefully lift the bottom of the motherboard assembly away from the front panel assembly.
-
Remove the motherboard assembly from the front panel assembly, minding any cables that may snag on it.
-
-
-
Remove the single 2.0 mm Phillips screw securing the front-facing camera bracket to the front panel.
-
-
この手順で使用する道具:Tweezers$4.99
-
Use a pair of tweezers to lift the front-facing camera/ambient light sensor/rear microphone assembly out from its socket in the front panel assembly.
-
-
-
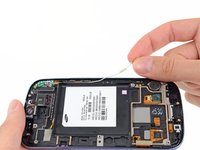
Peel the antenna cable up from its channel in the front panel assembly.
-
-
-
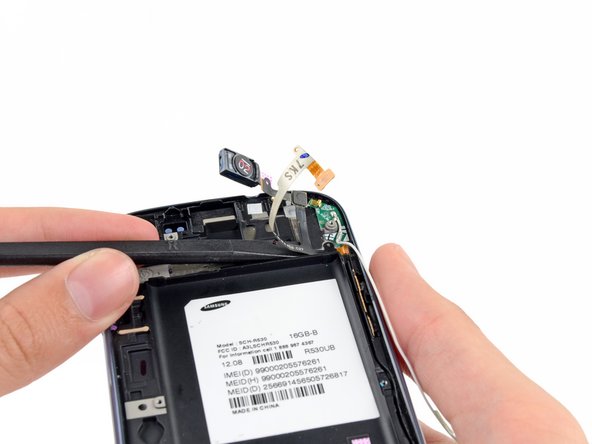
Wedge the tip of a spudger underneath the earpiece speaker and pry the earpiece speaker out of its recess in the front panel assembly.
-
-
-
Use the flat edge of a spudger to peel the top portion of the earpiece/volume buttons/ambient light sensor ribbon cable from the front panel assembly.
-
-
-
Carefully wedge the flat edge of a spudger underneath the ambient light sensor.
-
Continue peeling the earpiece/volume buttons/ambient light sensor ribbon cable up off the front panel assembly.
-
-
-
Insert the flat edge of a spudger underneath the earpiece/volume buttons/ambient light sensor ribbon cable connector.
-
Gently run the spudger across to continue peeling the the earpiece/volume buttons/ambient light sensor ribbon cable from the front panel assembly.
-
-
-
Insert a plastic opening tool in between the the buttons ribbon cable and the volume button.
-
Push the volume out of its recess in the front panel assembly.
-
Lift and remove the volume button out of the phone.
-
-
-
Wedge the flat edge of a plastic opening tool in between the the earpiece/buttons/ambient light sensor ribbon cable and run it down to loosen the adhesive securing the ribbon cable.
-
-
-
Grasp and remove the earpiece/buttons/ambient light sensor ribbon cable out of the phone.
-
-
-
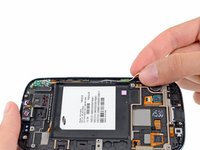
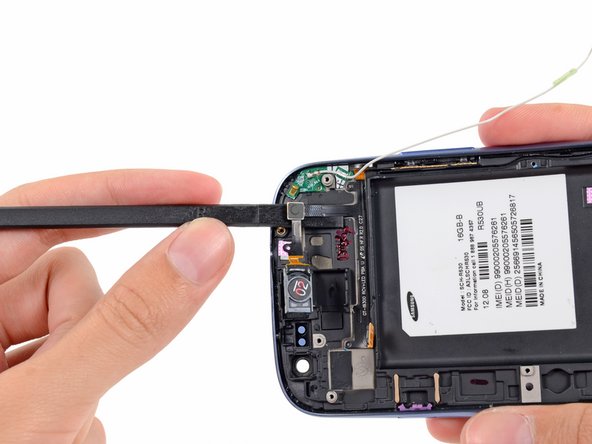
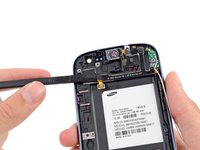
Use a metal spudger to carefully peel the antenna board off the front panel assembly.
-
Lift and remove the antenna board out of the phone.
-
-
-
Push the power button out of its recess in the front panel assembly.
-
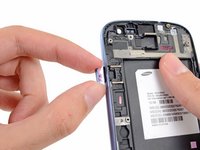
Remove the power button from the front panel assembly.
-
-
-
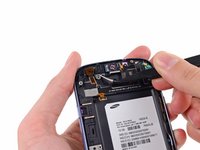
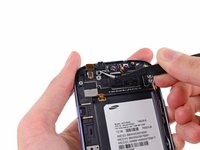
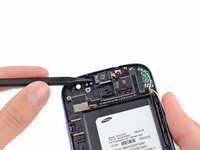
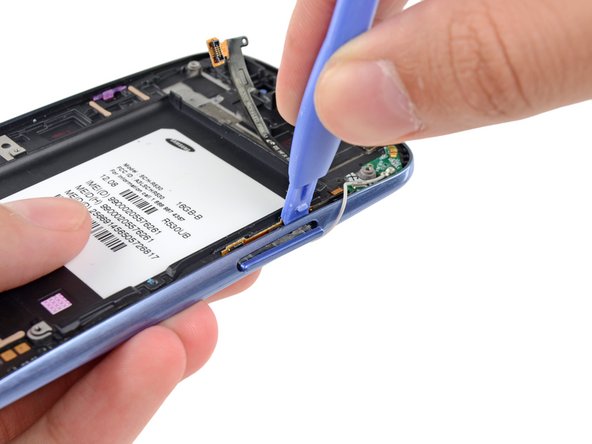
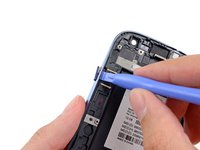
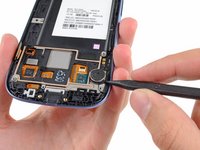
Use the tip of a spudger to pry the vibrator out of its recess in the front panel assembly.
-
-
-
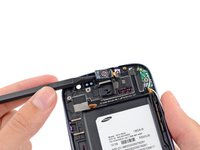
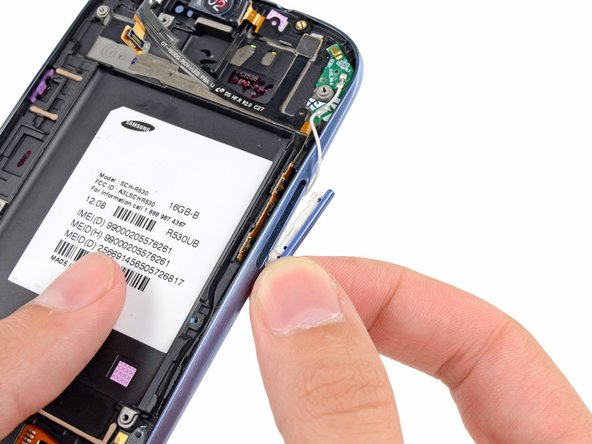
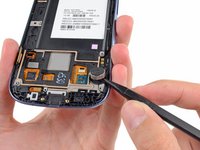
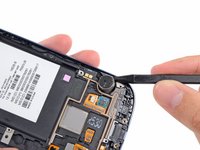
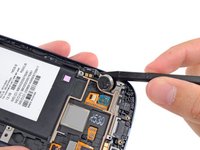
Use the tip of a spudger to peel the vibrator assembly off the front panel assembly.
-




















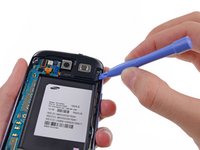
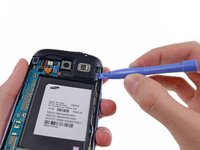


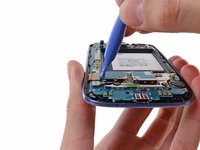
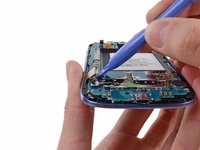


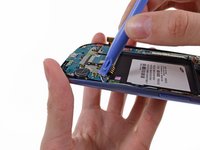
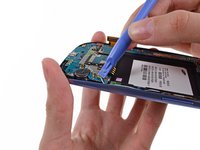
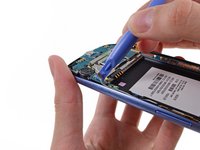


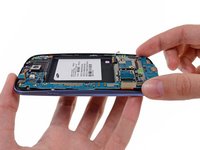










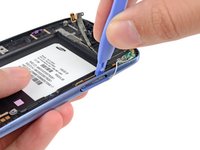
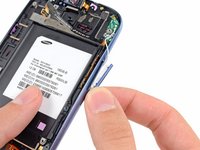


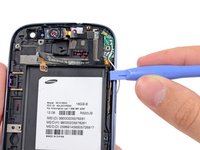
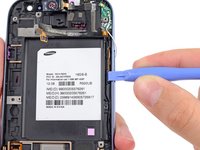


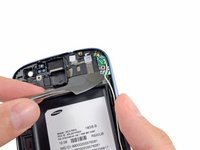
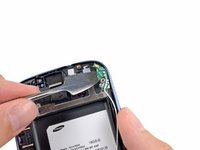
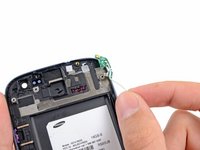


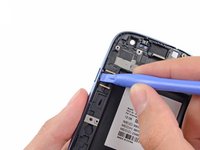






To reassemble your device, follow these instructions in reverse order.
212 の人々がこのガイドを完成させました。

14件のガイドコメント
Thanks. This is the second time I've used this guide.
And how Ill install thenew screen ?
Lea Efremov - 返信 共有
Brilliant Step-By-Step guide. My phone needed new digitizer as just a black screen was showing when turned on, must have happened from a drop. I bought the digitizer screen combo from ebay and used this guide to dress across the components. Worked first time! There are a couple of other spongy or supportive rubber pieces around certain components that were in the original phone so I transferred those also, I guess they are there just to ensure tight connections etc. Absolute lifesaver!
