この翻訳は機械によって生成されたものであり、まだ人間による校正は行われていません。 この言語を話せますか? レビューはこちら.
はじめに
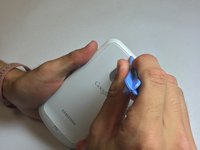
写真の画質が低下していませんか?
このシンプルな修理ガイドでは、Galaxy Nexusの背面カメラレンズを交換する方法を説明します。
必要な工具と部品
-
-
-
-
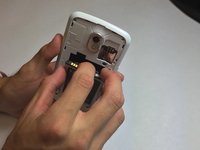
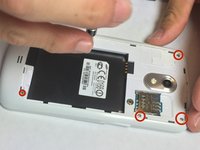
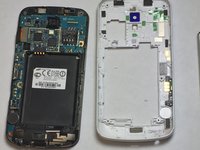
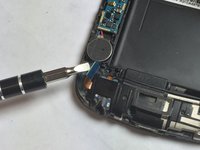
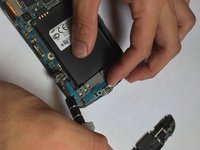
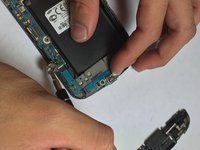
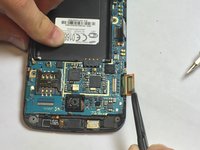
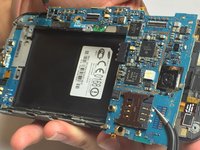
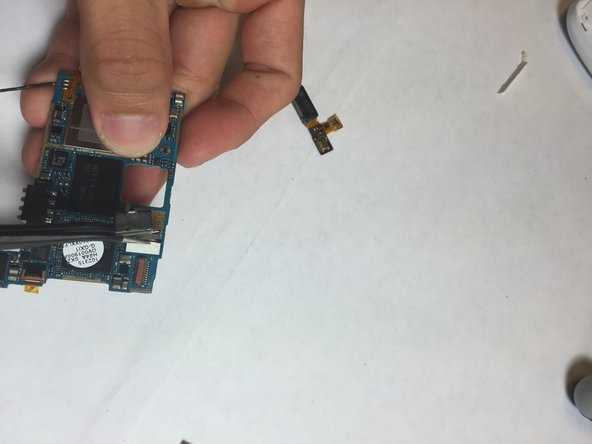
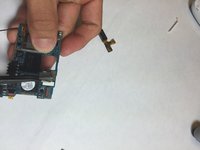
ネジを取り外した後、端末が上向きになるように置く。
-
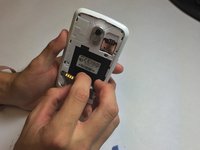
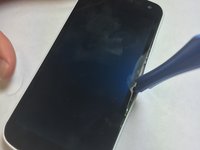
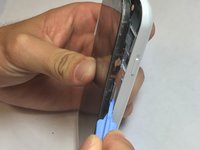
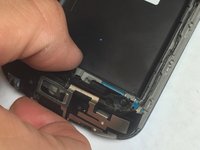
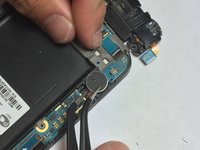
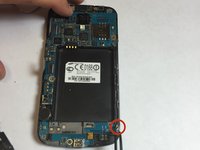
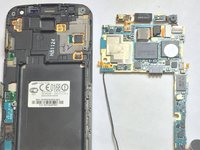
オープニングツールを画面と外ケースの間に差し込む。ツールを画面と端末のシェルの隙間に差し込んだまま、端末の周囲をなぞる。
-
-
-


終わりに
デバイスを再組み立てするには、これらのインストラクションを逆の順番に従って作業を進めてください。
4 の人々がこのガイドを完成させました。
以下の翻訳者の皆さんにお礼を申し上げます:
en jp
100%

Translation Botさんは世界中で修理する私たちを助けてくれています! あなたも貢献してみませんか?
翻訳を始める ›
