メインコンテンツにスキップ

Samsung Galaxy Core Display Replacement

必要な工具と部品

  1. Samsung Galaxy Core Display Replacement, Display: 手順 1、 2の画像 1 Samsung Galaxy Core Display Replacement, Display: 手順 1、 2の画像 2
    • Turn the phone off

    • Remove the back cover

    • Extract battery

  2. Samsung Galaxy Core Display Replacement: 手順 2、 1の画像 1
    • Remove the 9 screws

  3. Samsung Galaxy Core Display Replacement: 手順 3、 1の画像 1
    • Remove the central frame to access the motherboard, help yourself with a thin tool

    • Remove the black screw that secures the lower motherboard

  4. Samsung Galaxy Core Display Replacement: 手順 4、 3の画像 1 Samsung Galaxy Core Display Replacement: 手順 4、 3の画像 2 Samsung Galaxy Core Display Replacement: 手順 4、 3の画像 3
    • Unclip the 3 connectors

    • Disconnect the connection cable of the 2 motherboards

    • With a flat instrument, help yourself to unhook the motherboard

  5. Samsung Galaxy Core Display Replacement: 手順 5、 3の画像 1 Samsung Galaxy Core Display Replacement: 手順 5、 3の画像 2 Samsung Galaxy Core Display Replacement: 手順 5、 3の画像 3
    • Remove top motherboard

    • Remove Speaker

    • Remove the lower motherboard with the help of a hot air hairdryer to help it detach from the adhesive

  6. Samsung Galaxy Core Display Replacement: 手順 6、 2の画像 1 Samsung Galaxy Core Display Replacement: 手順 6、 2の画像 2
    • If the touch screen glass is broken, use tape to avoid injury

    • Disconnect the TouchScreen connector

  7. Samsung Galaxy Core Display Replacement: 手順 7、 1の画像 1
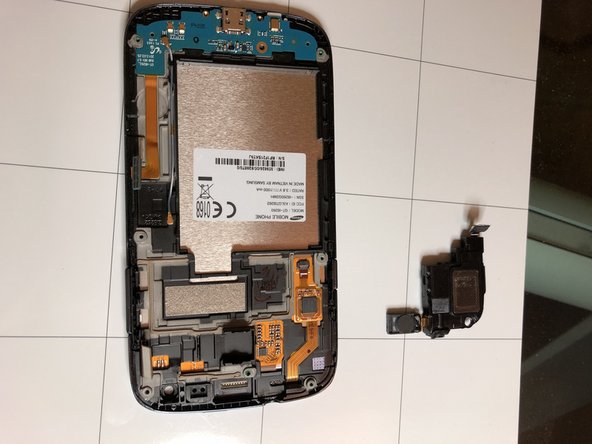
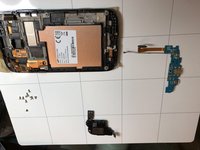
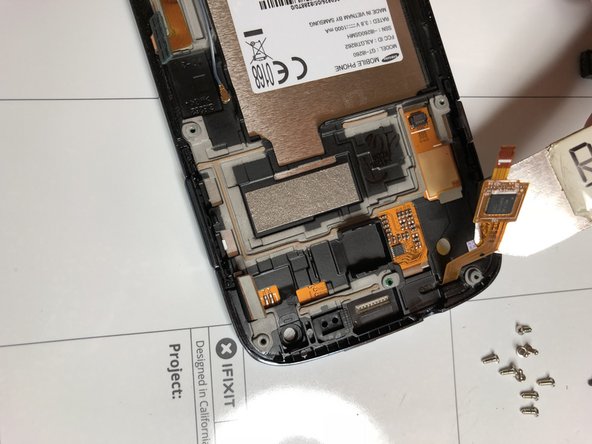
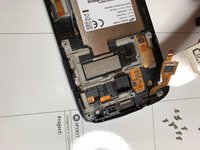
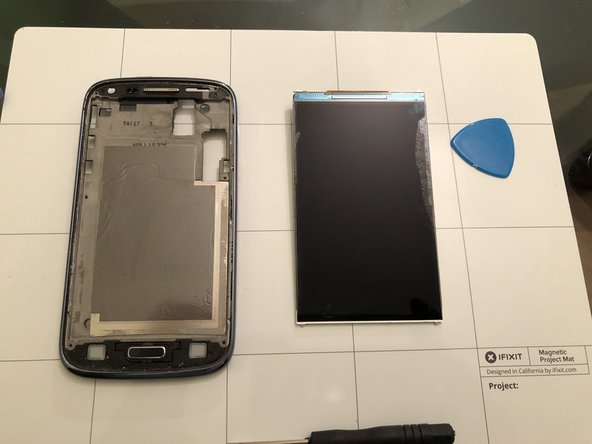
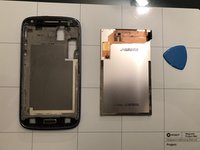
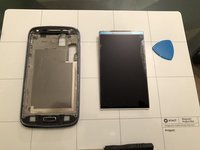
    • Remove the touchscreen with thin tools between the glass and the central cover with the aid of a hair dryer or heat so that you can loosen the adhesive grip

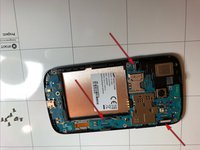
    • Be careful in the part of the buttons and the flat cable of the touchscreen if you need to use it again and do not replace it with a new one

  8. Samsung Galaxy Core Display Replacement: 手順 8、 3の画像 1 Samsung Galaxy Core Display Replacement: 手順 8、 3の画像 2 Samsung Galaxy Core Display Replacement: 手順 8、 3の画像 3
    • Remove the display with thin tools, using heat to detach the fixing adhesive

終わりに

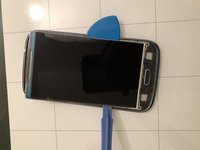
To Reassemble your device, Follow these instruction reverse order.

3 の人々がこのガイドを完成させました。

以下の翻訳者の皆さんにお礼を申し上げます:

it en

100%

irlandaさんは世界中で修理する私たちを助けてくれています! あなたも貢献してみませんか?
翻訳を始める ›

作成者

1人の作成者と共同作成されました。

Smilzo

メンバー登録日: 11/09/13

11,267 ポイント

39のガイドは作成済み

0 件のコメント

コメントを追加

統計データ:

過去 24時間: 0

過去 7 日: 4

過去 30 日: 14

今までの合計 1,276