メインコンテンツにスキップ

Samsung Eternity Digitizer and Screen Replacement

必要な工具と部品

    • Remove the back battery cover.

  1. Samsung Eternity Digitizer and Screen Replacement: 手順 2、 1の画像 1
    • Using a nylon spudger, remove the phone's battery.

  2. Samsung Eternity Digitizer and Screen Replacement: 手順 3、 1の画像 1
    • Remove six (4.28 x 1.25)mm screws using the Phillips #00 screwdriver.

  3. Samsung Eternity Digitizer and Screen Replacement: 手順 4、 2の画像 1 Samsung Eternity Digitizer and Screen Replacement: 手順 4、 2の画像 2
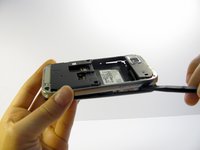
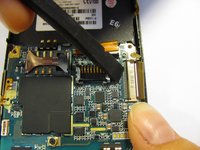
    • Use a nylon spudger to gently pry the silver plastic back plate from the body of the phone.

  4. Samsung Eternity Digitizer and Screen Replacement, Motherboard: 手順 5、 1の画像 1
    • It is very easy to rip motherboard cables and damage fragile motherboard clips. Be careful when you are removing every component.

    • Pull the antenna plug out of its socket.

  5. Samsung Eternity Digitizer and Screen Replacement: 手順 6、 3の画像 1 Samsung Eternity Digitizer and Screen Replacement: 手順 6、 3の画像 2 Samsung Eternity Digitizer and Screen Replacement: 手順 6、 3の画像 3
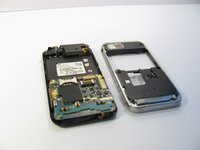
    • Pop the two black hinged-release levers toward their ribbons, then slide the ribbons out.

  6. Samsung Eternity Digitizer and Screen Replacement: 手順 7、 1の画像 1
    • Pop the red hinged-release lever away from its ribbon. Then pull it out.

  7. Samsung Eternity Digitizer and Screen Replacement: 手順 8、 1の画像 1
    • Peel the button sensor on the side of the motherboard off of the case.

  8. Samsung Eternity Digitizer and Screen Replacement: 手順 9、 3の画像 1 Samsung Eternity Digitizer and Screen Replacement: 手順 9、 3の画像 2 Samsung Eternity Digitizer and Screen Replacement: 手順 9、 3の画像 3
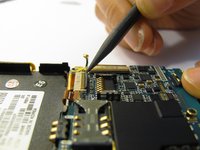
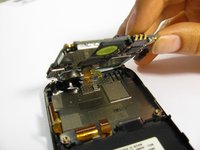
    • Slightly pull up one side of the motherboard.

    • Pull the button/microphone plug out of its socket.

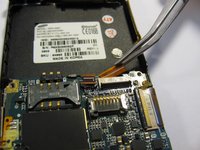
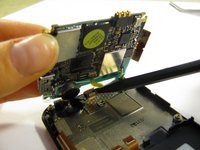
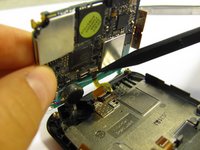
    • Pop the red hinged-release lever away from its ribbon, then slide the ribbon out.

  9. Samsung Eternity Digitizer and Screen Replacement: 手順 10、 1の画像 1
    • You have successfully removed the motherboard from the phone.

  10. Samsung Eternity Digitizer and Screen Replacement, Digitizer and Screen: 手順 11、 1の画像 1
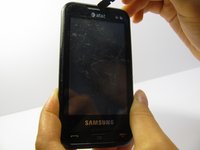
    • Flip the phone over so you are looking at the front screen of the phone.

  11. Samsung Eternity Digitizer and Screen Replacement: 手順 12、 3の画像 1 Samsung Eternity Digitizer and Screen Replacement: 手順 12、 3の画像 2 Samsung Eternity Digitizer and Screen Replacement: 手順 12、 3の画像 3
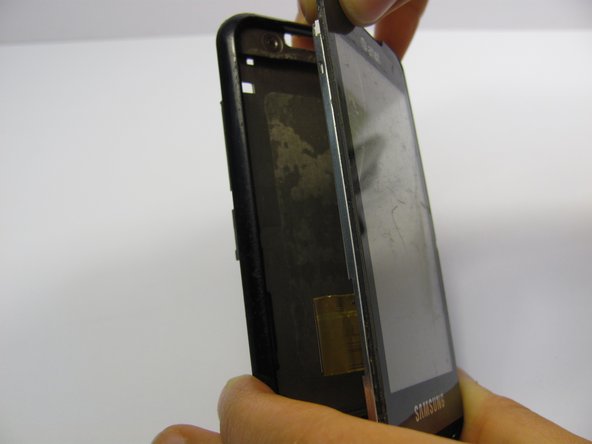
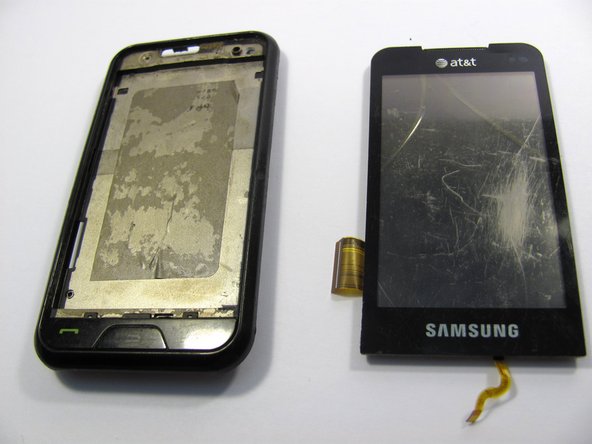
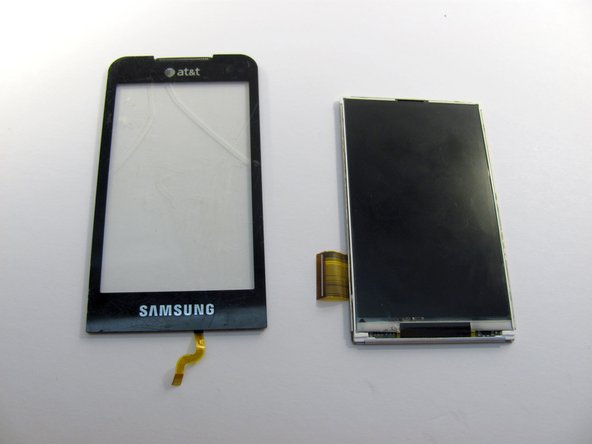
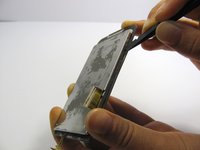
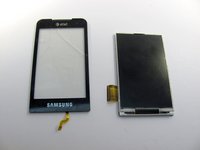
    • Use a small tool to pry the digitizer and screen (together) from the frame of the phone.

    • This may take some time and careful work because it is glued down to the frame.

    • Be careful when you pull the lower part of this piece away from the phone frame because there is a ribbon attached to the digitizer that you don't want to break. There is also a ribbon on the side of the screen to be aware of.

  12. Samsung Eternity Digitizer and Screen Replacement: 手順 13、 3の画像 1 Samsung Eternity Digitizer and Screen Replacement: 手順 13、 3の画像 2 Samsung Eternity Digitizer and Screen Replacement: 手順 13、 3の画像 3
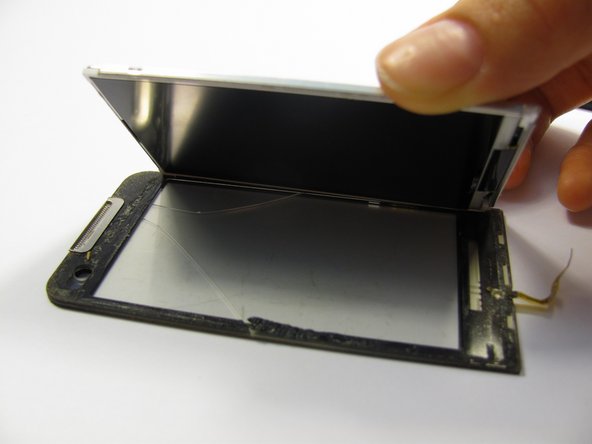
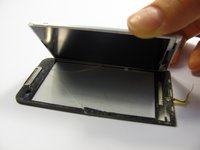
    • Next, carefully pull the digitizer away from the screen.

    • At this point you can replace either the screen or the digitizer.

    • Cleaning the screen with a glass cleaning cloth before reassembling will remove any smudges or fingerprints from disassembling the device.

終わりに

To reassemble your device, follow these instructions in reverse order.

4 の人々がこのガイドを完成させました。

作成者

8人の作成者と共同で作成されました。

Heather Behrend

メンバー登録日: 04/20/11

133 ポイント

1ガイドが承認済み

チーム

Cal Poly, Team 15-11, Regan Spring 2011 Cal Poly, Team 15-11, Regan Spring 2011人のメンバー

CPSU-REGAN-S11S15G11

5 メンバー

14のガイドは作成済み

3件のガイドコメント

You did not mention how to glue the digitizer to LCD. That is a very important step.

cashyapan - 返信

Do these steps also work for the Samsung Eternity 2?

Brian Coukis The 90's Kid! - 返信

コメントを追加

統計データ:

過去 24時間: 0

過去 7 日: 0

過去 30 日: 10

今までの合計 7,023