メインコンテンツにスキップ
リペアコミュニティに参加 - アカウントの作成

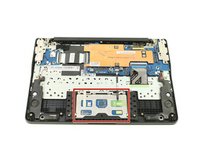
Samsung Chromebook 3 Trackpad Replacement

必要な工具と部品

  1. Samsung Chromebook 3 Trackpad Replacement, Bottom Case: 手順 1、 2の画像 1 Samsung Chromebook 3 Trackpad Replacement, Bottom Case: 手順 1、 2の画像 2
    • Place the Chromebook face down so that the bottom case is exposed.

    • Using a Phillips #00 screwdriver, remove nine 4.6mm screws from the back casing.

    FixBotに聞いてみる

    コメントを追加

  2. Samsung Chromebook 3 Trackpad Replacement: 手順 2、 3の画像 1 Samsung Chromebook 3 Trackpad Replacement: 手順 2、 3の画像 2 Samsung Chromebook 3 Trackpad Replacement: 手順 2、 3の画像 3
    • Use a iFixit opening tool to gently pry the case up from the vent on the hinge side of the Chromebook.

    • You should hear a popping sound as the connectors disengage inside the case.

    FixBotに聞いてみる

    コメントを追加

  3. Samsung Chromebook 3 Trackpad Replacement: 手順 3、 1の画像 1
    • Lift the case up and off the device

    FixBotに聞いてみる

    コメントを追加

  4. Samsung Chromebook 3 Trackpad Replacement, Battery: 手順 4、 2の画像 1 Samsung Chromebook 3 Trackpad Replacement, Battery: 手順 4、 2の画像 2
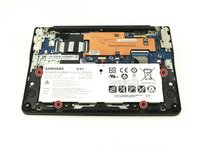
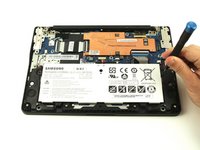
    • Locate the battery and remove the four 4.6mm screws at the corners which attach it to case using a Phillips #00 screwdriver.

    FixBotに聞いてみる

    コメントを追加

  5. Samsung Chromebook 3 Trackpad Replacement: 手順 5、 2の画像 1 Samsung Chromebook 3 Trackpad Replacement: 手順 5、 2の画像 2
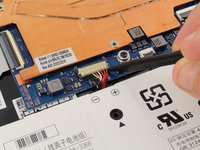
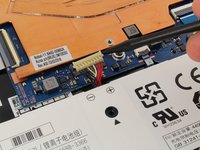
    • Use a spudger to gently pry the power cable cord upwards from the motherboard.

    FixBotに聞いてみる

    コメントを追加

  6. Samsung Chromebook 3 Trackpad Replacement: 手順 6、 1の画像 1
    • Lift the battery up and out from the case.

    FixBotに聞いてみる

    コメントを追加

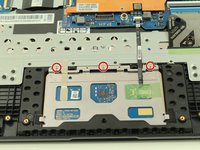
  7. Samsung Chromebook 3 Trackpad Replacement, Trackpad: 手順 7、 3の画像 1 Samsung Chromebook 3 Trackpad Replacement, Trackpad: 手順 7、 3の画像 2 Samsung Chromebook 3 Trackpad Replacement, Trackpad: 手順 7、 3の画像 3
    • Remove the three 2.3mm screws along the top of the trackpad using a Phillips #00 screwdriver.

    FixBotに聞いてみる

    コメントを追加

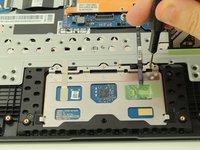
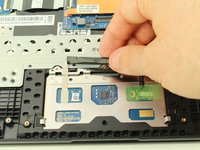
  8. Samsung Chromebook 3 Trackpad Replacement: 手順 8、 2の画像 1 Samsung Chromebook 3 Trackpad Replacement: 手順 8、 2の画像 2
    • Use a spudger to gently remove the adhesive tape on the upper left side of the trackpad.

    FixBotに聞いてみる

    コメントを追加

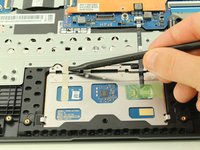
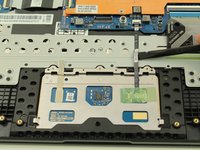
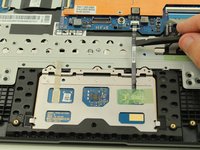
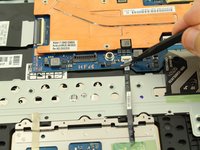
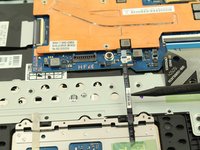
  9. Samsung Chromebook 3 Trackpad Replacement: 手順 9、 2の画像 1 Samsung Chromebook 3 Trackpad Replacement: 手順 9、 2の画像 2
    • There's more adhesive on the cable ribbon on the upper left side that connects the trackpad to the motherboard. Use your spudger to lift the cable ribbon up from the adhesive.

    FixBotに聞いてみる

    コメントを追加

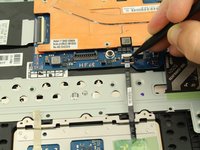
  10. Samsung Chromebook 3 Trackpad Replacement: 手順 10、 3の画像 1 Samsung Chromebook 3 Trackpad Replacement: 手順 10、 3の画像 2 Samsung Chromebook 3 Trackpad Replacement: 手順 10、 3の画像 3
    • Use a spudger to lift the grey plastic piece locking the cable ribbon in place to its connection on the motherboard.

    • The grey piece is on a hinge and should be able to be flipped up rather than removed completely. Removal doesn't damage anything, just makes putting everything back together a bit harder, so try not to remove if possible.

    • Take the end of the cable ribbon out from the connector.

    FixBotに聞いてみる

    コメントを追加

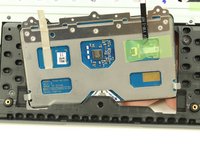
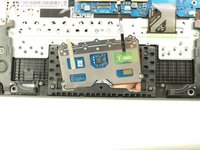
  11. Samsung Chromebook 3 Trackpad Replacement: 手順 11、 2の画像 1 Samsung Chromebook 3 Trackpad Replacement: 手順 11、 2の画像 2
    • From the keyboard side, nudge the trackpad down and around the lip on the upper edge and finally pull your trackpad out to freedom!

    FixBotに聞いてみる

    コメントを追加

終わりに

To reassemble your device, follow these instructions in reverse order.

キャンセル: このガイドを終了できませんでした。

ある他の人がこのガイドを完成しました。

作成者

1人の作成者と共同作成されました。

Austin Blakely

メンバー登録日: 03/11/19

23,014 ポイント

53のガイドは作成済み

0件のガイドコメント

コメントを追加

統計データ:

過去 24時間: 1

過去 7 日: 7

過去 30 日: 58

今までの合計 1,530