メインコンテンツにスキップ
リペアコミュニティに参加 - アカウントの作成

SONY ZS-BTG900 Disassembly

必要条件のみ
これは前提条件のみのガイドです!このガイドは別の手順の一部であり、単独で使用されません。

必要な工具と部品

    1. SONY ZS-BTG900 Disassembly, SONY ZS-BTG900 Disassembly: 手順 1、 2の画像 1 SONY ZS-BTG900 Disassembly, SONY ZS-BTG900 Disassembly: 手順 1、 2の画像 2
      • Lift up the handle to reveal the screws.

      • Use your Phillips #2 screwdriver to remove the eight 1/2 inch screws.

      FixBotに聞いてみる

      コメントを追加

    2. SONY ZS-BTG900 Disassembly: 手順 2、 3の画像 1 SONY ZS-BTG900 Disassembly: 手順 2、 3の画像 2 SONY ZS-BTG900 Disassembly: 手順 2、 3の画像 3
      • Flip your device over.

      • Use your Phillips #2 screwdriver to remove the six 3/4inch screws.

      • In removing the screws within the two holes on the back of the device, you may want to use your shaft extension to provide extra torque as they may be very tight.

      FixBotに聞いてみる

      コメントを追加

    3. SONY ZS-BTG900 Disassembly: 手順 3、 2の画像 1 SONY ZS-BTG900 Disassembly: 手順 3、 2の画像 2
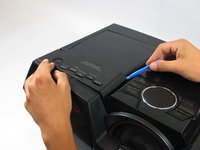
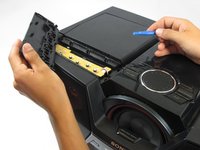
      • Flip your device back over to access the top of the device.

      • Use your plastic opening tool to pry up and remove the panel on the top, left hand side of the device.

      • This will reveal two additional screws.

      FixBotに聞いてみる

      コメントを追加

    4. SONY ZS-BTG900 Disassembly: 手順 4、 1の画像 1
      • Use your Phillips #2 screwdriver to remove the two 1/2 inch screws underneath the now-removed panels.

      FixBotに聞いてみる

      コメントを追加

    5. SONY ZS-BTG900 Disassembly: 手順 5、 2の画像 1 SONY ZS-BTG900 Disassembly: 手順 5、 2の画像 2
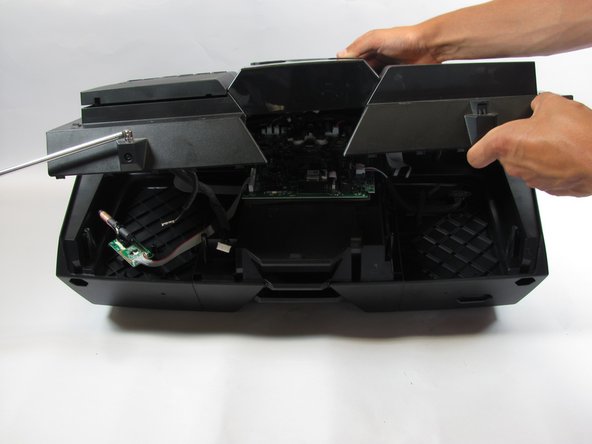
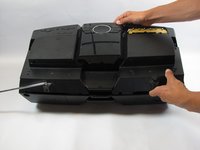
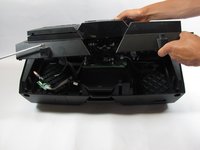
      • Lift off the top, beginning from the back of the device.

      • Take care when lifting the top portion as there are many wires connected to the inside of the device and you do not want to disconnect these just yet.

      FixBotに聞いてみる

      コメントを追加

    6. SONY ZS-BTG900 Disassembly: 手順 6、 2の画像 1 SONY ZS-BTG900 Disassembly: 手順 6、 2の画像 2
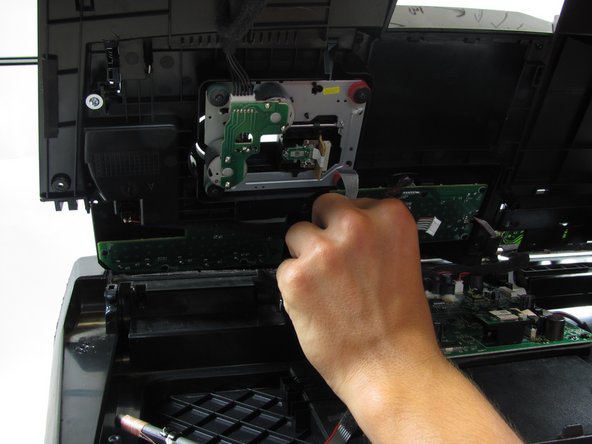
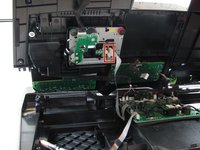
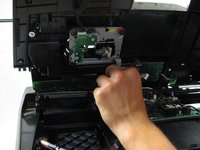
      • Disconnect the CD drive ribbon cable from the top of the device.

      FixBotに聞いてみる

      コメントを追加

    7. SONY ZS-BTG900 Disassembly: 手順 7、 2の画像 1 SONY ZS-BTG900 Disassembly: 手順 7、 2の画像 2
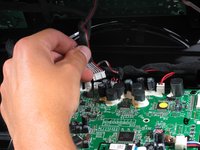
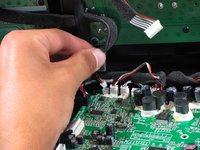
      • Disconnect the antenna cables.

      FixBotに聞いてみる

      コメントを追加

    8. SONY ZS-BTG900 Disassembly: 手順 8、 3の画像 1 SONY ZS-BTG900 Disassembly: 手順 8、 3の画像 2 SONY ZS-BTG900 Disassembly: 手順 8、 3の画像 3
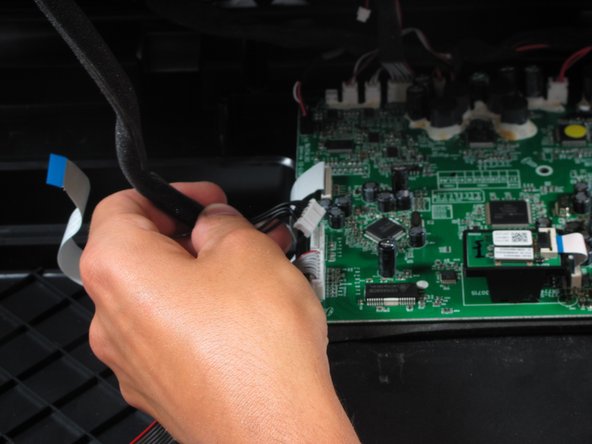
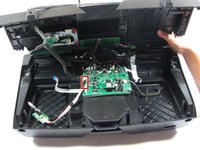
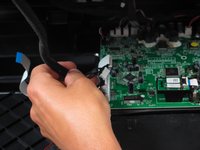
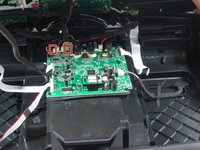
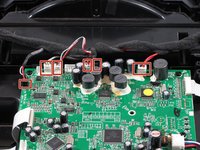
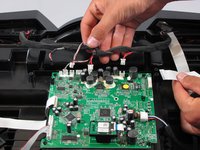
      • Disconnect the remaining cables from the motherboard.

      FixBotに聞いてみる

      コメントを追加

    9. SONY ZS-BTG900 Disassembly: 手順 9、 2の画像 1 SONY ZS-BTG900 Disassembly: 手順 9、 2の画像 2
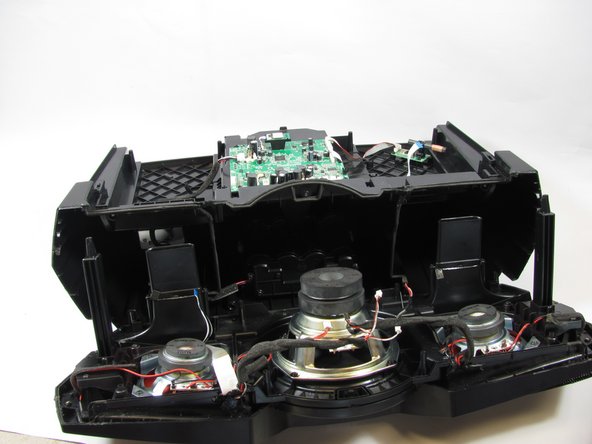
      • Once you have removed the top, we will begin removing the front of the device.

      • Begin by disconnecting the 6 cables that lead from the front of the device to the motherboard.

      FixBotに聞いてみる

      コメントを追加

    10. SONY ZS-BTG900 Disassembly: 手順 10、 1の画像 1
      • Use your Philips #2 screwdriver to remove the two 1 inch screws on the outermost part of the device.

      • Use your Philips #2 screwdriver to remove the two 3/4 inch screws on the outermost part of the device.

      • Use your Philips #2 screwdriver to remove the one 5/6 inch screw on the middle part of the device.

      FixBotに聞いてみる

      コメントを追加

    11. SONY ZS-BTG900 Disassembly: 手順 11、 2の画像 1 SONY ZS-BTG900 Disassembly: 手順 11、 2の画像 2
      • Firmly pull off the front of device.

      • There will be a small amount of black glue. You can simply ignore this, and continue to pull, or use a sharp edge to cut the glue once you've revealed it.

      FixBotに聞いてみる

      コメントを追加

終わりに

To reassemble your device, follow these instructions in reverse order.

キャンセル: このガイドを終了できませんでした。

2 の人々がこのガイドを完成させました。

作成者

5人の作成者と共同で作成されました。

Al R.

メンバー登録日: 04/11/16

1,004 ポイント

8のガイドは作成済み

1件のガイドコメント

Alfredo and any others who developed this guide - you are awesome! Thank you very much for the great level of detail. Saved me a bunch of time.

Mike L - 返信 共有

コメントを追加

統計データ:

過去 24時間: 2

過去 7 日: 10

過去 30 日: 22

今までの合計 966