はじめに
Before You Start
For your safety, ensure the Ryobi D620H Hammer Drill is not connected to any power source before you perform any repairs.
It is very important to ensure that the electrical connections are correctly replaced in their designated area for the drill to function properly.
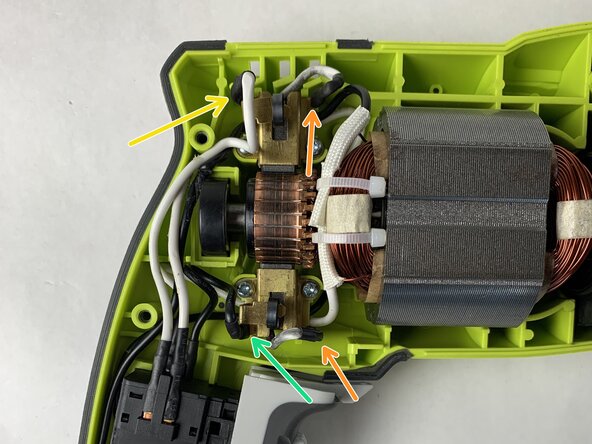
Replacing the motor brushes is a very detail-oriented process. It is crucial to ensure you are paying attention to the positions of each wire. If you mix up even one of the connections, the drill will not function after reassembly! If a cellphone with a camera is accessible to you, it will help to take close-up pictures of the drill before disassembly or you can use a marker to mark the wires to their corresponding connections.
必要な工具と部品
-
-
-
Turn the drill so that the screws face upwards.
-
Use the Torx T20 screwdriver to remove all nine screws.
 FixBotに聞いてみる
-
-
-
Insert the end of an opening tool between the right and left sides of the drill to pry the right side of the case.
-
Remove the right side case to expose the inside of the drill.
-
-
-
-
-
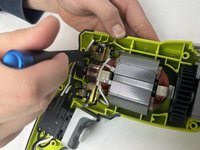
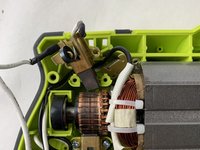
The motor brushes are located on the rotating armature of the motor.
-
-
-
-
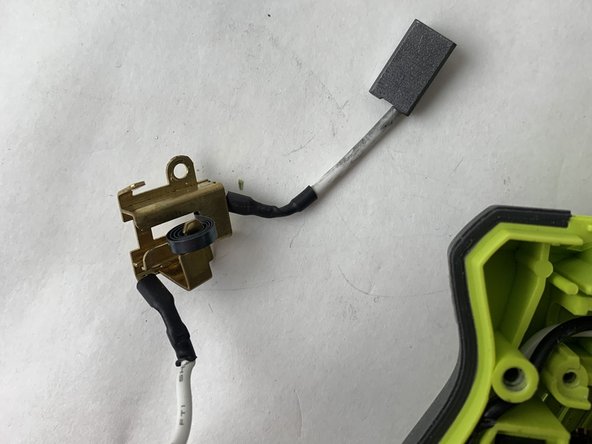
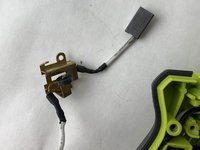
Unscrew the brass spring-loaded bracket from the case using a PH1 screwdriver and remove them from the case and armature.
-
-
-
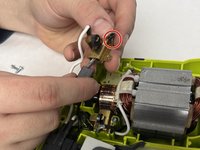
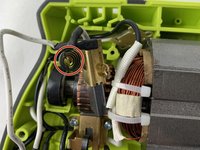
Pull the two connections (circled in red) gently from their terminals.
-
Remove the composite shim under the bracket.
-
-
-
Remove screws and disconnect the two terminals circled in red on the bottom brush bracket.
-
Remove the longer black wire that connects to the left side terminal
-
Remove the shorter white wire connected to the brush that connects to the right side terminal
-
Remove composite shim under the bracket.
-
-
-
Remove the right-side wire from terminal. (The wire that connects to the brush).
-
Pull the brush out of the brackets gently. It shouldn't require much force.
-
-
-
Place the new coil spring on the new bracket.
-
Slide the motor brush wire into the bracket and connect it to the right-side terminal.
-
Reconnect the longer white wire on the top brackets left side terminal by firmly and steadily pushing down.
-
Reconnect the longer black wire on the bottom bracket left side terminal by firmly and steadily pushing down.
-
Replace the composite shim under the brackets.
-
Screw both brackets down.
-
-





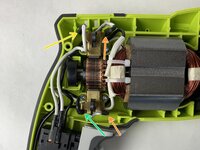
You've successfully replaced the motor brushes on your Ryobi Hammer Drill!
ある他の人がこのガイドを完成しました。

チーム

UMass Dartmouth, Team 1-2, Petersen Fall 2023 UMass Dartmouth, Team 1-2, Petersen Fall 2023人のメンバー
UMASSD-PETERSEN-F23S1G2
4 メンバー
6のガイドは作成済み
