メインコンテンツにスキップ
リペアコミュニティに参加 - アカウントの作成

Rydis H68 Pro Bumper Replacement

必要な工具と部品

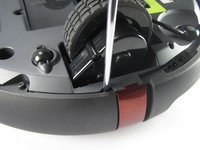
    1. Rydis H68 Pro Bumper Replacement, Battery: 手順 1、 2の画像 1 Rydis H68 Pro Bumper Replacement, Battery: 手順 1、 2の画像 2
      • Flip the vacuum over so that the wheels are facing you.

      • Use a Phillips #1 screwdriver to remove the four 10 mm screws that surround the battery cover.

      FixBotに聞いてみる

      コメントを追加

    2. Rydis H68 Pro Bumper Replacement: 手順 2、 1の画像 1
      • Lift the battery cover up to reveal the battery.

      • Remove the battery.

      FixBotに聞いてみる

      コメントを追加

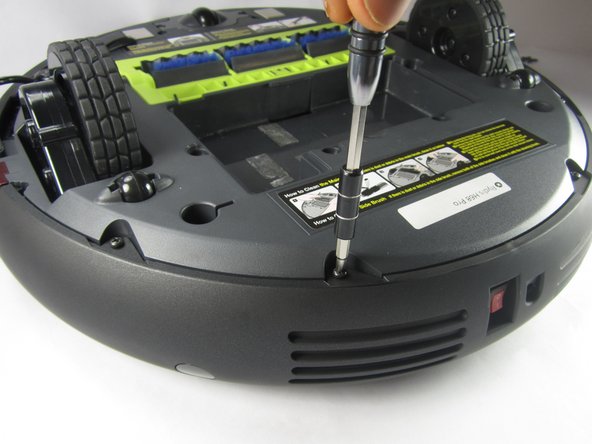
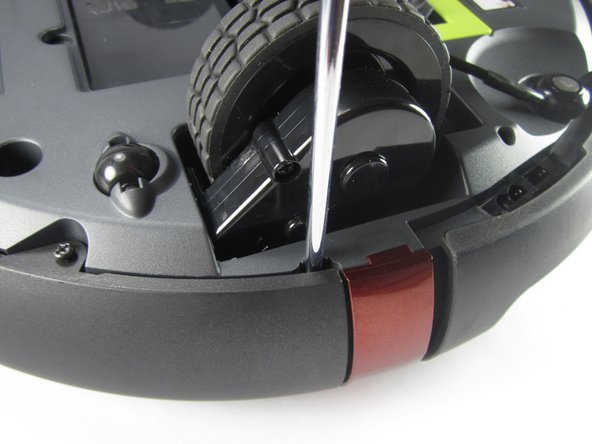
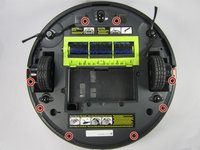
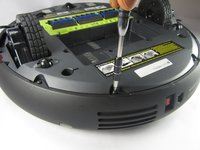
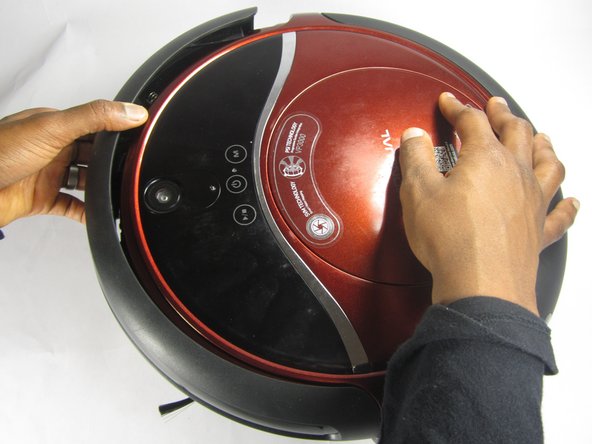
    1. Rydis H68 Pro Bumper Replacement, Bumper: 手順 3、 3の画像 1 Rydis H68 Pro Bumper Replacement, Bumper: 手順 3、 3の画像 2 Rydis H68 Pro Bumper Replacement, Bumper: 手順 3、 3の画像 3
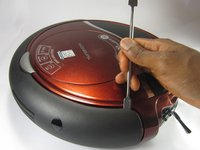
      • Remove the eight 10 mm Phillips #1 screws.

      FixBotに聞いてみる

      コメントを追加

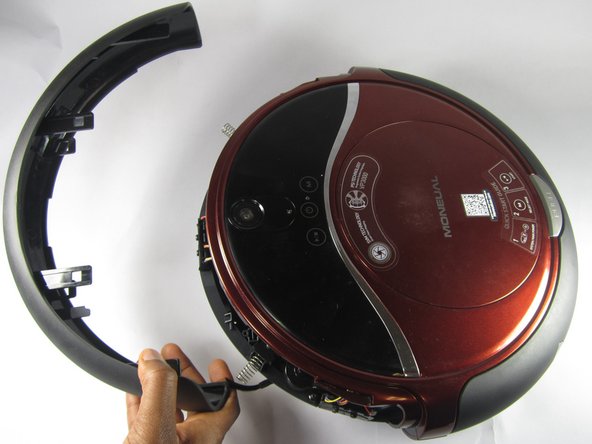
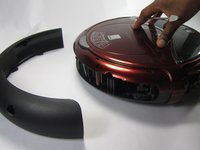
    2. Rydis H68 Pro Bumper Replacement: 手順 4、 3の画像 1 Rydis H68 Pro Bumper Replacement: 手順 4、 3の画像 2 Rydis H68 Pro Bumper Replacement: 手順 4、 3の画像 3
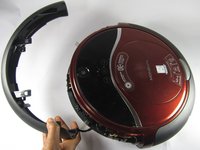
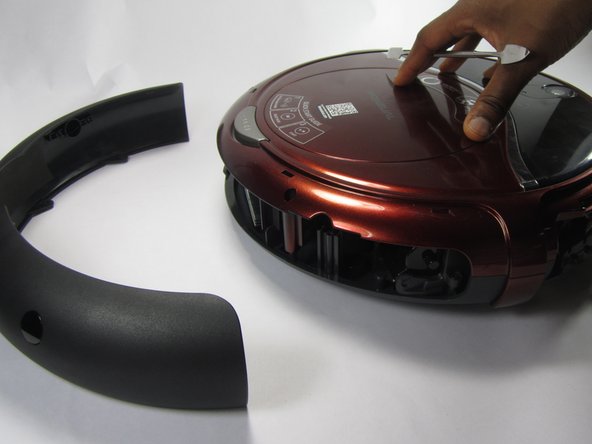
      • Hold the front bumper and pull it off.

      • It requires a lot of force to pull the bumper off.

      FixBotに聞いてみる

      コメントを追加

    3. Rydis H68 Pro Bumper Replacement: 手順 5、 3の画像 1 Rydis H68 Pro Bumper Replacement: 手順 5、 3の画像 2 Rydis H68 Pro Bumper Replacement: 手順 5、 3の画像 3
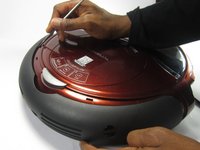
      • Pry off the back bumper by going around the entire top of the bumper with the metal spudger.

      FixBotに聞いてみる

      コメントを追加

終わりに

To reassemble your device, follow these instructions in reverse order.

キャンセル: このガイドを終了できませんでした。

作成者

3人の作成者と共同で作成されました。

Joe Balduz

メンバー登録日: 02/15/17

231 ポイント

2のガイドは作成済み

チーム

USFT-Lacy-S17S005G2 USFT-Lacy-S17S005G2人のメンバー

Local Repair Groups

4 メンバー

15のガイドは作成済み

0件のガイドコメント

コメントを追加

統計データ:

過去 24時間: 1

過去 7 日: 2

過去 30 日: 14

今までの合計 716