はじめに
This guide is meant for the Ring Stick up Cam Battery (3rd generation, model number 5UM7E5). If you believe the camera lens or camera component of your Ring Stick up Cam Battery is damaged or faulty, this guide will walk you through removing and replacing it.
必要な工具と部品
-
-
-
Turn the camera so the lens is facing away from you, and the back is facing towards you.
-
Place one hand securely on the base and the other on the stand.
-
Carefully twist your bottom hand counterclockwise until the indicator line reaches the unlock icon.
 FixBotに聞いてみる
-
-
-
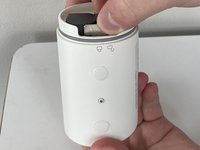
Hold the camera so the opening containing the battery is toward the ceiling.
-
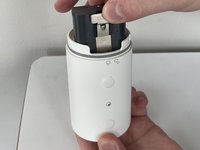
Squeeze the silver lever labeled "push" and extract the battery from its slot.
-
-
-
-
この手順で使用する道具:Halberd Spudger$2.99
-
Remove the upper and lower silicon covers on the rear panel with your fingers or the hook-end of the halberd spudger.
-
-
-
Rotate the device so the base is facing upward.
-
Remove the two 6 mm screws from the base (on either side of the QR code) using a Phillips #00 screwdriver.
-
Remove the two 4 mm screws that connect the silver latch on the outside rim using a Phillips #00 screwdriver.
-
-
-
-
Remove the silver latch from the base.
-
Remove the front cover.
-
Remove the eight 6 mm screws from the inside panel with a Philips #00 screwdriver.
-
Remove the two 4 mm screws from the inside panel with a Phillips #00 screwdriver.
-
-
-
Remove the seven 4 mm screws connecting the motherboard to the camera body with a Phillips #00 screwdriver.
-
-
-
Rotate the device to its side.
-
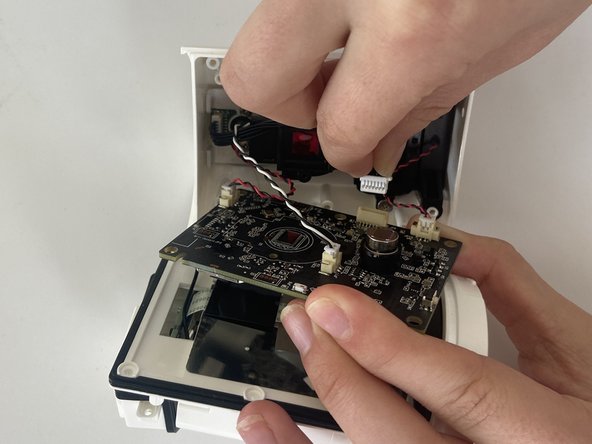
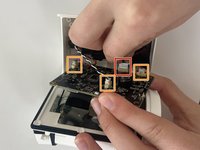
With your fingers, carefully remove the white part of the cord clip from the beige base.
-
Repeat this for the remaining three cords connecting the motherboard to the camera body.
-
-
-
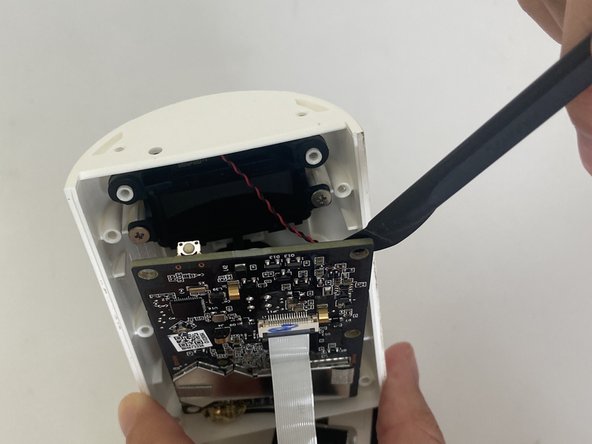
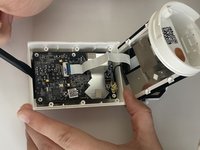
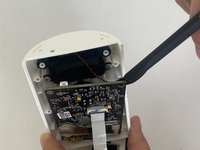
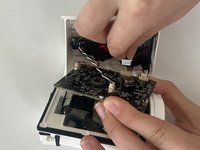
Fold the motherboard downward from the camera body, revealing a white connecting strip.
-
Using the flat end of a spudger, flick the black hinge upward.
-
Pull the white strip out of the slot.
-
-
-
Carefully insert the spudger underneath gold adhesive at the lower left-hand corner of the motherboard.
-
Gently remove the adhesive cover from the motherboard.
-
-
-
-
-
Orient your device so that the interior of the camera body is facing the ceiling.
-
-
-
Remove the two 6 mm screws that connect the camera to the camera body using a Phillips #00 screwdriver.
-
-
-
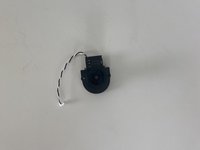
Using your fingers, lift out the camera component including the camera lens and the attached wire.
-
-







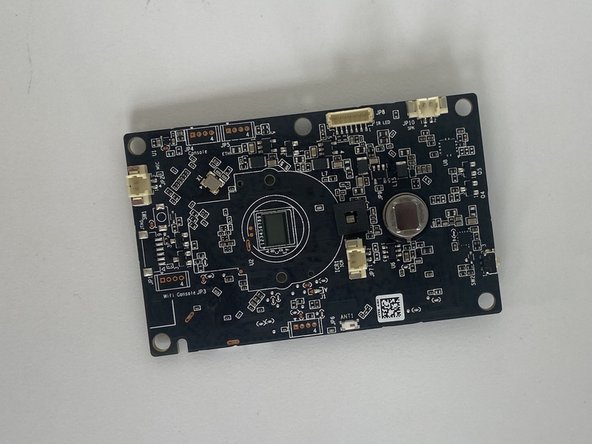
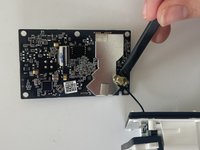
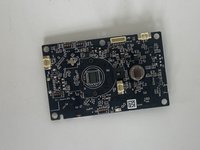


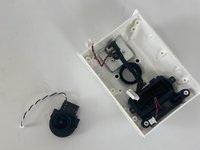
To reassemble your device, follow these instructions in reverse order.
ある他の人がこのガイドを完成しました。

チーム

Marist, Team 1-1, Chaterdon Spring 2023 Marist, Team 1-1, Chaterdon Spring 2023人のメンバー
MARS-CHATERDON-S23S1G1
3 メンバー
48のガイドは作成済み
