メインコンテンツにスキップ
リペアコミュニティに参加 - アカウントの作成

Rexing V1P Plus Front Camera Replacement

必要な工具と部品

  1. Rexing V1P Plus Front Camera Replacement, Front Camera: 手順 1、 3の画像 1 Rexing V1P Plus Front Camera Replacement, Front Camera: 手順 1、 3の画像 2 Rexing V1P Plus Front Camera Replacement, Front Camera: 手順 1、 3の画像 3
    • Begin by orienting the device with the LCD screen facing down.

    • Remove the four 6 mm screws, located on the backside of the device, using the Phillips #00 screwdriver.

    FixBotに聞いてみる
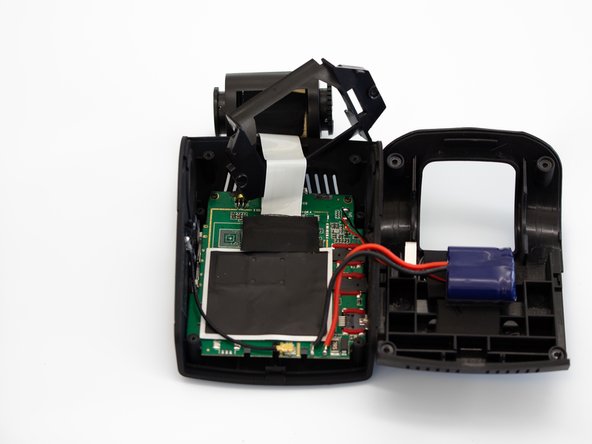
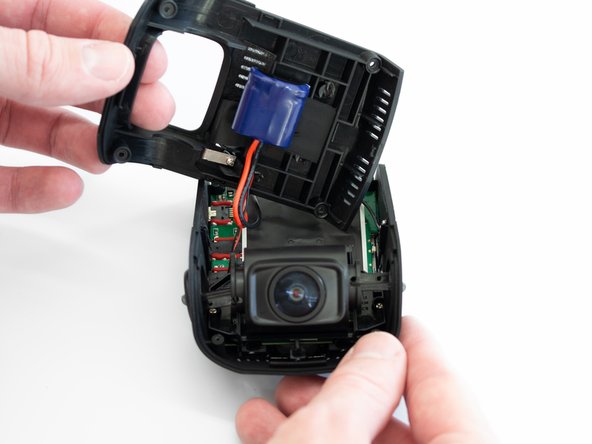
  2. Rexing V1P Plus Front Camera Replacement: 手順 2、 3の画像 1 Rexing V1P Plus Front Camera Replacement: 手順 2、 3の画像 2 Rexing V1P Plus Front Camera Replacement: 手順 2、 3の画像 3
    • Remove the back cover of the device and place it to the side.

    • Rotate the device 180 degrees to where the camera is facing you.

    FixBotに聞いてみる
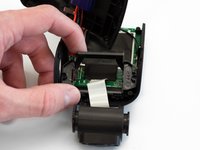
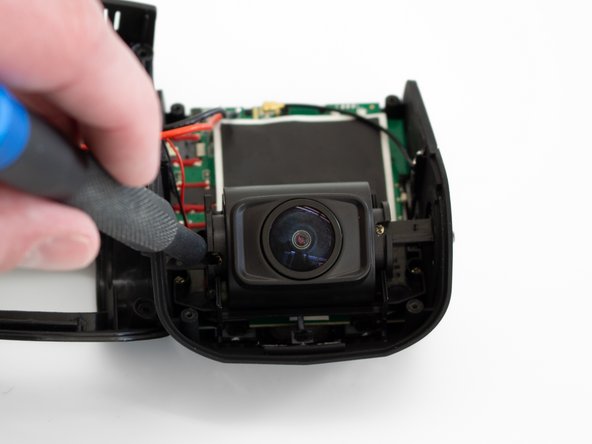
  3. Rexing V1P Plus Front Camera Replacement: 手順 3、 3の画像 1 Rexing V1P Plus Front Camera Replacement: 手順 3、 3の画像 2 Rexing V1P Plus Front Camera Replacement: 手順 3、 3の画像 3
    • Remove the two 5 mm screws next to the lens using the Phillips #00 screwdriver.

    FixBotに聞いてみる
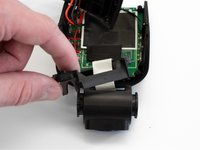
  4. Rexing V1P Plus Front Camera Replacement: 手順 4、 3の画像 1 Rexing V1P Plus Front Camera Replacement: 手順 4、 3の画像 2 Rexing V1P Plus Front Camera Replacement: 手順 4、 3の画像 3
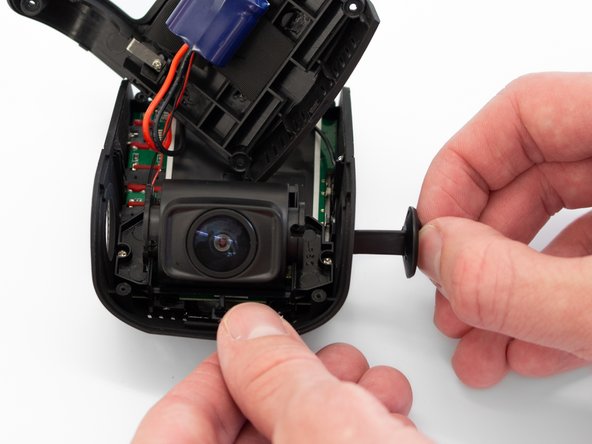
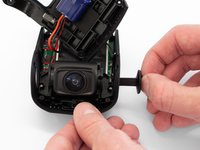
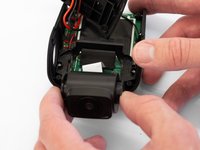
    • Remove the two camera angle adjusters from the side of the device and carefully pull out the lens.

    FixBotに聞いてみる
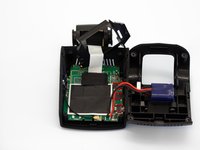
  5. Rexing V1P Plus Front Camera Replacement: 手順 5、 3の画像 1 Rexing V1P Plus Front Camera Replacement: 手順 5、 3の画像 2 Rexing V1P Plus Front Camera Replacement: 手順 5、 3の画像 3
    • Remove the two 5mm screws securing the camera support bracket using the Phillips #00 screwdriver.

    FixBotに聞いてみる
  6. Rexing V1P Plus Front Camera Replacement: 手順 6、 3の画像 1 Rexing V1P Plus Front Camera Replacement: 手順 6、 3の画像 2 Rexing V1P Plus Front Camera Replacement: 手順 6、 3の画像 3
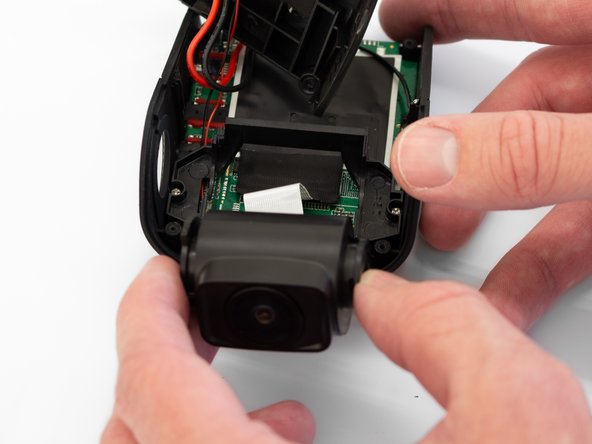
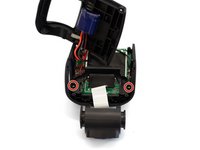
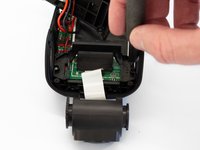
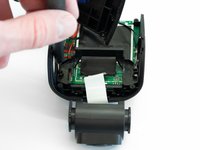
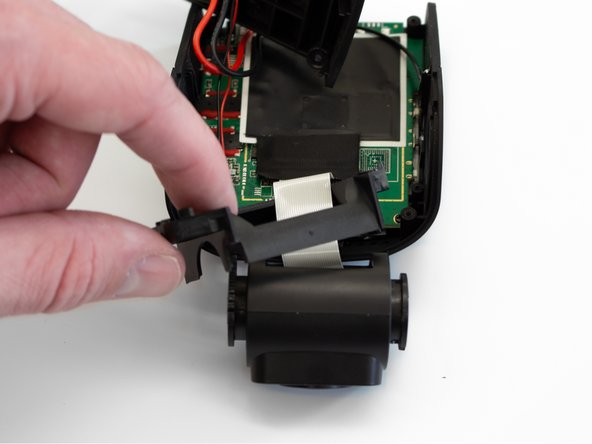
    • Carefully remove the plastic frame piece from its previously secured position on the motherboard.

    • It will rest loosely around the white camera ribbon.

    • Rotate the device 180 degrees to where the camera is facing away from you.

    FixBotに聞いてみる
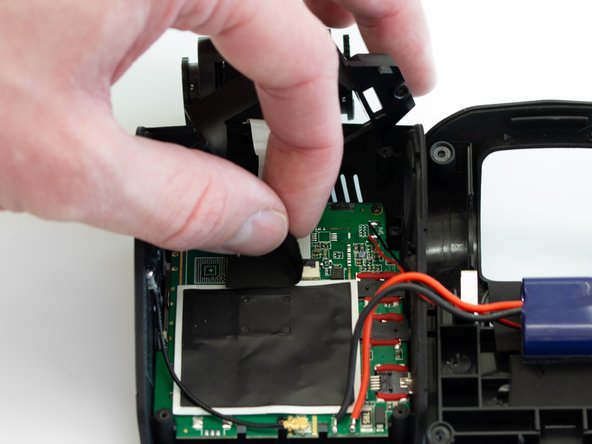
  7. Rexing V1P Plus Front Camera Replacement: 手順 7、 3の画像 1 Rexing V1P Plus Front Camera Replacement: 手順 7、 3の画像 2 Rexing V1P Plus Front Camera Replacement: 手順 7、 3の画像 3
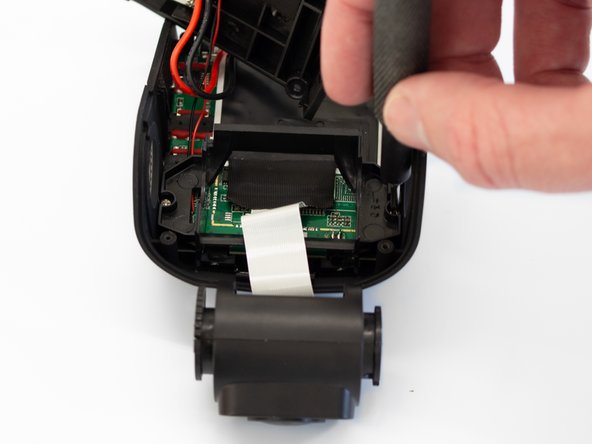
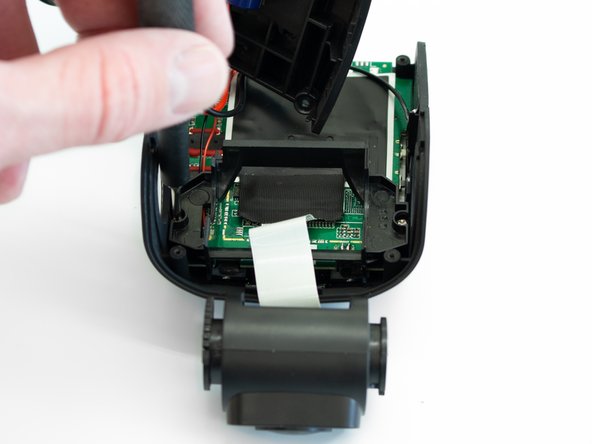
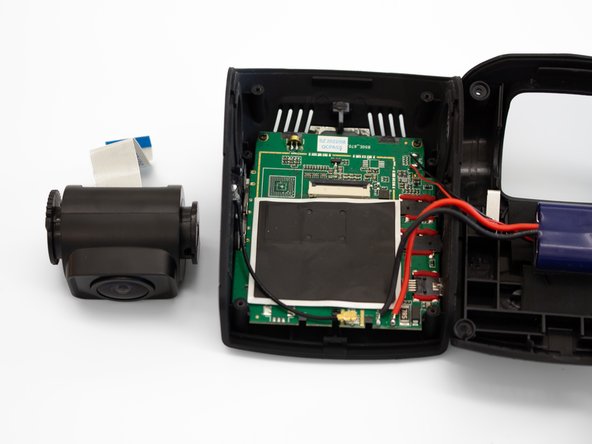
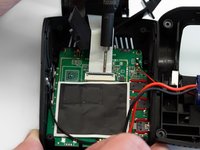
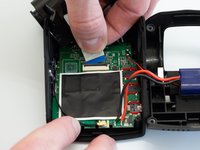
    • Carefully peel back the adhesive material covering the ribbon cable connection.

    FixBotに聞いてみる
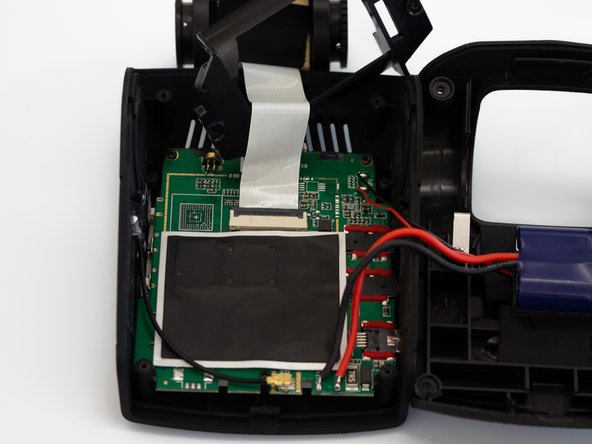
  8. Rexing V1P Plus Front Camera Replacement: 手順 8、 3の画像 1 Rexing V1P Plus Front Camera Replacement: 手順 8、 3の画像 2 Rexing V1P Plus Front Camera Replacement: 手順 8、 3の画像 3
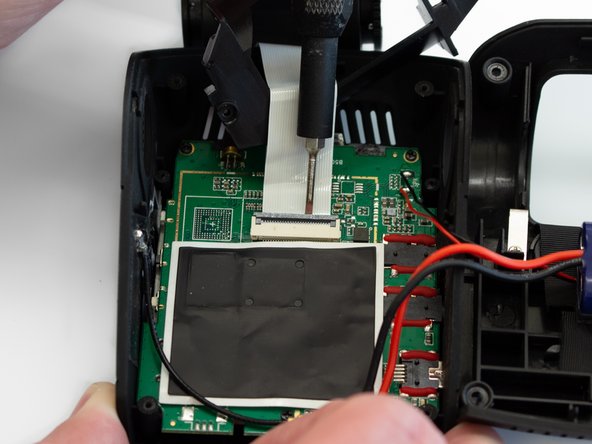
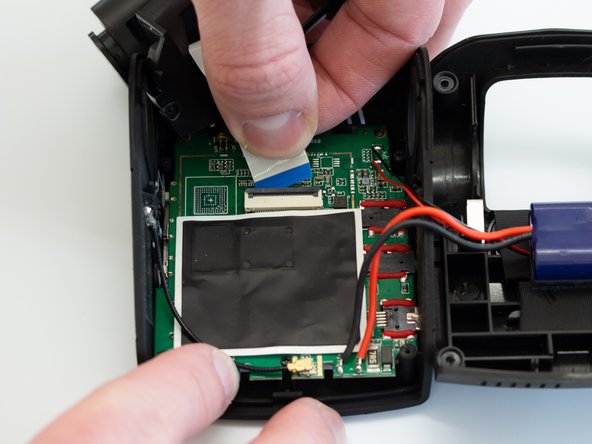
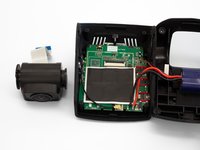
    • Using the Flathead 1.5mm screwdriver, or another pry tool, gently flip up the black ZIF connector locking flap to free the ribbon cable.

    • Once the connector is open, slide the ribbon cable out to remove it.

    FixBotに聞いてみる
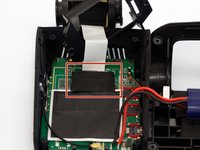
終わりに

To reassemble your device, follow these instructions in reverse order.

ある他の人がこのガイドを完成しました。

作成者

4人の作成者と共同で作成されました。

Ryan Horne

メンバー登録日: 02/14/23

270 ポイント

1ガイドが承認済み

チーム

Western Carolina University, Team 1-1, Virtue Spring 2023 Western Carolina University, Team 1-1, Virtue Spring 2023人のメンバー

WCU-VIRTUE-S23S1G1

4 メンバー

5のガイドは作成済み

0件のガイドコメント

コメントを追加

統計データ:

過去 24時間: 1

過去 7 日: 15

過去 30 日: 43

今までの合計 340