メインコンテンツにスキップ
リペアコミュニティに参加 - アカウントの作成

Retro-Bit Retro Duo Cartridge Doors Replacement

必要な工具と部品

  1. Retro-Bit Retro Duo Cartridge Doors Replacement, Cartridge Doors: 手順 1、 3の画像 1 Retro-Bit Retro Duo Cartridge Doors Replacement, Cartridge Doors: 手順 1、 3の画像 2 Retro-Bit Retro Duo Cartridge Doors Replacement, Cartridge Doors: 手順 1、 3の画像 3
    • With the console on its top. Remove the four 12 mm Phillips #2 screws.

    • There may be a sticker covering one or more of the screws. Remove it before the screws.

    • Flip the console on its feet, pinch near the AV/S ports, and carefully lift the top casing.

    • Do not completely remove the top casing. There is a small LED circuit board connected to the main circuit board.

    FixBotに聞いてみる

    コメントを追加

  2. Retro-Bit Retro Duo Cartridge Doors Replacement: 手順 2、 3の画像 1 Retro-Bit Retro Duo Cartridge Doors Replacement: 手順 2、 3の画像 2 Retro-Bit Retro Duo Cartridge Doors Replacement: 手順 2、 3の画像 3
    • Remove the one 6 mm Phillips #0 screw.

    • Lift the top case and set aside.

    FixBotに聞いてみる

    コメントを追加

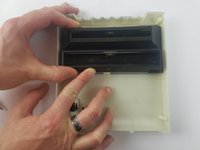
  3. Retro-Bit Retro Duo Cartridge Doors Replacement: 手順 3、 3の画像 1 Retro-Bit Retro Duo Cartridge Doors Replacement: 手順 3、 3の画像 2 Retro-Bit Retro Duo Cartridge Doors Replacement: 手順 3、 3の画像 3
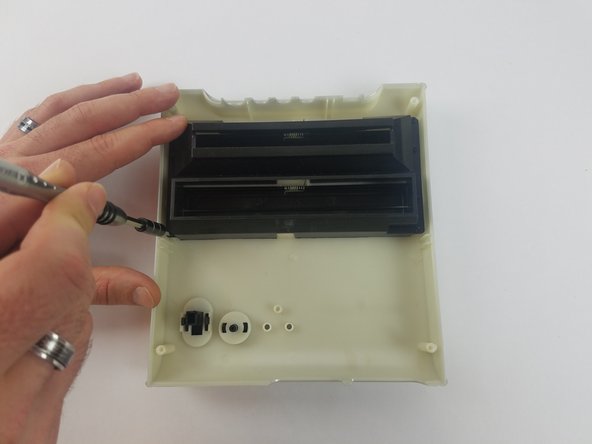
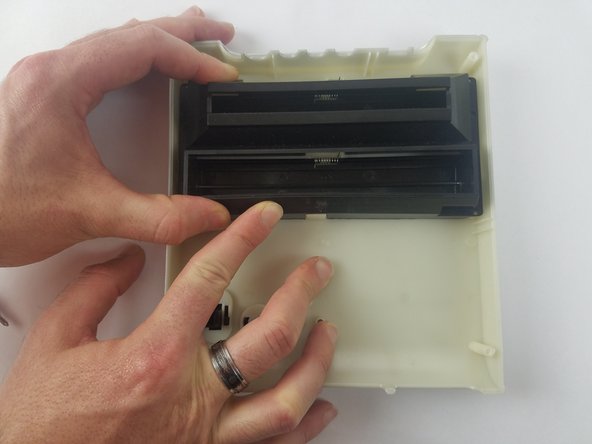
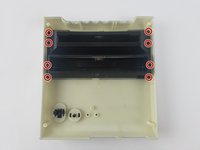
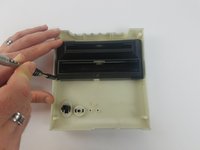
    • Remove the eight 10 mm Phillips #0 screws.

    • The cartridge doors are spring-loaded and may pop up.

    FixBotに聞いてみる

    コメントを追加

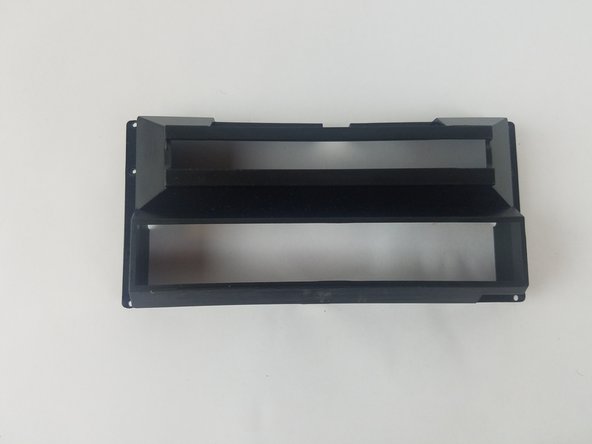
  4. Retro-Bit Retro Duo Cartridge Doors Replacement: 手順 4、 2の画像 1 Retro-Bit Retro Duo Cartridge Doors Replacement: 手順 4、 2の画像 2
    • Carefully lift the cartridge door case and set aside.

    FixBotに聞いてみる

    コメントを追加

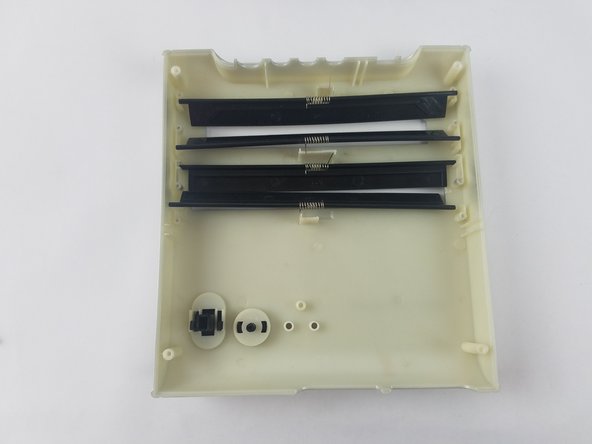
  5. Retro-Bit Retro Duo Cartridge Doors Replacement: 手順 5、 2の画像 1 Retro-Bit Retro Duo Cartridge Doors Replacement: 手順 5、 2の画像 2
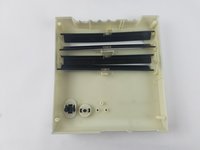
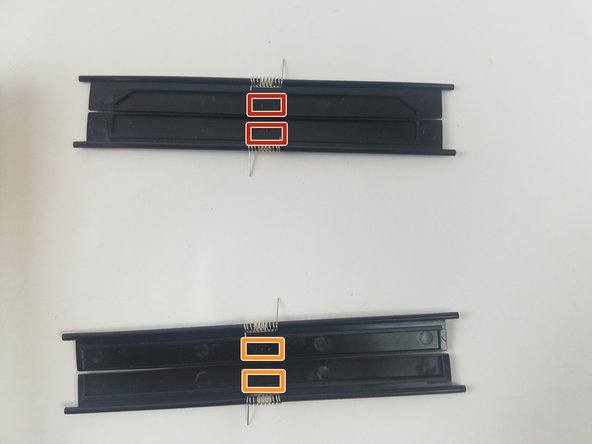
    • Take the cartridge doors out of the top casing.

    • Keep the correct cartridge doors together. Note the door numbers and position.

    • Doors numbered two and four are for NES cartridges.

    • Doors numbered three are for SNES cartridges.

    FixBotに聞いてみる

    コメントを追加

終わりに

To reassemble your device, follow these instructions in reverse order.

キャンセル: このガイドを終了できませんでした。

作成者

3人の作成者と共同で作成されました。

Truong Vo

メンバー登録日: 09/25/17

324 ポイント

3のガイドは作成済み

チーム

USF Tampa, Team S4-G4, Eyestone Fall 2017 USF Tampa, Team S4-G4, Eyestone Fall 2017人のメンバー

USFT-EYESTONE-F17S4G4

3 メンバー

10のガイドは作成済み

0件のガイドコメント

コメントを追加

統計データ:

過去 24時間: 0

過去 7 日: 5

過去 30 日: 29

今までの合計 1,020