メインコンテンツにスキップ
リペアコミュニティに参加 - アカウントの作成

Razer DeathAdder Chroma Motherboard Replacement Guide

必要な工具と部品

    1. Razer DeathAdder Chroma Motherboard Replacement Guide, Outer Casing: 手順 1、 1の画像 1
      • Opening the mouse casing will void any warranty that exists for the mouse.

      • Turn the mouse over so the bottom is facing up.

      FixBotに聞いてみる
      コメントを追加

    2. Razer DeathAdder Chroma Motherboard Replacement Guide: 手順 2、 2の画像 1 Razer DeathAdder Chroma Motherboard Replacement Guide: 手順 2、 2の画像 2
      • Use the blunt end of the spudger to pry the adhesive rubber pads from the top left and right edges.

      FixBotに聞いてみる
      コメントを追加

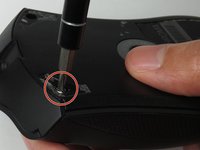
    3. Razer DeathAdder Chroma Motherboard Replacement Guide: 手順 3、 2の画像 1 Razer DeathAdder Chroma Motherboard Replacement Guide: 手順 3、 2の画像 2
      • Use a Phillips #0 screwdriver to remove two 6.7 mm screws.

      FixBotに聞いてみる
      コメントを追加

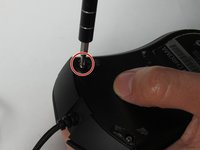
    4. Razer DeathAdder Chroma Motherboard Replacement Guide: 手順 4、 1の画像 1
      • Use your fingers to identify the location of the screw under the bottom label.

      FixBotに聞いてみる

      コメントを追加

    5. Razer DeathAdder Chroma Motherboard Replacement Guide: 手順 5、 1の画像 1
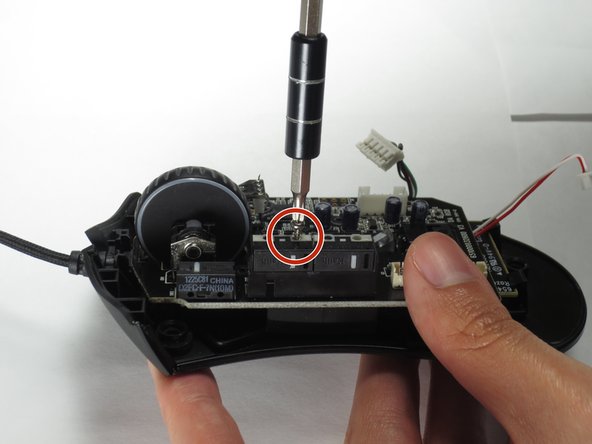
      • Use a Phillips #0 screwdriver to remove one 6.7 mm screw.

      • Clear the label away from around the screw for easier removal.

      FixBotに聞いてみる

      コメントを追加

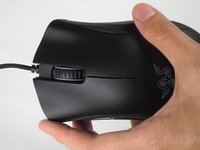
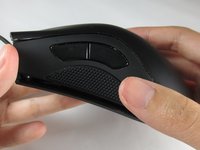
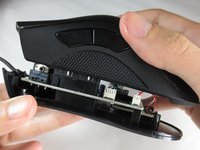
    6. Razer DeathAdder Chroma Motherboard Replacement Guide: 手順 6、 3の画像 1 Razer DeathAdder Chroma Motherboard Replacement Guide: 手順 6、 3の画像 2 Razer DeathAdder Chroma Motherboard Replacement Guide: 手順 6、 3の画像 3
      • Turn the mouse over so the bottom is facing down.

      • Separate the top casing from the bottom base by pulling the top casing upwards.

      • Separating the casing too quickly could damage the ribbon connector between the motherboard and the LED lights.

      FixBotに聞いてみる

      コメントを追加

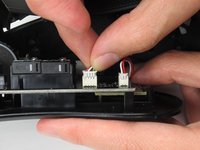
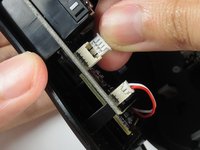
    7. Razer DeathAdder Chroma Motherboard Replacement Guide: 手順 7、 2の画像 1 Razer DeathAdder Chroma Motherboard Replacement Guide: 手順 7、 2の画像 2
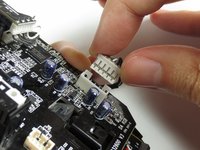
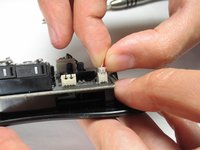
      • Disconnect the ribbon connector between the motherboard and the LED lights by pulling upward.

      • Pulling too hard could damage the wire connections.

      FixBotに聞いてみる
      コメントを追加

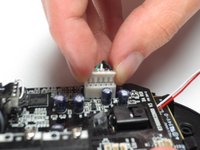
    1. Razer DeathAdder Chroma Motherboard Replacement Guide, Motherboard: 手順 8、 2の画像 1 Razer DeathAdder Chroma Motherboard Replacement Guide, Motherboard: 手順 8、 2の画像 2
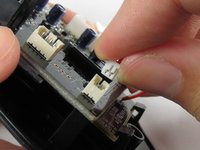
      • Disconnect the ribbon connector between the motherboard and the USB cable by pulling upward.

      FixBotに聞いてみる
      コメントを追加

    2. Razer DeathAdder Chroma Motherboard Replacement Guide: 手順 9、 1の画像 1
      • Use a Phillips #0 screwdriver to remove three 5.5 mm screws.

      FixBotに聞いてみる

      コメントを追加

    3. Razer DeathAdder Chroma Motherboard Replacement Guide: 手順 10、 2の画像 1 Razer DeathAdder Chroma Motherboard Replacement Guide: 手順 10、 2の画像 2
      • Use a Phillips #0 screwdriver to remove two 11.5 mm screws on the side buttons.

      FixBotに聞いてみる

      コメントを追加

    4. Razer DeathAdder Chroma Motherboard Replacement Guide: 手順 11、 1の画像 1
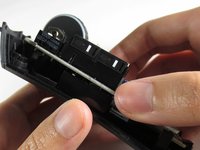
      • Use a Phillips #000 screwdriver to remove one 5.0 mm screw.

      FixBotに聞いてみる
      コメントを追加

    5. Razer DeathAdder Chroma Motherboard Replacement Guide: 手順 12、 2の画像 1 Razer DeathAdder Chroma Motherboard Replacement Guide: 手順 12、 2の画像 2
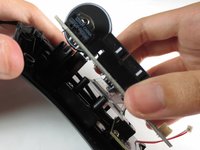
      • Disconnect the ribbon connector between the motherboard and the optical sensor.

      FixBotに聞いてみる
      コメントを追加

    6. Razer DeathAdder Chroma Motherboard Replacement Guide: 手順 13、 2の画像 1 Razer DeathAdder Chroma Motherboard Replacement Guide: 手順 13、 2の画像 2
      • Remove the motherboard by grasping the sides and gently pulling upward.

      FixBotに聞いてみる

      コメントを追加

終わりに

To reassemble your device, follow these instructions in reverse order.

キャンセル: このガイドを終了できませんでした。

5 の人々がこのガイドを完成させました。

作成者

3人の作成者と共同で作成されました。

Nathan D. Kappler

メンバー登録日: 03/27/17

343 ポイント

2のガイドは作成済み

チーム

Baylor, Team S5-G2, Williams Spring 2017 Baylor, Team S5-G2, Williams Spring 2017人のメンバー

BU-WILLIAMS-S17S5G2

3 メンバー

6のガイドは作成済み

0件のガイドコメント

コメントを追加

統計データ:

過去 24時間: 0

過去 7 日: 14

過去 30 日: 90

今までの合計 11,829