メインコンテンツにスキップ

RCA RCT6378W2 Screen Replacement

アーカイブされたガイド
このガイドは将来的な使用のためにのみ保存されてます。ご自身の修理作業には更新バージョンをご利用ください。

必要な工具と部品

  1. RCA RCT6378W2 Screen Replacement, Screen Replacement: 手順 1、 1の画像 1
    • Remove two 2.4mm x 4mm screws from bottom of the tablet with Phillips #00 Screwdriver.

  2. RCA RCT6378W2 Screen Replacement: 手順 2、 2の画像 1 RCA RCT6378W2 Screen Replacement: 手順 2、 2の画像 2
    • Remove back cover with lever tool, exposing the battery and motherboard.

  3. RCA RCT6378W2 Screen Replacement: 手順 3、 2の画像 1 RCA RCT6378W2 Screen Replacement: 手順 3、 2の画像 2
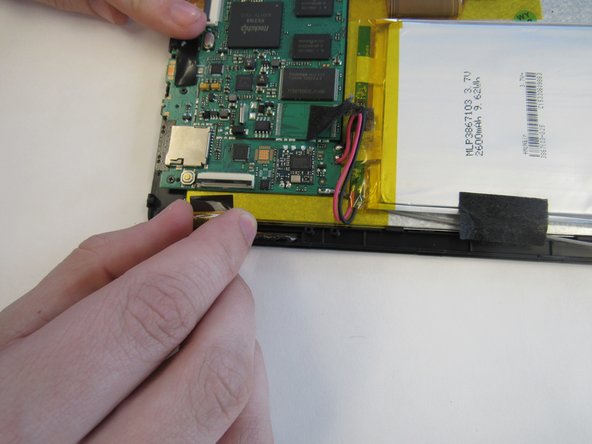
    • Using the tweezers, remove the black tape connecting the screen to the motherboard.

  4. RCA RCT6378W2 Screen Replacement: 手順 4、 2の画像 1 RCA RCT6378W2 Screen Replacement: 手順 4、 2の画像 2
    • Pull up the switch to remove the input connector.

  5. RCA RCT6378W2 Screen Replacement: 手順 5、 1の画像 1
    • Heat the iOpener in the microwave, following the instructions provided with the tool. Lay the heated iOpener on the front screen for two minutes to soften the connection of the screen to the tablet.

  6. RCA RCT6378W2 Screen Replacement: 手順 6、 2の画像 1 RCA RCT6378W2 Screen Replacement: 手順 6、 2の画像 2
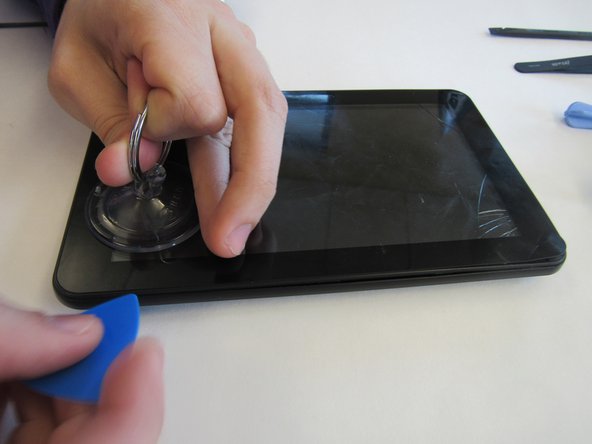
    • Use the suction cup and lever tool tool to pry the front screen from the tablet.

終わりに

To reassemble your device, follow these instructions in reverse order.

2 の人々がこのガイドを完成させました。

作成者

4人の作成者と共同で作成されました。

mikayla

メンバー登録日: 01/29/15

408 ポイント

2のガイドは作成済み

チーム

Clemson, Team 14-4, Shirley Spring 2015 Clemson, Team 14-4, Shirley Spring 2015人のメンバー

CLEM-SHIRLEY-S15S14G4

6 メンバー

15のガイドは作成済み

0 件のコメント

コメントを追加

統計データ:

過去 24時間: 0

過去 7 日: 0

過去 30 日: 0

今までの合計 1,189