メインコンテンツにスキップ
リペアコミュニティに参加 - アカウントの作成

Protocol Galileo Top Shell Replacement

必要な工具と部品

    1. Protocol Galileo Top Shell Replacement, Battery: 手順 1、 1の画像 1
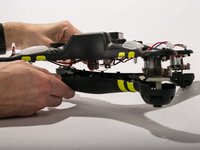
      • Find door on the underside of drone. Open the door.

      FixBotに聞いてみる
      コメントを追加

    2. Protocol Galileo Top Shell Replacement: 手順 2、 2の画像 1 Protocol Galileo Top Shell Replacement: 手順 2、 2の画像 2
      • Carefully pull out battery, pulling out wires first.

      FixBotに聞いてみる
      コメントを追加

    3. Protocol Galileo Top Shell Replacement: 手順 3、 1の画像 1
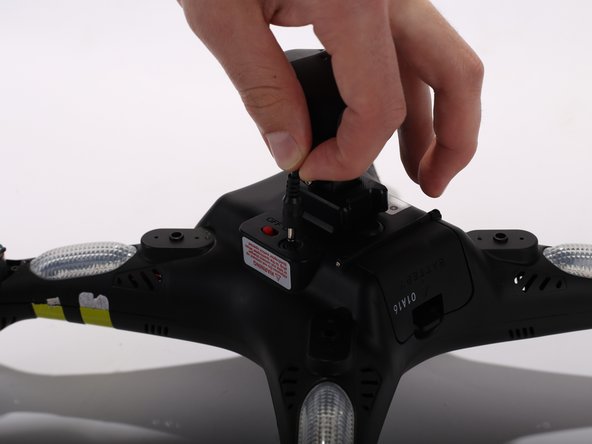
      • Disconnect the connecter.

      • When reconnecting, remember to match up the black wire with the black wire and the red with red.

      FixBotに聞いてみる

      コメントを追加

    1. Protocol Galileo Top Shell Replacement, Propeller: 手順 4、 2の画像 1 Protocol Galileo Top Shell Replacement, Propeller: 手順 4、 2の画像 2
      この手順で使用する道具:
      Heavy-Duty Spudger
      $4.99
      • Use the heavy duty spudger tool to pry off metal caps by pushing the spudger up into the cap.

      FixBotに聞いてみる
      コメントを追加

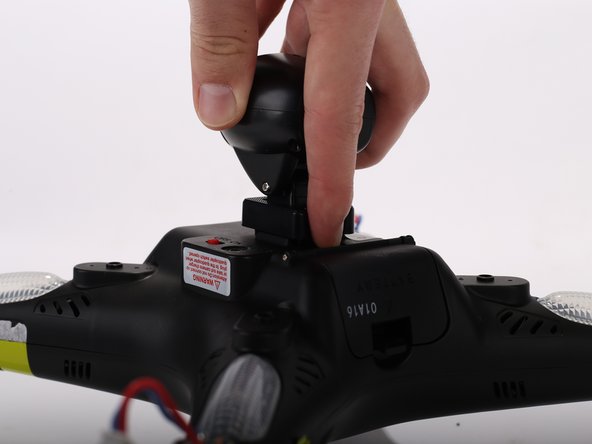
    2. Protocol Galileo Top Shell Replacement: 手順 5、 1の画像 1
      • Twist the white spindle sleeve counter clockwise to align locking pin inside with the opening.

      FixBotに聞いてみる
      コメントを追加

    3. Protocol Galileo Top Shell Replacement: 手順 6、 1の画像 1
      この手順で使用する道具:
      Tweezers
      $4.99
      FixBotに聞いてみる
      コメントを追加

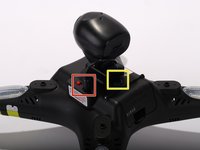
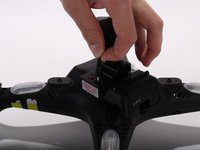
    4. Protocol Galileo Top Shell Replacement: 手順 7、 1の画像 1
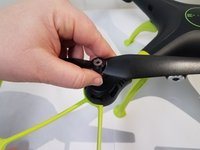
      • Pull off white spindle sleeve.

      • Take note of which side of the spindle sleeve is the top.

      FixBotに聞いてみる
      コメントを追加

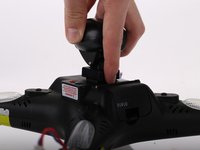
    5. Protocol Galileo Top Shell Replacement: 手順 8、 2の画像 1 Protocol Galileo Top Shell Replacement: 手順 8、 2の画像 2
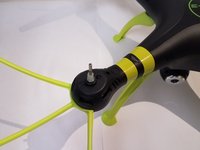
      • Pull off propeller.

      FixBotに聞いてみる
      コメントを追加

    1. Protocol Galileo Top Shell Replacement, Top Shell: 手順 9、 3の画像 1 Protocol Galileo Top Shell Replacement, Top Shell: 手順 9、 3の画像 2 Protocol Galileo Top Shell Replacement, Top Shell: 手順 9、 3の画像 3
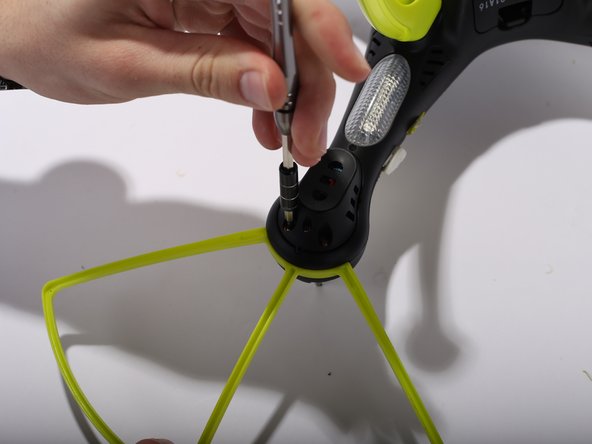
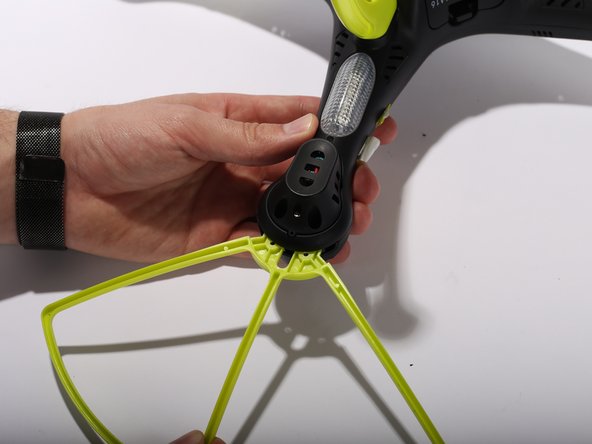
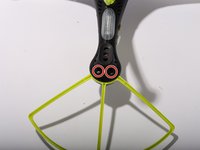
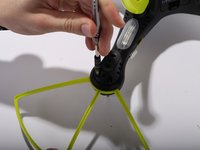
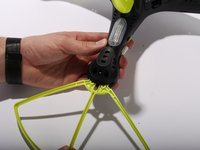
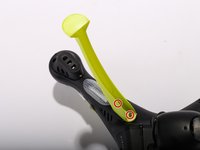
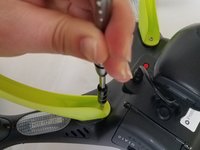
      • Remove Blade Guards by unscrewing two 13 millimeter screws using Philips #0. Pull out the guards. Repeat the steps for the other three corners.

      FixBotに聞いてみる

      コメントを追加

    2. Protocol Galileo Top Shell Replacement: 手順 10、 2の画像 1 Protocol Galileo Top Shell Replacement: 手順 10、 2の画像 2
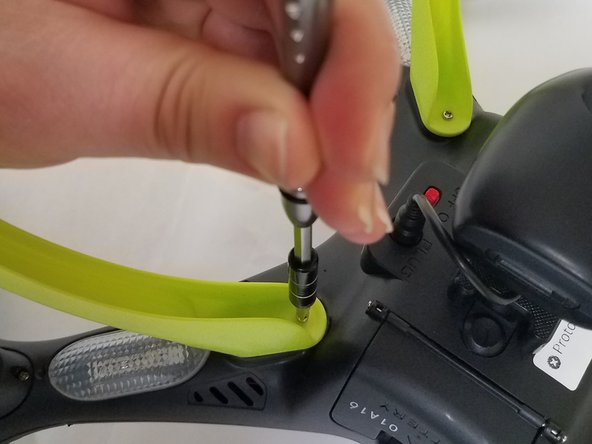
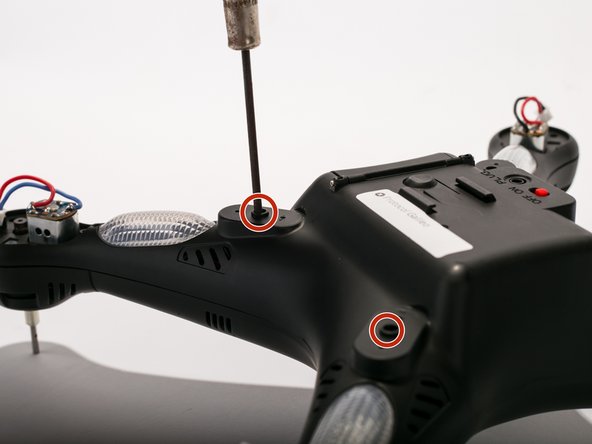
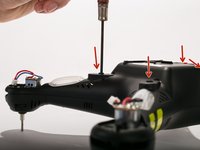
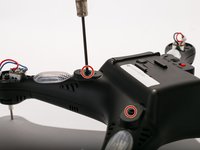
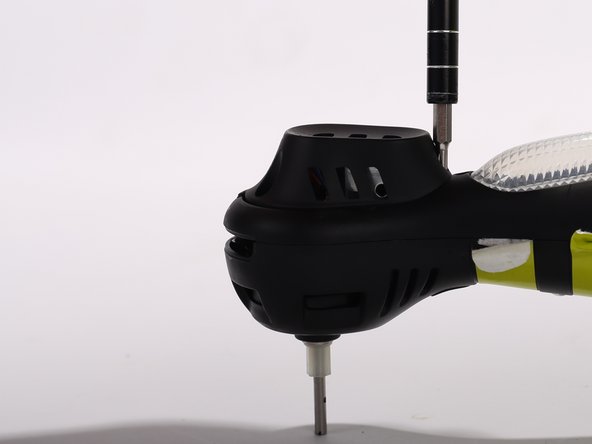
      • Unscrew two 9 mm screws located inside the legs. Repeat the same procedure for the other three legs

      FixBotに聞いてみる
      コメントを追加

    3. Protocol Galileo Top Shell Replacement: 手順 11、 3の画像 1 Protocol Galileo Top Shell Replacement: 手順 11、 3の画像 2 Protocol Galileo Top Shell Replacement: 手順 11、 3の画像 3
      • Unplug the camera wire.

      • Press the hold release button and slide out the camera module away from the button.

      FixBotに聞いてみる
      コメントを追加

    4. Protocol Galileo Top Shell Replacement: 手順 12、 2の画像 1 Protocol Galileo Top Shell Replacement: 手順 12、 2の画像 2
      • Remove the motor protection cover by unscrewing two 9 mm screws using Philips #0. When the screws are off, use your fingers to pull the motor protection cover off. Repeat the procedure for the other three arms.

      FixBotに聞いてみる
      コメントを追加

    5. Protocol Galileo Top Shell Replacement: 手順 13、 3の画像 1 Protocol Galileo Top Shell Replacement: 手順 13、 3の画像 2 Protocol Galileo Top Shell Replacement: 手順 13、 3の画像 3
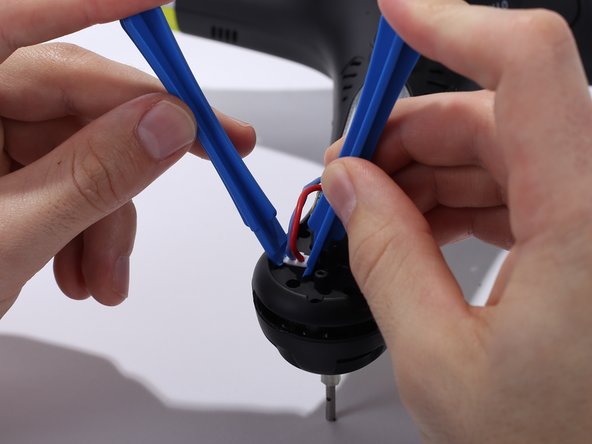
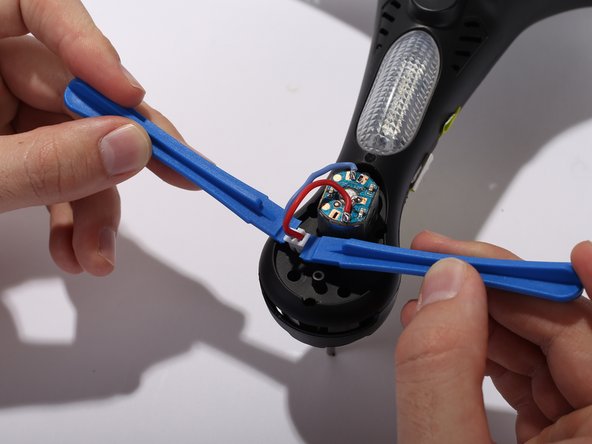
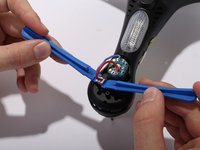
      • Unclip the motor cable from the shells housing using two pry tools. Repeat the same procedure for the other three arms.

      FixBotに聞いてみる

      コメントを追加

    6. Protocol Galileo Top Shell Replacement: 手順 14、 1の画像 1
      • Remove 3 9mm screws around the motor housing. Repeat the steps for the three other arms.

      FixBotに聞いてみる

      コメントを追加

    7. Protocol Galileo Top Shell Replacement: 手順 15、 2の画像 1 Protocol Galileo Top Shell Replacement: 手順 15、 2の画像 2
      • Remove four 9 mm screws located where the legs originally are placed. (Use a thin head screwdriver)

      FixBotに聞いてみる

      コメントを追加

    8. Protocol Galileo Top Shell Replacement: 手順 16、 3の画像 1 Protocol Galileo Top Shell Replacement: 手順 16、 3の画像 2 Protocol Galileo Top Shell Replacement: 手順 16、 3の画像 3
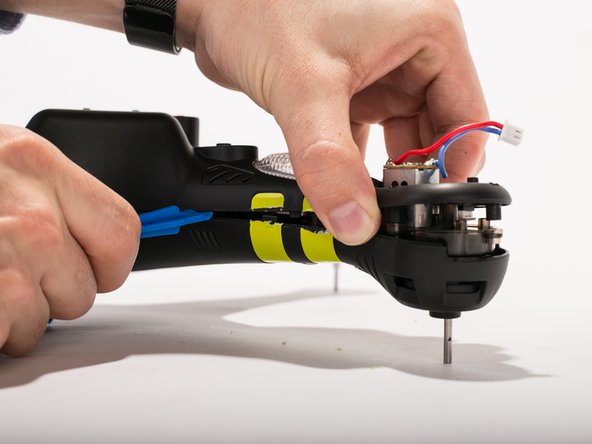
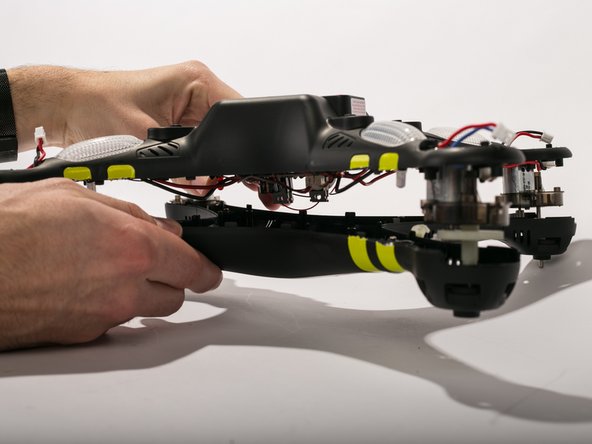
      • Cut the yellow strips using a scalpel. Pry open the casing using pry tools working gently around the corners.

      FixBotに聞いてみる

      コメントを追加

終わりに

To reassemble your device, follow these instructions in reverse order.

キャンセル: このガイドを終了できませんでした。

作成者

2人の作成者と共同で作成されました。

Thomas Ramey

メンバー登録日: 02/03/17

301 ポイント

3のガイドは作成済み

チーム

UW Tacoma, Team 2-3, Rose Winter 2017 UW Tacoma, Team 2-3, Rose Winter 2017人のメンバー

UWT-ROSE-W17S2G3

4 メンバー

5のガイドは作成済み

0件のガイドコメント

コメントを追加

統計データ:

過去 24時間: 1

過去 7 日: 4

過去 30 日: 17

今までの合計 352