はじめに
This guide requires basic disassembly skills to get inside the phone. Allowing you to pull out and then realign the buttons.
必要な工具と部品
-
-
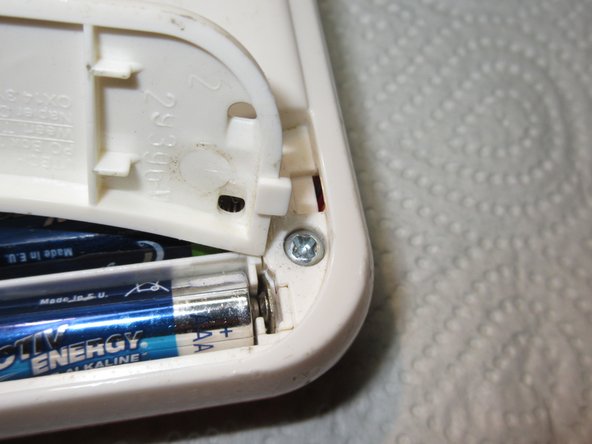
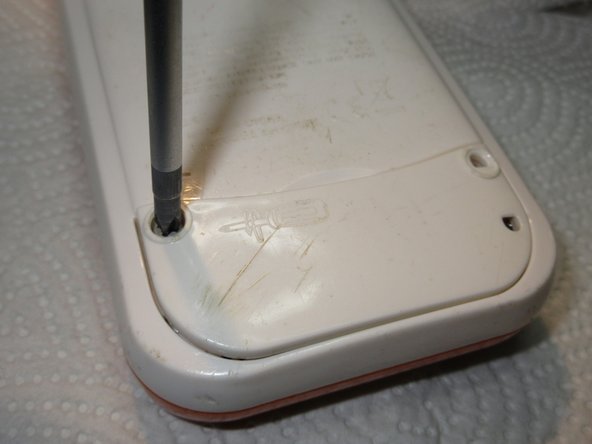
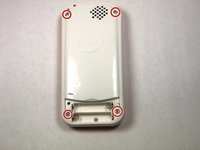
Using a Phillips #1 screwdriver, remove the 4.8mm screw on the battery cover by twisting the screwdriver counter-clockwise.
 FixBotに聞いてみる
-
-
-
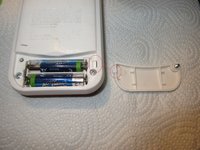
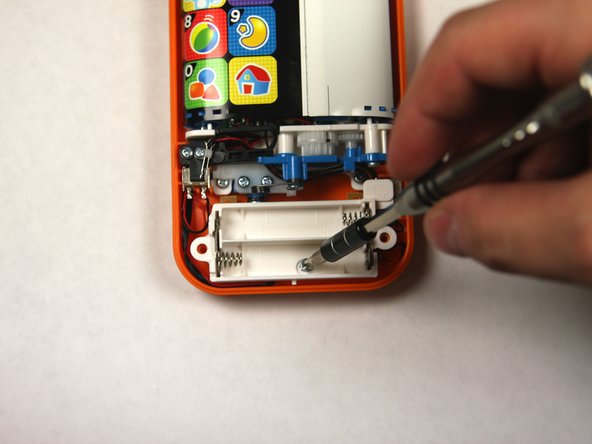
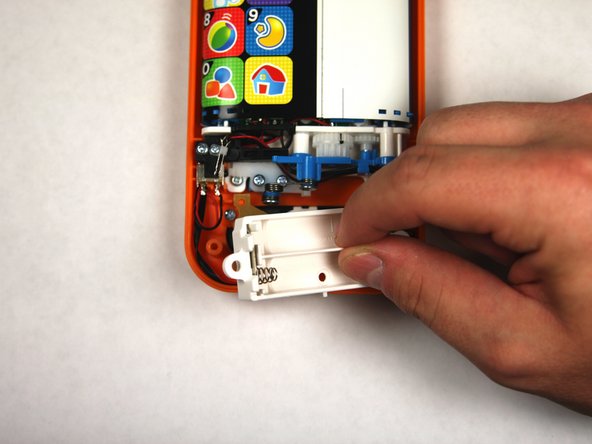
Remove the two AAA batteries by pulling on one end of the battery and lifting it straight out.
-
-
-
-
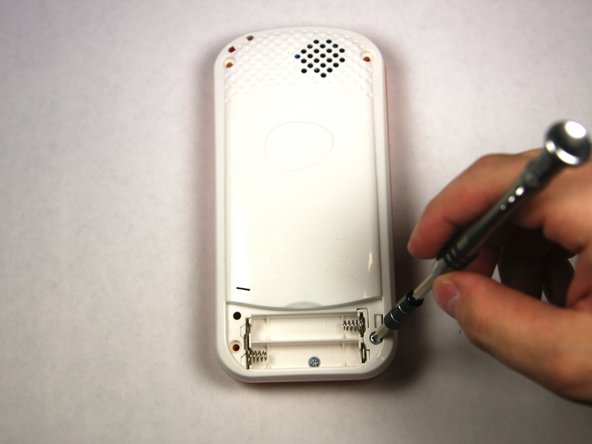
Remove 4 13.8mm screws holding the device back using a Phillips #1 screw driver.
-
-
-
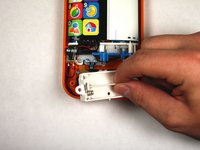
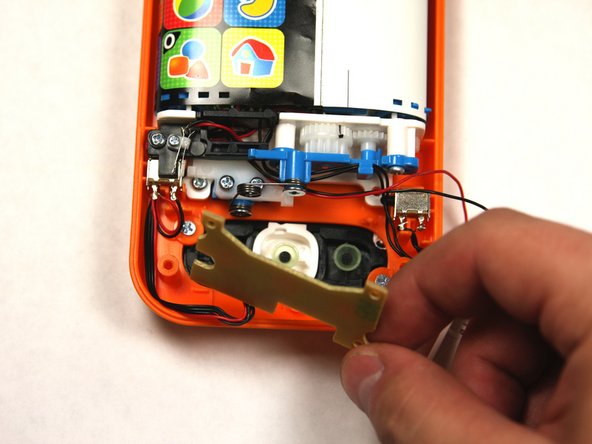
Removed 1 4.8mm phillips head screw with a #0 Phillips head screw driver and lift away battery back being conscientious of wires.
-
-
-
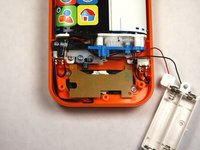
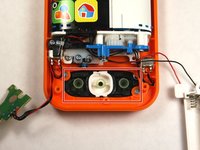
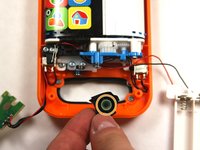
Carefully remove each button from the baby phone.
-
When handling buttons be sure not to misplace the button contacts.
-


To reassemble your device, follow these instructions in reverse order.
ある他の人がこのガイドを完成しました。
チーム

USF Tampa, Team 2-4, Sullivan Fall 2015 USF Tampa, Team 2-4, Sullivan Fall 2015人のメンバー
USFT-SULLIVAN-F15S2G4
3 メンバー
12のガイドは作成済み