はじめに
This guide is to show you how to replace the motherboard in the Philips TAS7505 speaker. The only tool you'll need is Screwdriver #1.
The tools used in this are mainly used for other parts as seen in other guides to get access to the motherboard.
必要な工具と部品
-
-
-
Turn the speaker upside down. You will see a rubber base. Use an opening tool to lift up the sides to expose the screws.
 FixBotに聞いてみる
-
-
-
There will be 4 exposed screws. Make sure to use the Phillips #0 Screwdriver.
-
When the screws are removed, you can use an opening tool to take off the plastic cover.
-
-
-
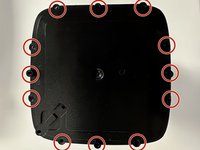
Now that you have removed this cover, there is another cover. This cover has a total of 9 screws that can be removed with a Philips #0 screwdriver.
-
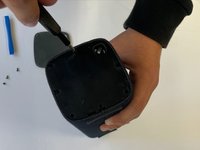
Once all these screws are removed, you can take off the cover
-
-
-
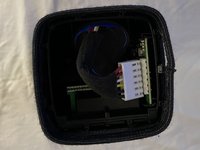
You can now see the inside of the speaker but you aren't done yet.
-
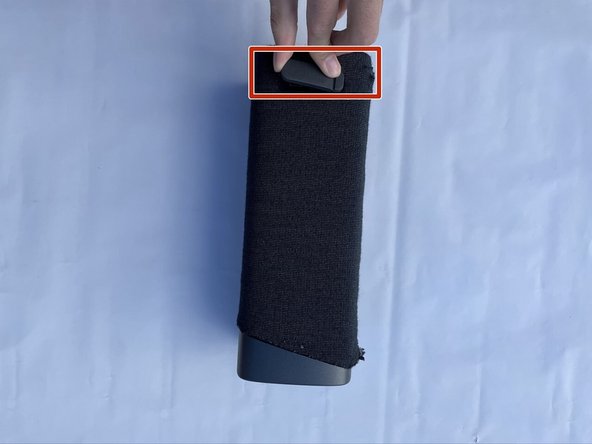
Remove both rubber stands that hold up the device horizontally (one of these stands is a cover for the USB ports).
-
-
-
-
Once you pull these out, you can pull the whole sleeve to expose the infrastructure of the device.
-
-
-
-
-
Disconnect the battery from the motherboard by unclipping it from the side not visible to you
-
If you are having difficulties disconnecting the battery you can pull the battery out whole in order to get a better angle to disconnect it
-
-
-
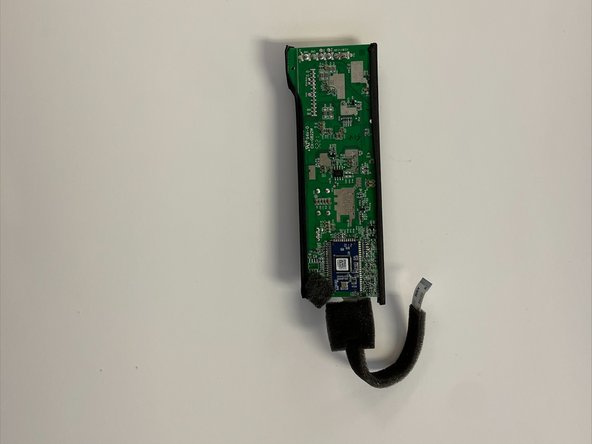
Pull out the motherboard then disconnect the USB-A & USB-C port by pressing the clip
-
-
-
Next is to disconnect the speaker
-
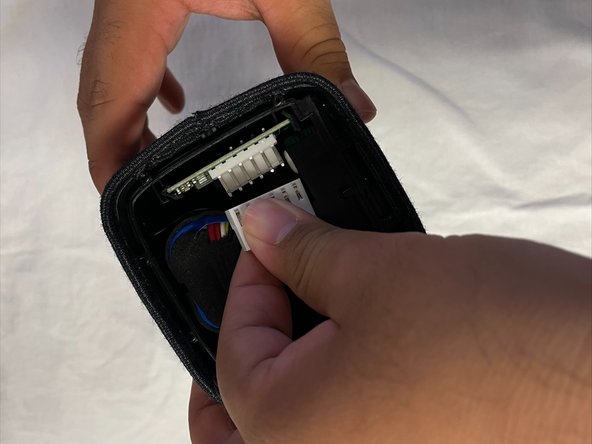
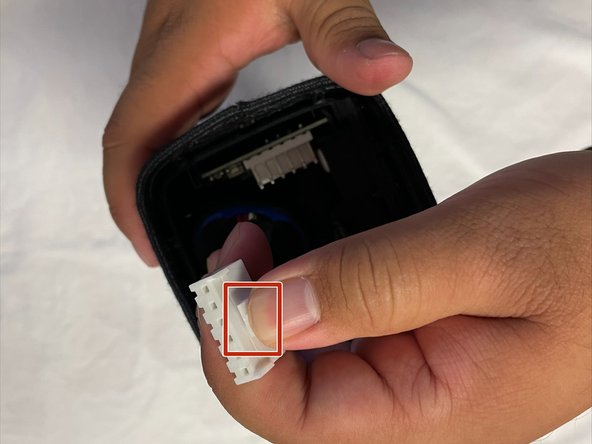
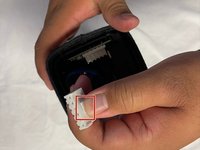
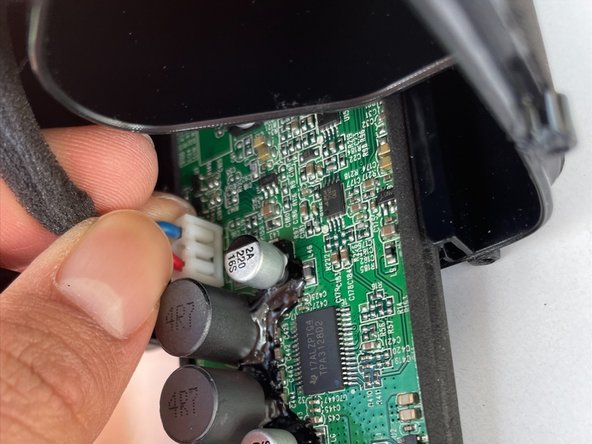
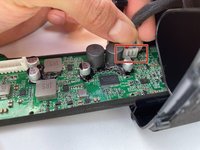
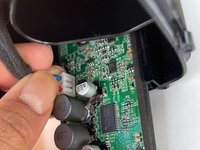
pull the motherboard out as much as you can and then wiggle the white box back and forth to get it out
-
-
この手順で使用する道具:Tweezers$4.99
-
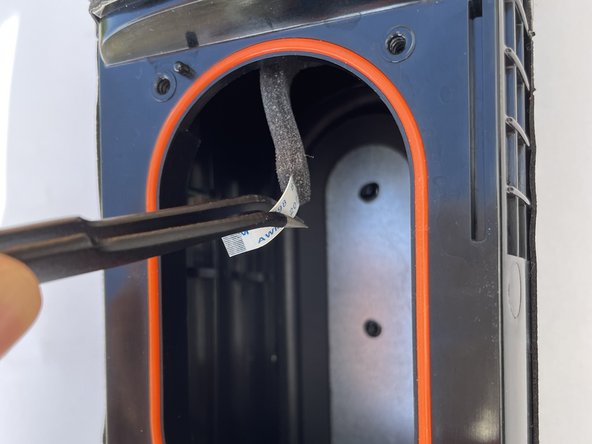
Simply remove this white strand with a pair of tweezers.
-
-



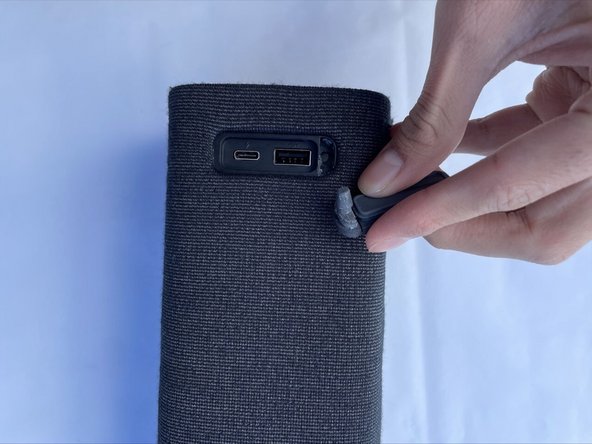
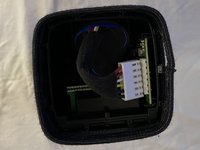
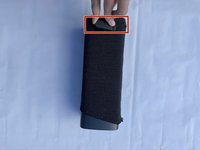
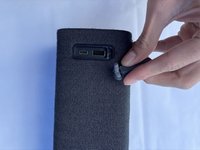







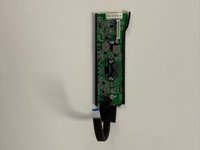
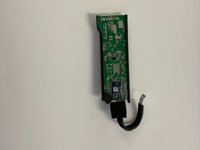
To reassemble your device, follow these instructions in reverse order.

チーム

CSU Los Angeles, Team 5-2, Adachi Fall 2022 CSU Los Angeles, Team 5-2, Adachi Fall 2022人のメンバー
CSULA-ADACHI-F22S5G2
5 メンバー
10のガイドは作成済み
1件のガイドコメント
The guides are very detailed with many steps and are easy to follow. It looks professional and well-made. Thank you for your contribution to Ifixit!
Dat Nguyen - 返信 共有
