この翻訳は機械によって生成されたものであり、まだ人間による校正は行われていません。 日本語を話せますか? レビューはこちらから。
はじめに
アパートで盛大なパーティーを開いた後、壁の一部が剥がれ落ちているのを見つけたことはありませんか?もしそうなら、このリペアガイドに従ってパーティー会場を元の輝きに戻し、敷金を取り戻しましょう。
必要な工具と部品
-
-
-
この修理には(左から右へ):壁補修用粘着パッチ、パテ、ひも、パテナイフ、サンドペーパーが必要です。
-
写真には写っていませんが、修理する壁の色に合わせた塗料と、穴を埋めるために使用する段ボールの切れ端が必要です。
-
-

 FixBotに聞いてみる


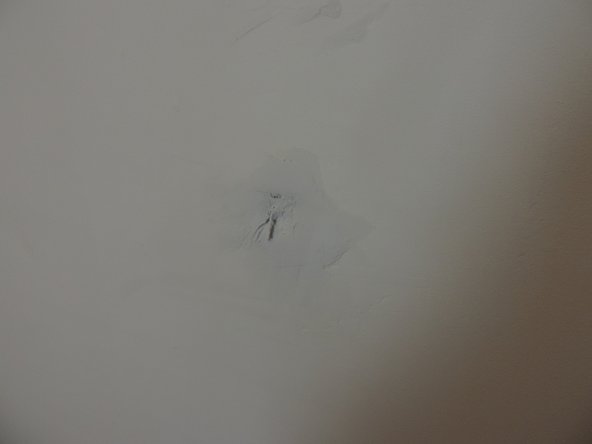
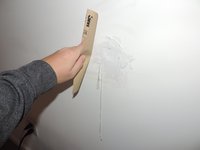
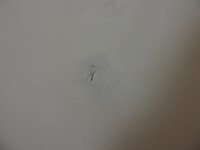


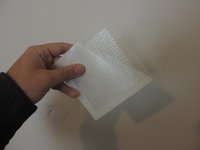
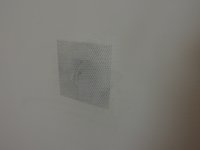

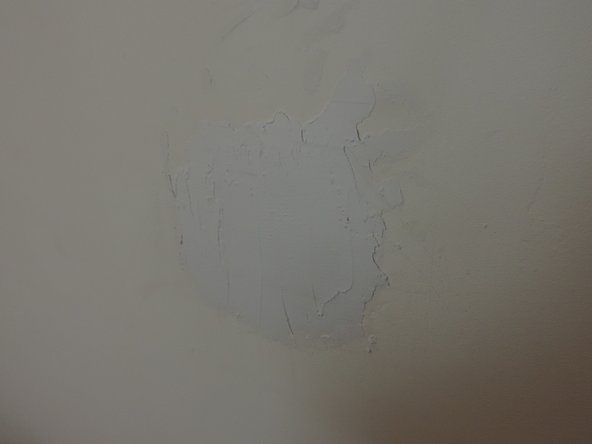
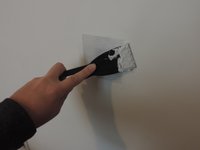
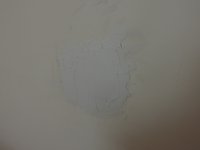

これでまたパーティーを開いて、パーティーキングの座を取り戻しましょう!
14 の人々がこのガイドを完成させました。

6件のガイドコメント
Not strong enough. Get another piece of drywall and cut it 2" larger than the hole all around . Turn drywall upside down and with a knife score the paper slightly smaller than the hole and bend back the drywall and peel off piece but leave the top layer of paper attached. Do that on all four sides and you will have a two inch flap all around edge of repair with drywall in the middle. Put patching compound on edge of the piece of drywall and flap and some on wall at hole. Place piece of drywall in hole and with a 6" putty knife scrape out excess putty by dragging putty knife from center of repair to outside of damaged area. Continue doing this until paper flap is smooth against wall with no excess in a lump underneath. When dry, add more putty in a circular motion around the paper flap until smooth. When dry you can sand it or use a wet sponge that is wrung out really well and smooth it out with no dust. Now paint it.
I wholeheartedly agree. I have over 30 years experience as a commercial drywall finisher and I would do it the same way rswiebe says
that size hole needs something more then just plaster to fill it, I would have placed a strip of wood 1x1/2 in the wall and using drywall screws secure on either side of the hole then glue or screw a new piece of wall board that is just smaller then the hole to the wood strip and use the plaster to finish sealing the hole. it makes for a stronger repair.
of course if it is a rental then your repair is good enough
