はじめに
If your Panasonic SDR-H85 camcorder isn’t able to store footage, is making strange clicking noises, and has software that is constantly crashing it means that you have a faulty hard drive. Use this guide to replace the hard drive for the Panasonic SDR-H85 camcorder. The hard drive is responsible for the storage of software and is the main computing component of the camcorder. Failure within the hard drive will render the camcorder useless. Before using this guide, feel free to refer to the troubleshooting page for the Panasonic SDR-H85 to see which replacement guide best matches your device’s symptoms. Make sure you remove the battery and disconnect the power before you start.
必要な工具と部品
-
-
-
Gently slide the battery ejection button which is located underneath the battery and slide the battery out.
 FixBotに聞いてみる
-
-
-
-
-
Remove three Phillips #00 screws from the left-hand side of the camera.
-
-
-
-
Flip the camera so the bottom is facing upwards.
-
Remove four Phillips #00 screws to release the bottom portion of the camera panel.
-
-
-
Open up the charging port of the camera.
-
Hold the charging port flap open, and remove the single Phillips #00 screw.
-
-
-
Open the camera cover slowly and enough to see the orange ribbon cable. Do not pull to release the ribbon cable from the hard drive.
-
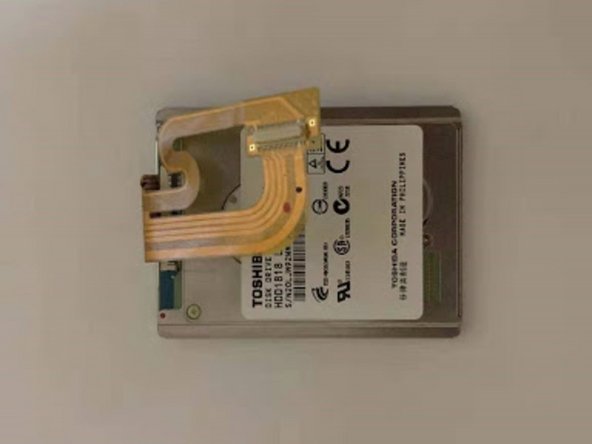
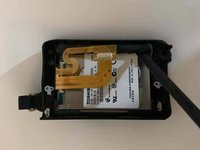
Gently detach the connection of the ribbon cable from the hard drive by using the spudger to drive a wedge between the ribbon cable and the hard drive itself.
-
-
-
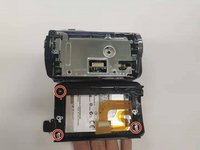
Remove three Phillips #00 screws from the interior of the camera.
-
Carefully pull out the hard drive from both the top and the bottom in alternative moves, first from the top and then from the bottom.
-
Remove the rubber lining of the hard drive.
-
-


To reassemble your device, follow these instructions in reverse order.
2 の人々がこのガイドを完成させました。

チーム

York University, Team S1-G8, Woodhouse Winter 2020 York University, Team S1-G8, Woodhouse Winter 2020人のメンバー
YORK-WOODHOUSE-W20S1G8
3 メンバー
6のガイドは作成済み
