メインコンテンツにスキップ
リペアコミュニティに参加 - アカウントの作成

Panasonic PV-GS9 microphone replacement

必要な工具と部品

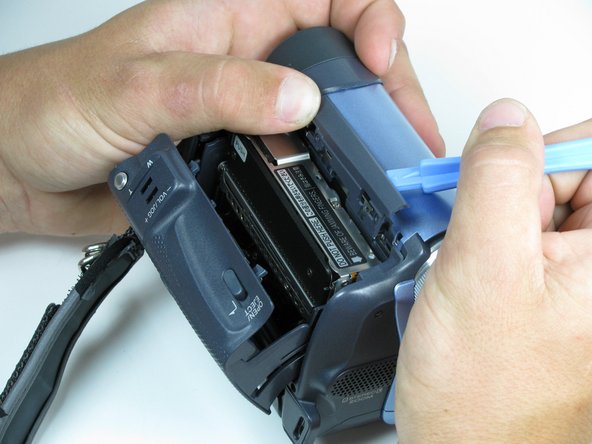
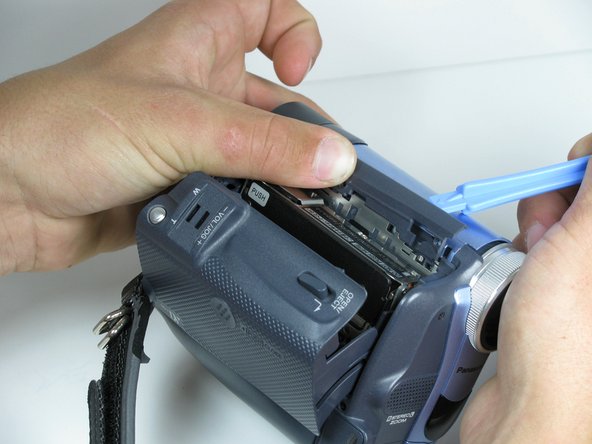
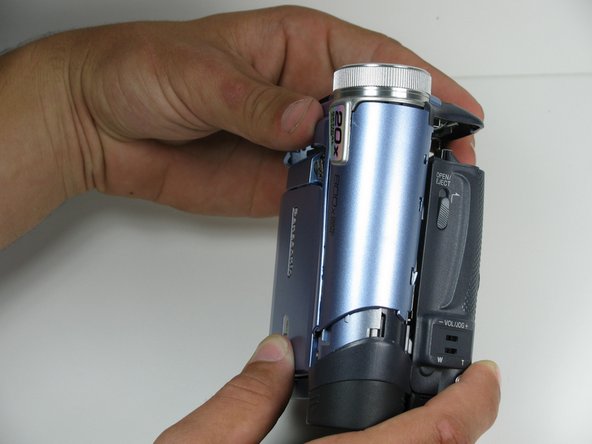
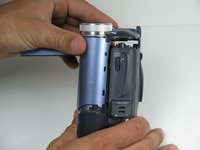
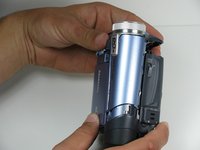
    1. Panasonic PV-GS9 microphone replacement, Microphone Replacement: 手順 1、 3の画像 1 Panasonic PV-GS9 microphone replacement, Microphone Replacement: 手順 1、 3の画像 2 Panasonic PV-GS9 microphone replacement, Microphone Replacement: 手順 1、 3の画像 3
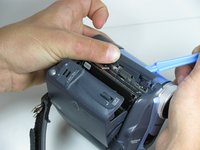
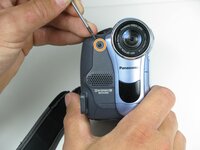
      • Locate the blue plastic tool opener, then remove both the round record/playback and record/power control knobs by prying it open from the camcorder.

      FixBotに聞いてみる
      コメントを追加

    2. Panasonic PV-GS9 microphone replacement: 手順 2、 2の画像 1 Panasonic PV-GS9 microphone replacement: 手順 2、 2の画像 2
      • Open the tape compartment.

      • Flip over the camcorder and find the two 4.5mm screws, which are approximately 2 inches apart.

      • Using a #00 Phillips screwdriver, remove the screws

      FixBotに聞いてみる
      コメントを追加

    3. Panasonic PV-GS9 microphone replacement: 手順 3、 3の画像 1 Panasonic PV-GS9 microphone replacement: 手順 3、 3の画像 2 Panasonic PV-GS9 microphone replacement: 手順 3、 3の画像 3
      • Use a plastic prying tool, remove the gray trim piece by opening and gently prying it off from top of the camcorder.

      • Be gentle when removing the trim piece. The plastic parts are fragile and can break easily.

      FixBotに聞いてみる

      コメントを追加

    4. Panasonic PV-GS9 microphone replacement: 手順 4、 1の画像 1
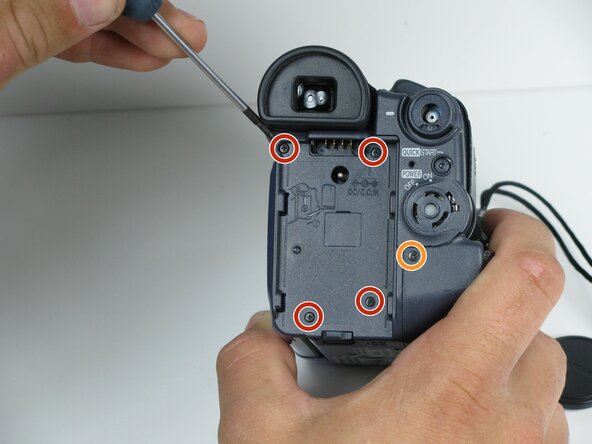
      • Rotate the camcorder so that the camera lens is facing you.

      • Remove the four black 4.5mm screws, sitting behind the battery.

      • Remove the 5th screw to the right of the battery dock.

      • Remove the battery by gently pulling away from the camcorder.

      • Organize the screws in a sorting compartment to avoid losing them.

      FixBotに聞いてみる

      コメントを追加

    5. Panasonic PV-GS9 microphone replacement: 手順 5、 2の画像 1 Panasonic PV-GS9 microphone replacement: 手順 5、 2の画像 2
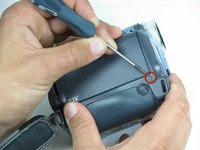
      • Rotate the camcorder so that the tape compartment is facing you.

      • Remove the single 4.5mm black screw above the hook for the hand strap.

      • Undoing the strap on one end may help.

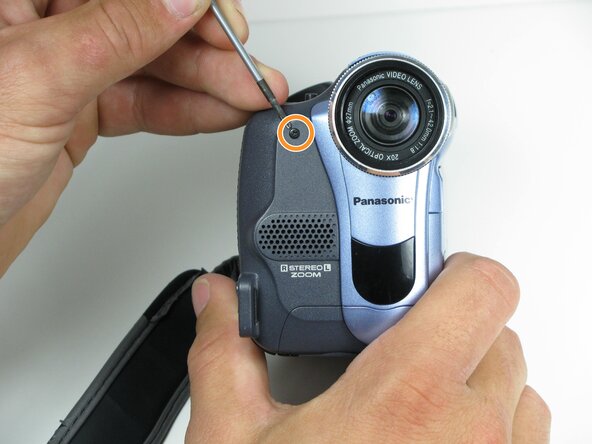
      • Rotate the camcorder so that the lens is facing you.

      • Remove the single 4.5mm black screw from the front panel.

      FixBotに聞いてみる

      コメントを追加

    6. Panasonic PV-GS9 microphone replacement: 手順 6、 2の画像 1 Panasonic PV-GS9 microphone replacement: 手順 6、 2の画像 2
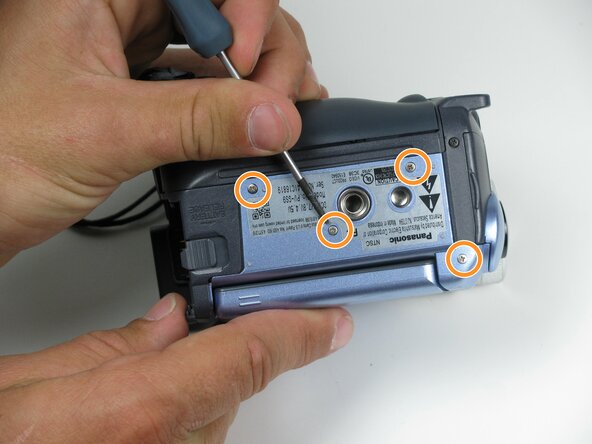
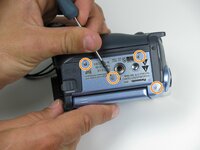
      • Rotate the camcorder so that the bottom is facing towards you.

      • Remove the single remaining 4.5mm black screw from the bottom.

      • Remove the four silver 4.5mm screws from the body.

      FixBotに聞いてみる

      コメントを追加

    7. Panasonic PV-GS9 microphone replacement: 手順 7、 1の画像 1
      • Open the LCD screen on the side of the camcorder.

      • Using a #00 screwdriver, remove the two 4.5mm silver screws located on either side of the hinge of the LCD screen.

      FixBotに聞いてみる

      コメントを追加

    8. Panasonic PV-GS9 microphone replacement: 手順 8、 2の画像 1 Panasonic PV-GS9 microphone replacement: 手順 8、 2の画像 2
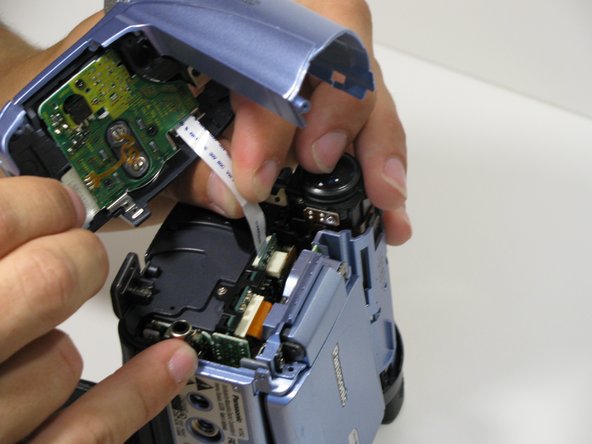
      • Carefully detatch the front cover from the body of the camcorder.

      • This should come apart with relative ease; however, a plastic pryer tool may help remove the panel if it is struggling to come apart.

      • Be careful as there is a ribbon cable attached to the front panel and the camcorder body, DO NOT tug at it when you remove this panel.

      FixBotに聞いてみる

      コメントを追加

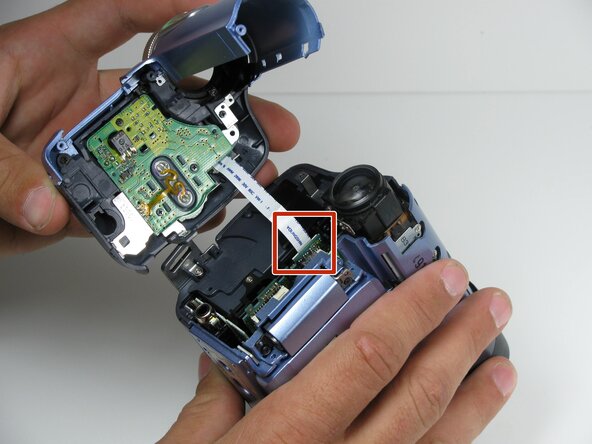
    9. Panasonic PV-GS9 microphone replacement: 手順 9、 2の画像 1 Panasonic PV-GS9 microphone replacement: 手順 9、 2の画像 2
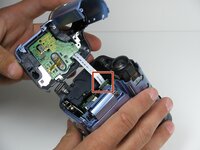
      • Using your fingers, carefully pull the ribbon cable away from the logic board to disconnect it.

      FixBotに聞いてみる

      コメントを追加

終わりに

To reassemble your device, follow these instructions in reverse order.

キャンセル: このガイドを終了できませんでした。

ある他の人がこのガイドを完成しました。

作成者

16人の作成者と共同で作成されました。

Trevor Johnson

メンバー登録日: 04/18/10

31 ポイント

2のガイドは作成済み

チーム

Cal Poly, Team 7-9, Maness Spring 2010 Cal Poly, Team 7-9, Maness Spring 2010人のメンバー

CPSU-MANESS-S10S7G9

4 メンバー

23のガイドは作成済み

0件のガイドコメント

コメントを追加

統計データ:

過去 24時間: 0

過去 7 日: 9

過去 30 日: 37

今までの合計 3,259