メインコンテンツにスキップ
リペアコミュニティに参加 - アカウントの作成

Panasonic Lumix DMC-ZS8 Screen Panel Replacement

必要な工具と部品

    1. Panasonic Lumix DMC-ZS8 Screen Panel Replacement, Screen Panel: 手順 1、 3の画像 1 Panasonic Lumix DMC-ZS8 Screen Panel Replacement, Screen Panel: 手順 1、 3の画像 2 Panasonic Lumix DMC-ZS8 Screen Panel Replacement, Screen Panel: 手順 1、 3の画像 3
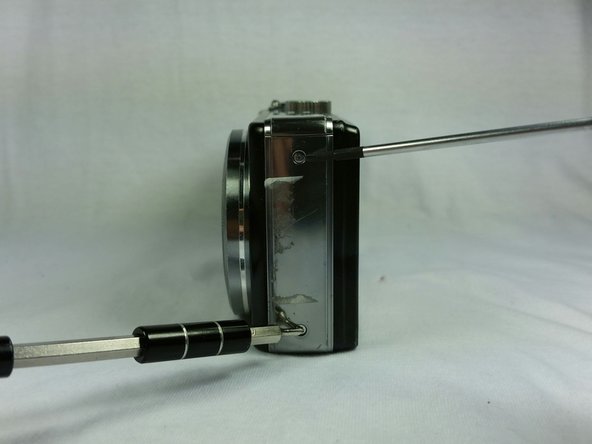
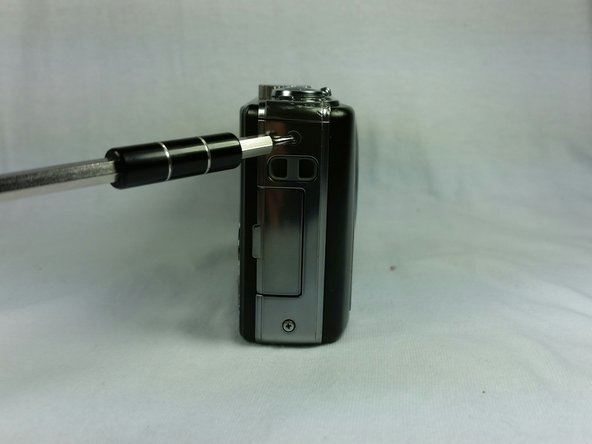
      • Remove all four screws from the side panels.

      FixBotに聞いてみる
      コメントを追加

    2. Panasonic Lumix DMC-ZS8 Screen Panel Replacement: 手順 2、 3の画像 1 Panasonic Lumix DMC-ZS8 Screen Panel Replacement: 手順 2、 3の画像 2 Panasonic Lumix DMC-ZS8 Screen Panel Replacement: 手順 2、 3の画像 3
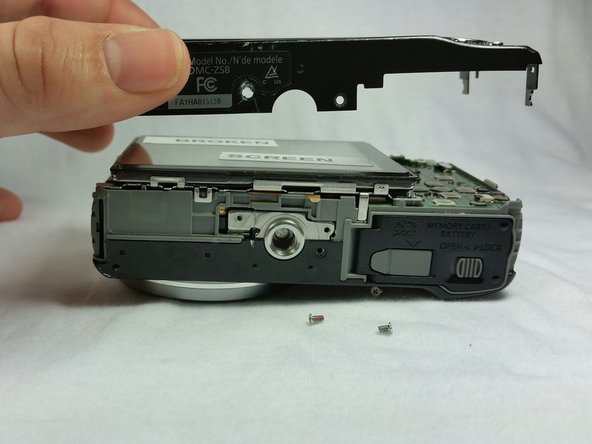
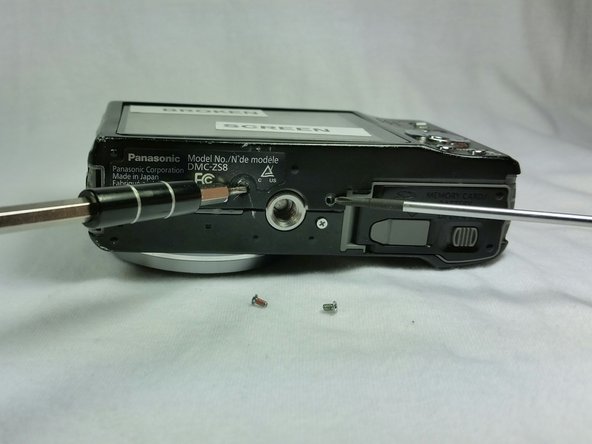
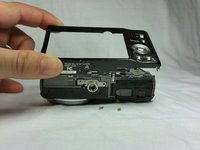
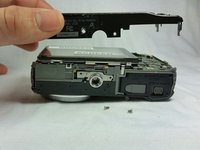
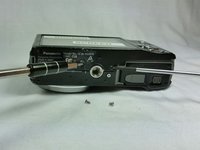
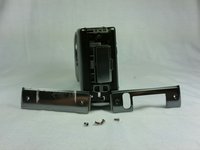
      • Remove the two screws from the bottom of the back panel.

      • Remove the back panel as shown in the second and third pictures.

      FixBotに聞いてみる
      コメントを追加

    3. Panasonic Lumix DMC-ZS8 Screen Panel Replacement: 手順 3、 3の画像 1 Panasonic Lumix DMC-ZS8 Screen Panel Replacement: 手順 3、 3の画像 2 Panasonic Lumix DMC-ZS8 Screen Panel Replacement: 手順 3、 3の画像 3
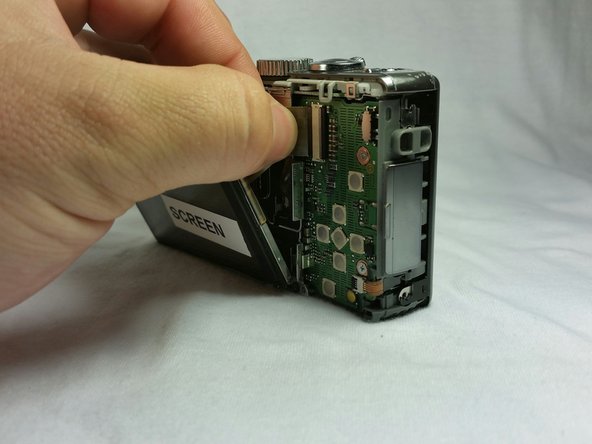
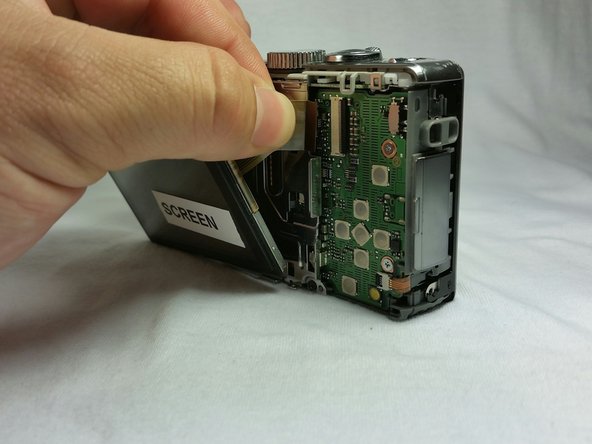
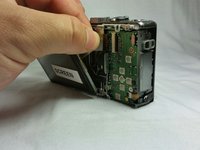
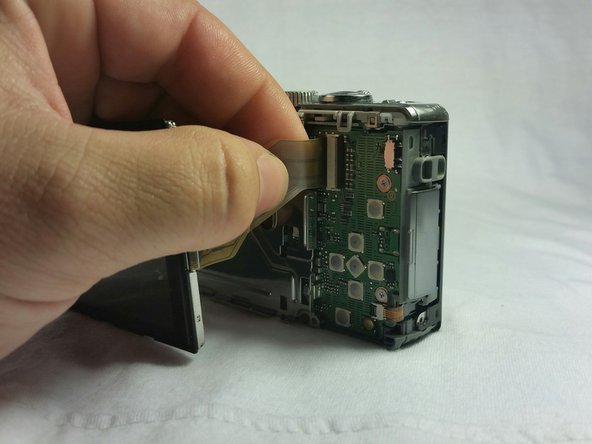
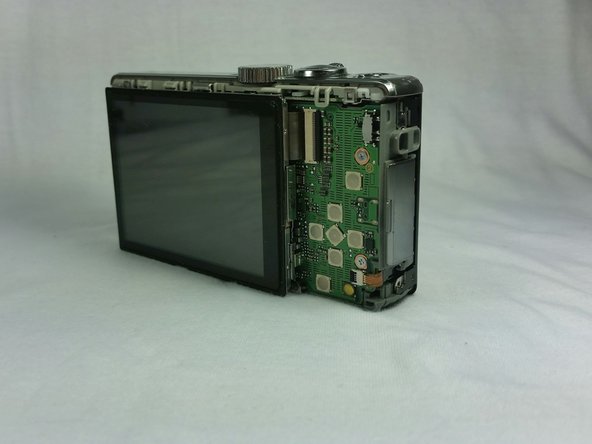
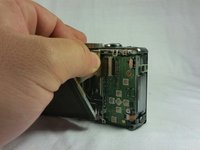
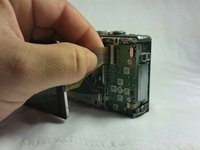
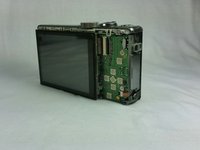
      • Remove the screen from the mounting bracket.

      • Slide the wiring from the board connection.

      FixBotに聞いてみる

      コメントを追加

    4. Panasonic Lumix DMC-ZS8 Screen Panel Replacement: 手順 4、 3の画像 1 Panasonic Lumix DMC-ZS8 Screen Panel Replacement: 手順 4、 3の画像 2 Panasonic Lumix DMC-ZS8 Screen Panel Replacement: 手順 4、 3の画像 3
      • Reconnect the new screen wiring into the motherboard as shown in the picture. Replace the new screen into the mounting bracket.

      FixBotに聞いてみる

      コメントを追加

    5. Panasonic Lumix DMC-ZS8 Screen Panel Replacement: 手順 5、 3の画像 1 Panasonic Lumix DMC-ZS8 Screen Panel Replacement: 手順 5、 3の画像 2 Panasonic Lumix DMC-ZS8 Screen Panel Replacement: 手順 5、 3の画像 3
      • Replace the front panel and install the screws on the bottom side of the camera.

      FixBotに聞いてみる

      コメントを追加

    6. Panasonic Lumix DMC-ZS8 Screen Panel Replacement: 手順 6、 3の画像 1 Panasonic Lumix DMC-ZS8 Screen Panel Replacement: 手順 6、 3の画像 2 Panasonic Lumix DMC-ZS8 Screen Panel Replacement: 手順 6、 3の画像 3
      • Replace the side panels and replace the four screws to secure the side panels.

      FixBotに聞いてみる

      コメントを追加

    7. Panasonic Lumix DMC-ZS8 Screen Panel Replacement: 手順 7、 1の画像 1
      • This is what your newly replaced screen should look like.

      FixBotに聞いてみる

      コメントを追加

終わりに

Now you have a new screen for your Panasonic DMC-ZS8.

キャンセル: このガイドを終了できませんでした。

6 の人々がこのガイドを完成させました。

作成者

8人の作成者と共同で作成されました。

Trevor Meyers

メンバー登録日: 03/03/15

356 ポイント

2のガイドは作成済み

1件のガイドコメント

Where do I buy the new screen in the UK? I have been searching online, but not found one for my DMC-TZ70

Bernard Spence - 返信 共有

コメントを追加

統計データ:

過去 24時間: 1

過去 7 日: 7

過去 30 日: 30

今までの合計 2,539