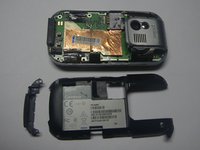
メインコンテンツにスキップ
リペアコミュニティに参加 - アカウントの作成

Palm Centro Screen Replacement

必要な工具と部品

  1. Palm Centro Screen Replacement, Disassembling Palm Centro Battery: 手順 1、 2の画像 1 Palm Centro Screen Replacement, Disassembling Palm Centro Battery: 手順 1、 2の画像 2
    • Press and slide open the battery cover.

    FixBotに聞いてみる
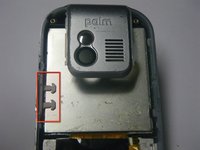
  2. Palm Centro Screen Replacement: 手順 2、 1の画像 1
    • Caution: Turn cell phone off before removing battery!

    • Press battery to the right.

    • Then lift up battery pack to remove.

    FixBotに聞いてみる
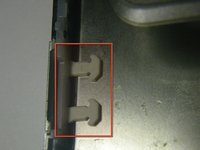
  3. Palm Centro Screen Replacement: 手順 3、 1の画像 1
    • Phone with battery removed

    FixBotに聞いてみる
  4. Palm Centro Screen Replacement, Back Housing: 手順 4、 1の画像 1
    • Remove the touchpad pen from the top left corner on the back to reveal the last of 6 screws to be removed.

    FixBotに聞いてみる
  5. Palm Centro Screen Replacement: 手順 5、 1の画像 1
    • Lift the rubber cap at the top right to reveal the sixth screw.

    • Caution: There is a small Palm sticker under the rubber cap. Tampering with or removing this sticker will void your warranty!

    • Remove the six screws using the T5 Torx screwdriver.

    FixBotに聞いてみる
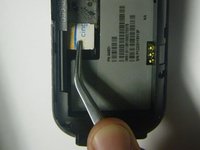
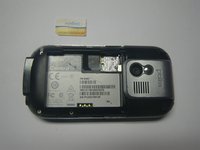
  6. Palm Centro Screen Replacement: 手順 6、 2の画像 1 Palm Centro Screen Replacement: 手順 6、 2の画像 2
    • Remove the SIM card so housing can be separated.

    FixBotに聞いてみる
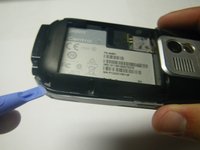
  7. Palm Centro Screen Replacement: 手順 7、 2の画像 1 Palm Centro Screen Replacement: 手順 7、 2の画像 2
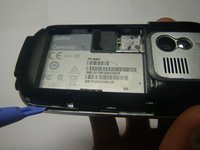
    • Use a plastic pry tool to separate the bottom of the case to remove the small plastic insert.

    FixBotに聞いてみる
  8. Palm Centro Screen Replacement: 手順 8、 2の画像 1 Palm Centro Screen Replacement: 手順 8、 2の画像 2
    • Remove the small plastic insert at the bottom of the phone.

    FixBotに聞いてみる
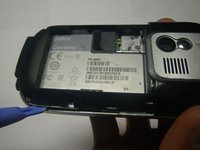
  9. Palm Centro Screen Replacement: 手順 9、 2の画像 1 Palm Centro Screen Replacement: 手順 9、 2の画像 2
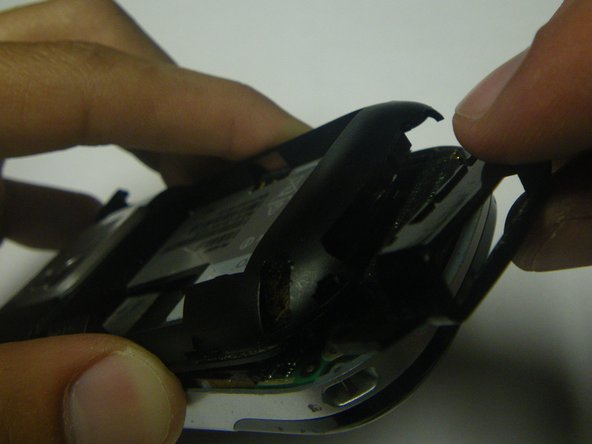
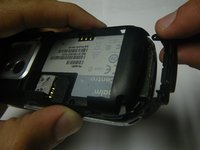
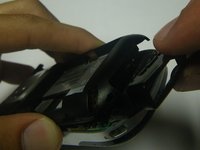
    • Continue with plastic pry tool all the way around the phone to remove the back housing.

    FixBotに聞いてみる
  10. Palm Centro Screen Replacement, Logic Board: 手順 10、 1の画像 1
    • Carefully peel back the tape holding the speaker (left) and keyboard (right) connection tabs in place.

    FixBotに聞いてみる
  11. Palm Centro Screen Replacement: 手順 11、 1の画像 1
    • Using the plastic prying tool, lift the tabs and carefully pull the contact connections out on both sides.

    • Be very careful, these electronics are delicate!

    FixBotに聞いてみる
  12. Palm Centro Screen Replacement: 手順 12、 1の画像 1
    • Separate the logic board from the case by lifting and pulling out the bottom.

    FixBotに聞いてみる
  13. Palm Centro Screen Replacement, Screen: 手順 13、 1の画像 1
    • Slowly peel off the protective lining that is on the screen and keyboard.

    FixBotに聞いてみる
  14. Palm Centro Screen Replacement: 手順 14、 2の画像 1 Palm Centro Screen Replacement: 手順 14、 2の画像 2
    • Lift and slowly remove the screen from the front panel

    • Place the new screen into the front panel

    • Make sure the new screen goes in under the plastic tabs for the additional memory slot door or it may not close properly once the phone is put back together.

    FixBotに聞いてみる
終わりに

To reassemble your device, follow these instructions in reverse order.

3 の人々がこのガイドを完成させました。

作成者

6人の作成者と共同で作成されました。

Tony

メンバー登録日: 04/28/10

10 ポイント

1ガイドが承認済み

チーム

Cal Poly, Team 15-49, Garner Spring 2010 Cal Poly, Team 15-49, Garner Spring 2010人のメンバー

CPSU-GARNER-S10S15G49

5 メンバー

12のガイドは作成済み

0件のガイドコメント

コメントを追加

統計データ:

過去 24時間: 1

過去 7 日: 9

過去 30 日: 59

今までの合計 3,113