はじめに
Back in 2003 when i was still studying, i bought an used eMac G4 with a 800 MHz processor. After some time with the help of my closest friends Claudio Nizzoli and Vassilis Moutsos we decided to operate on my eMac and we managed to speed it up to 1.33 GHz after 4 years in late '07s together.
Still now days i recall the goosebumps and chills watching my friends trying to scratch of some resistors from the board as i was holding it to achieve the overclock as my eMac costed me 6 months of salary when i was working and studying. It was not a good idea to play with but we surly enjoyed it.
This guide was made in memory of those moments and for all those who still own one and would love to juice out some power of it and it is based on featured guides from iFixit members Arthur Shi, Chris Green and an outsider Leo Bodnar who gave me the idea.
Hope you enjoy it as i did those days. Please feel free to contact me for details or featured corrections.
必要な工具と部品
-
-
It should be noted that these guides are written based on a late-model eMac (2005, 1.42GHz, DDR). They will differ slightly from the older model eMacs that use PC-133 RAM.
-
Lay the eMac screen-down on a flat surface. I've found it convenient to use a carpeted floor because the computer is so heavy.
-
Remove the single phillips #2 screw on the RAM door, and remove the door
-
The screw is captive in the door, so don't worry about losing it.
 FixBotに聞いてみる
-
-
-
You can read more about CRT safety procedures here. If you aren't experienced with working on devices featuring a CRT, it's recommended that you don't proceed any further.
-
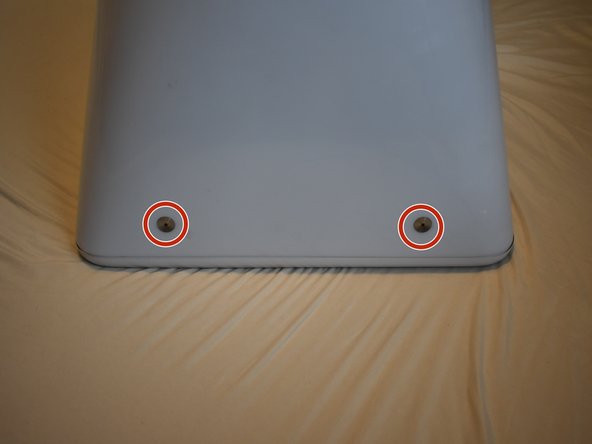
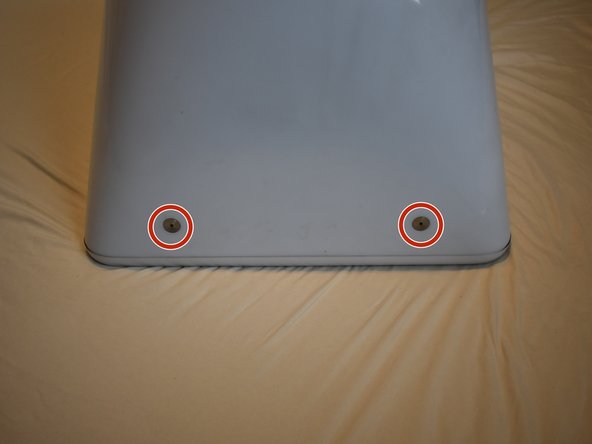
On the bottom side of the eMac, remove the following screws:
-
A single 2.5mm hex screw
-
Two #2 phillips screws
-
-
-
Remove two 2.5mm hex screws from each of the other sides of the computer.
-
-
-
Now, the shell can almost be separated from the computer.
-
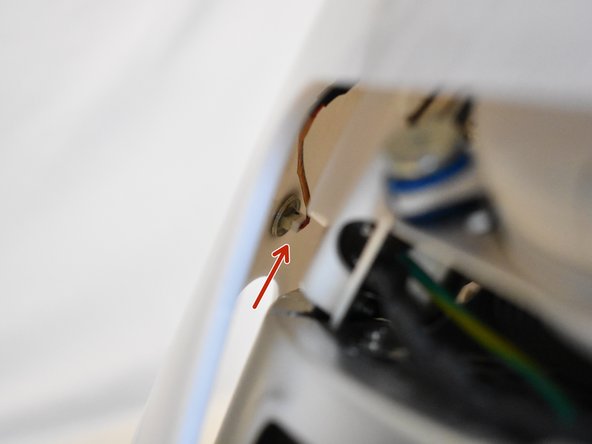
Lift the housing enough to allow you to fit your hand through the access door, and disconnect the cable at the power button.
-
-
-
The motherboard access panel is held on by 4 phillips #2 screws.
-
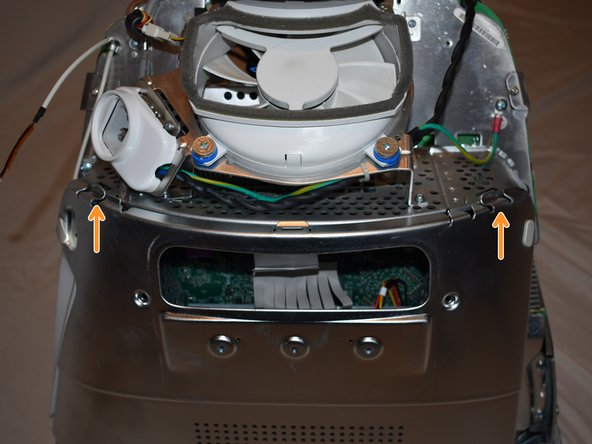
Remove the screws, then use your fingers to pull on the top tabs to separate the panel from the computer frame.
-
-
-
-
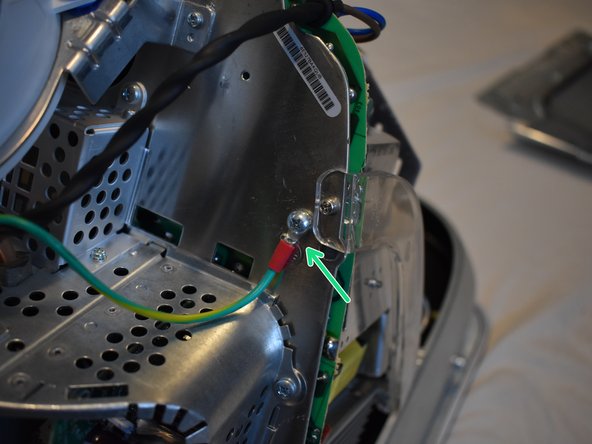
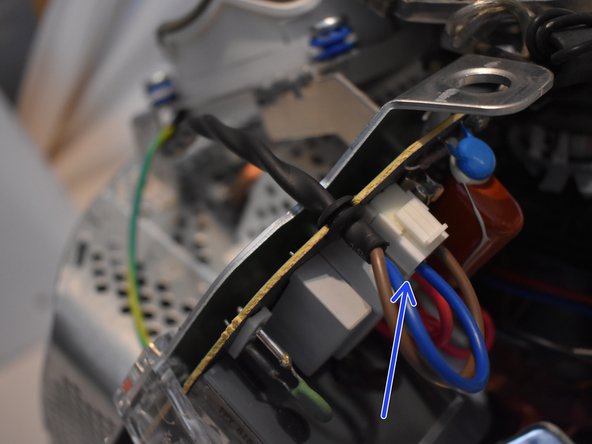
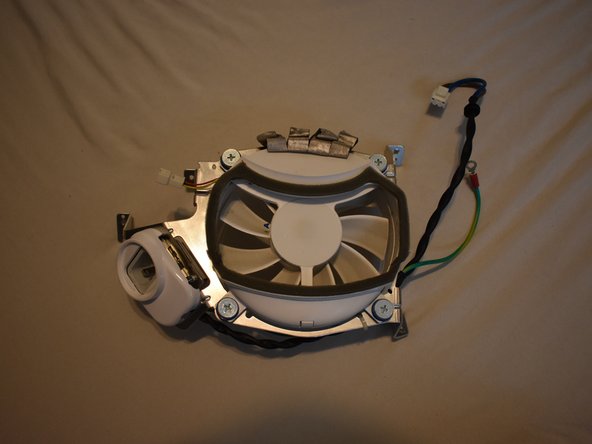
To remove the fan assembly, several cables must be disconnected first:
-
3-pin fan cable
-
Ground wire, requires phillips #2 screwdriver
-
2-pin AC cable to power supply
-
-
-
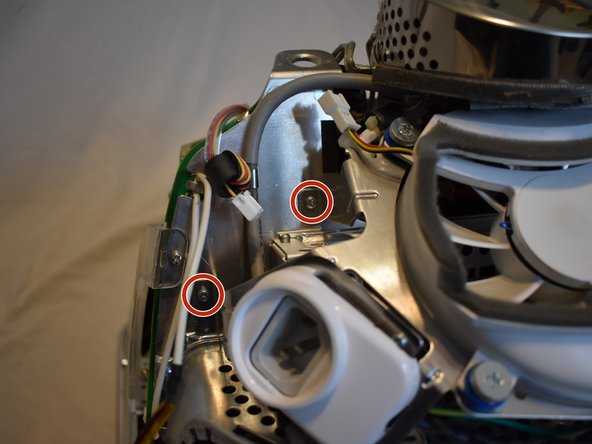
Now remove the following screws securing the fan assembly:
-
3x coarse thread phillips #2
-
1x machine thread phillips #2
-
-
-
There may be a zip tie holding another cable to the fan assembly, cut it to remove the fan assembly.
-
-
-
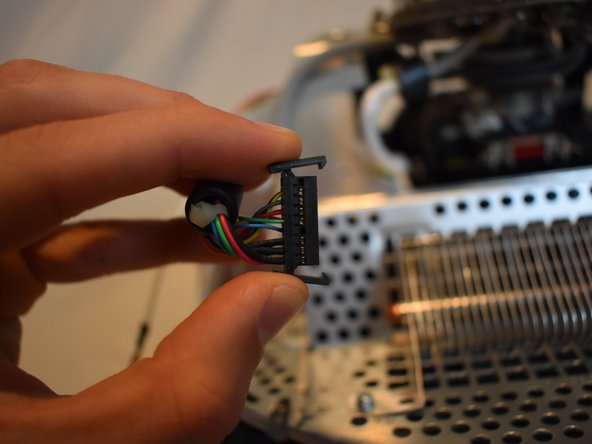
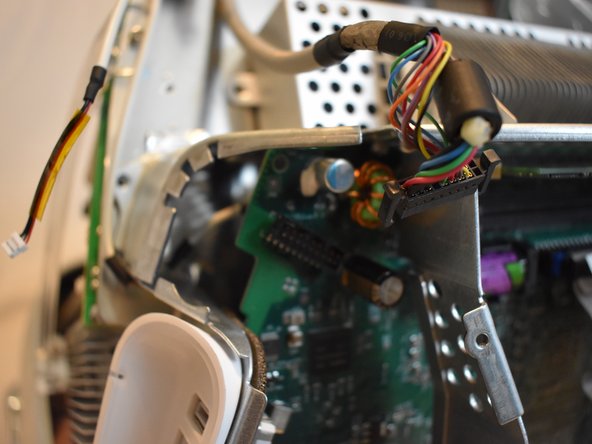
There are four connectors at the bottom of the motherboard that must be removed.
-
-
-
There is a large display connector that must be removed. This can be done by squeezing the tabs and pulling.
-
-
-
The power button cable may be tucked in the casing, you will need to un-tuck it.
-
-
-
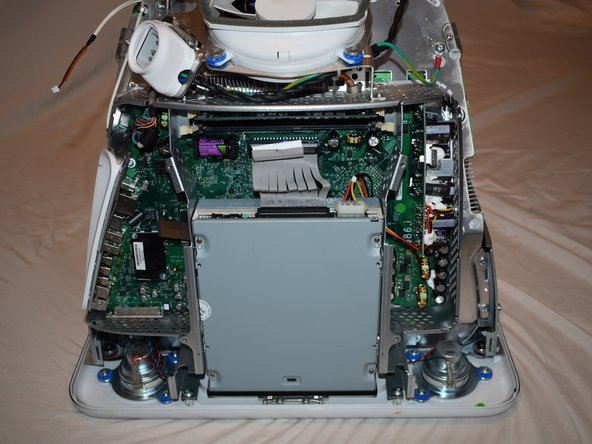
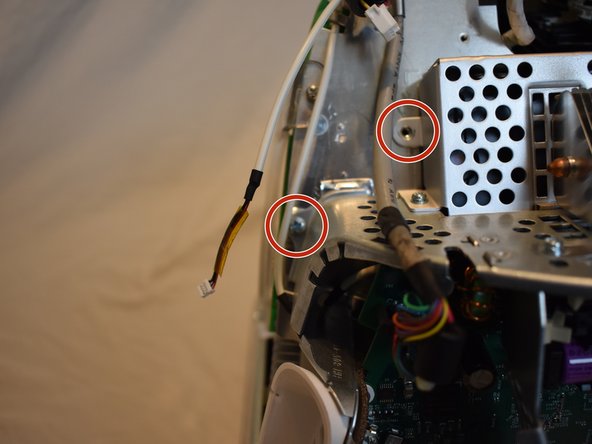
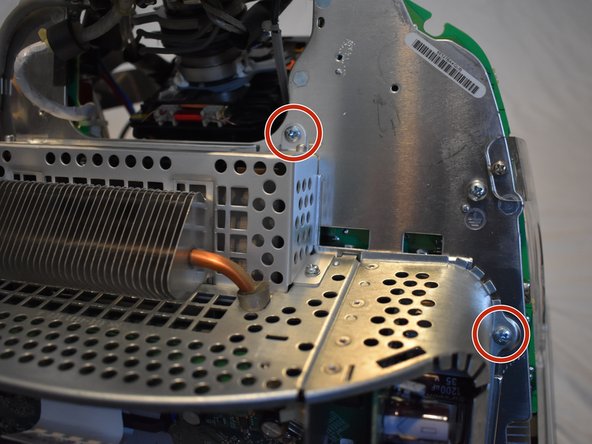
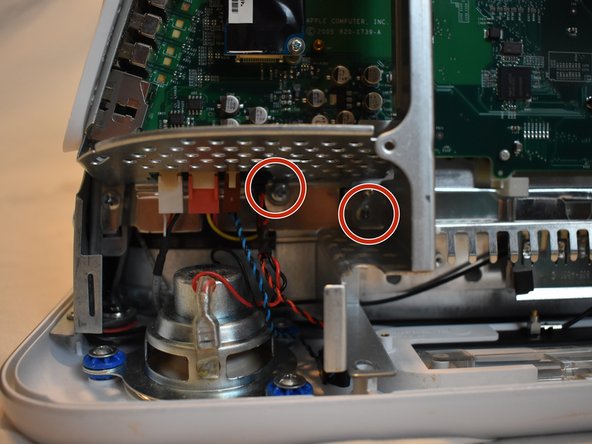
There are several phillips #2 screws that hold the eMac motherboard assembly to the rest of the computer. They will all need to be removed.
-
2 large ones near the drive bay door.
-
7 smaller ones scattered around
-




















To reassemble your device, follow these instructions in reverse order.
3 の人々がこのガイドを完成させました。

